Welcome to this week's LIMES inspiration post!

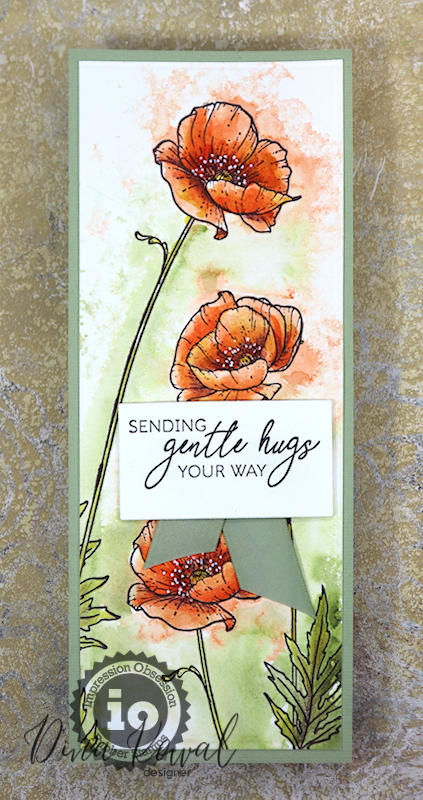
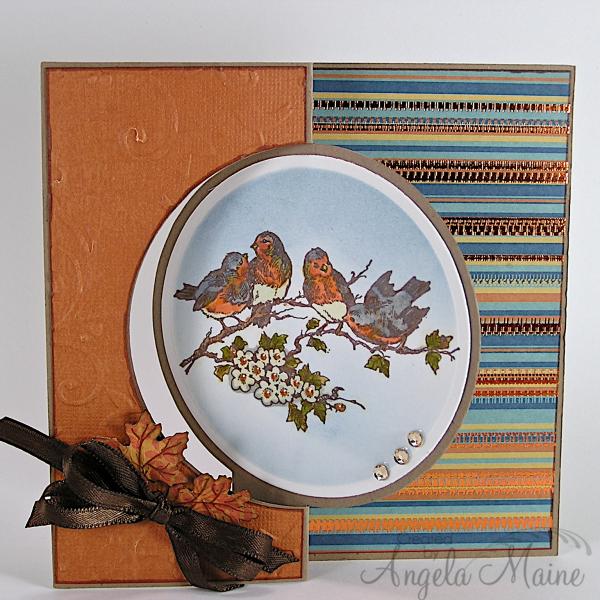
I chose this card as my inspiration from the gallery of this week's Splitcoaststampers' Featured Stamper!

LIST: Colours (blue, brown, copper, cream) Techniques (die cutting, stamping) Elements (flourish, daisy, die cut flower with circle frame, ribbon)
INCLUDE: blue, copper, die cutting, circle frame
MODIFY: water stamped background, stencilled daisy, one daisy, added sentiment
EXCLUDE: ribbon,
SPIN:
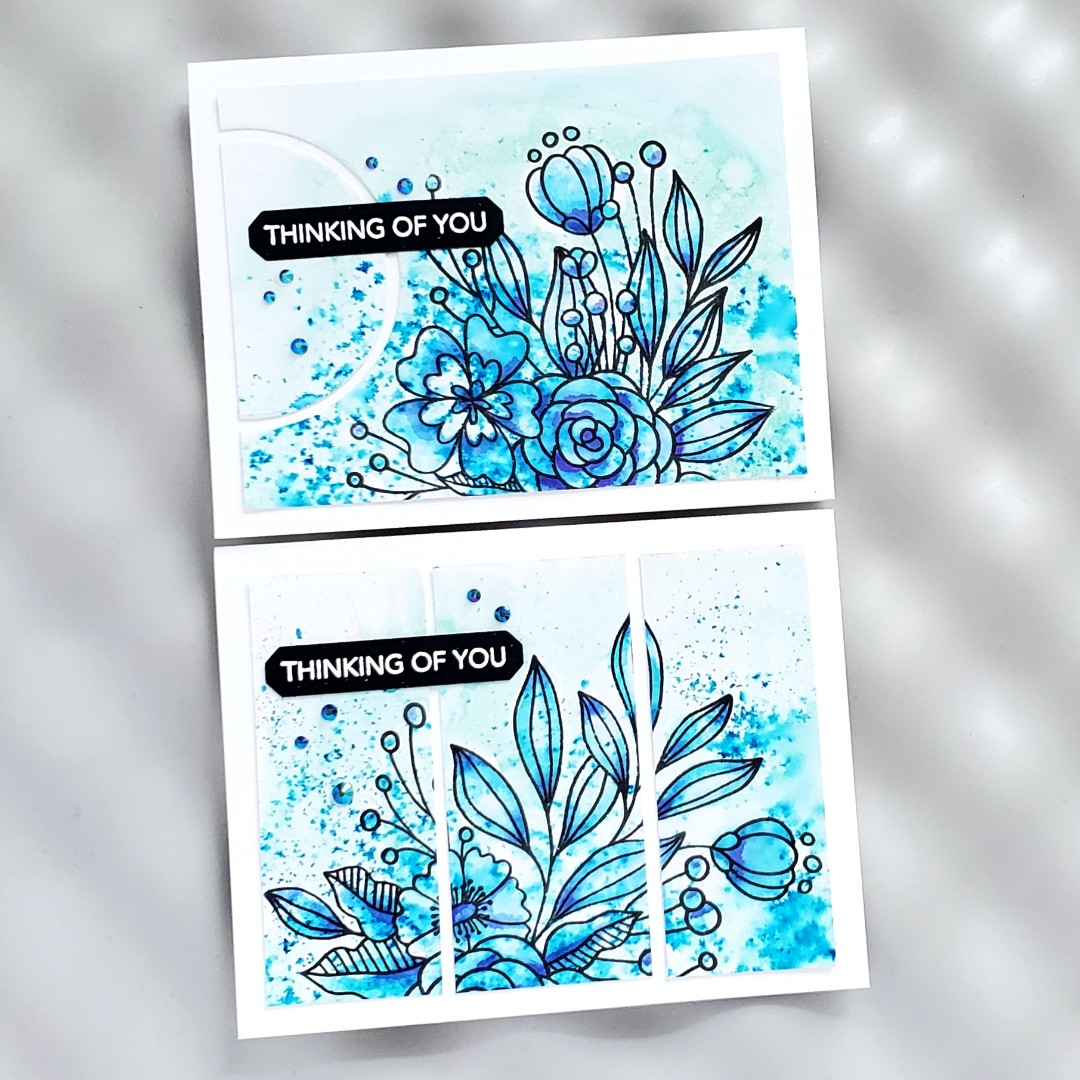
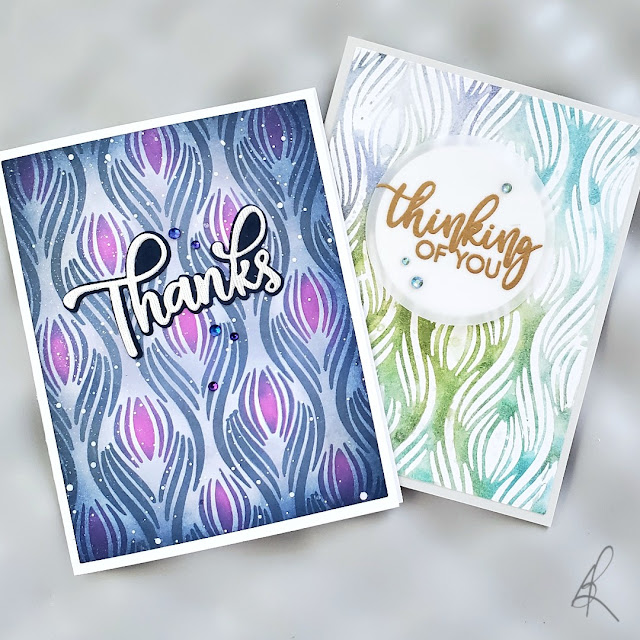
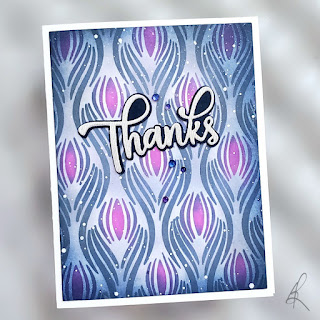
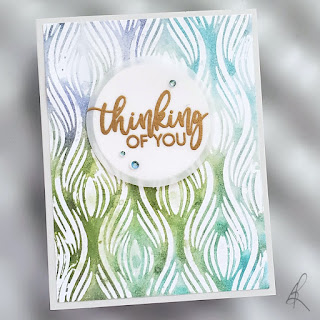
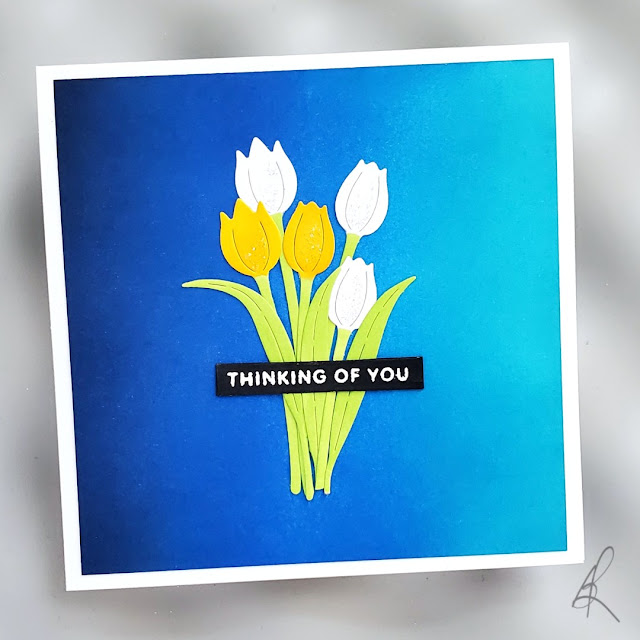
I was really attracted to the tone-on-tone look of this card, even though it has more than one colour. I started by blending a panel with blue and orangey-brown, and then masked a circle and water-stamped with a background stamp.
I stenciled my daisy with Lisa Horton Interference ink (shimmery ink that changes colour depending on what's underneath it), and added a heat embossed sentiment.