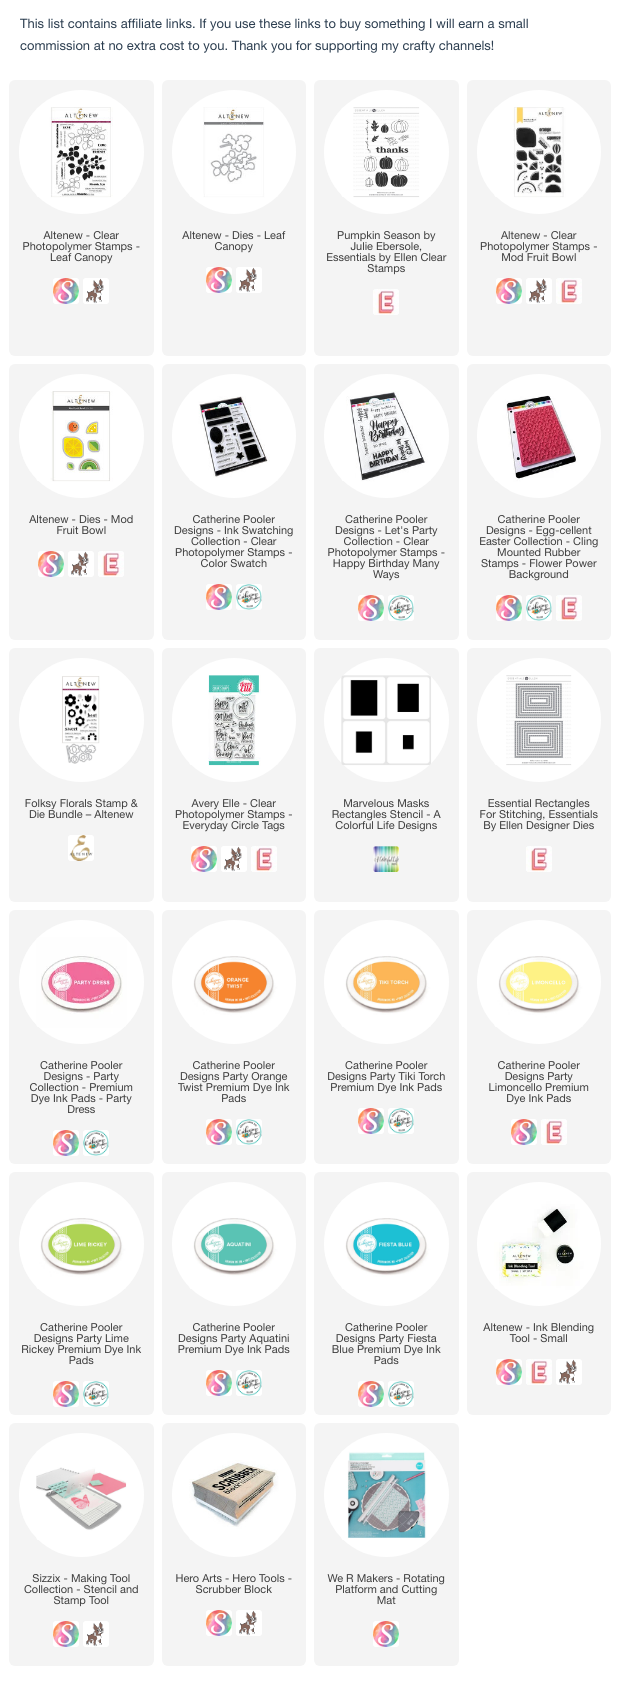
Today I'm sharing how I used the Debut Release of Catherine Pooler Designs products with Sizzix!! …It's part of a video hop with a giveaway, and wait until you see how I made Kaleidoscope cards with the NEW Sizzix Stamp & Spin Tool!
If you want to be entered for a giveaway, watch the video below and follow the directions in the description (comments here on the blog will not be entered, so be sure to head to my channel!)
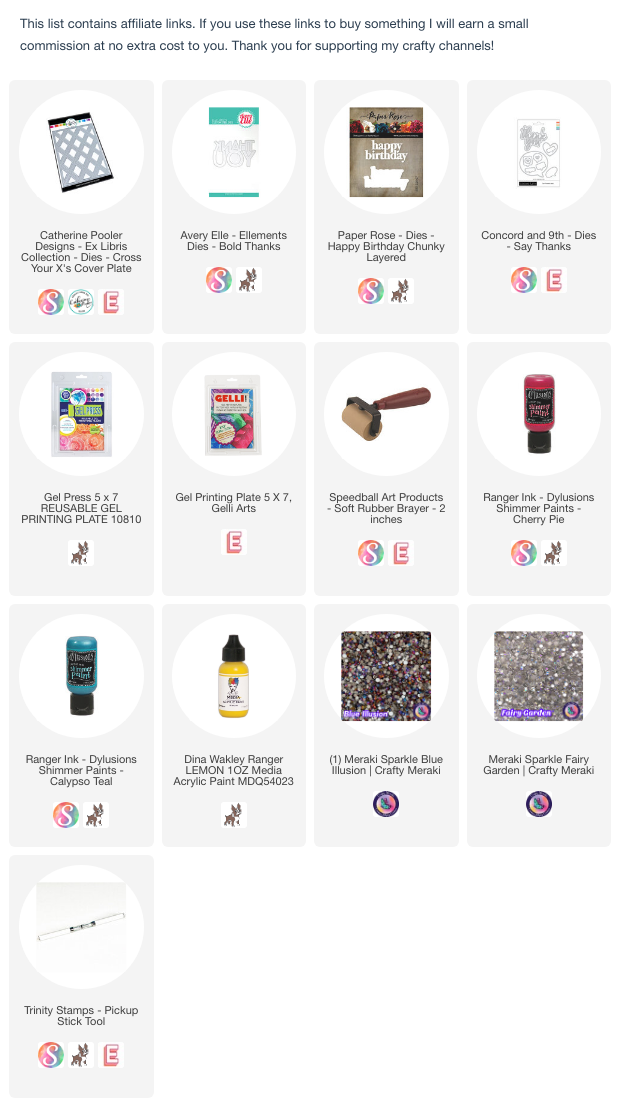
I was inspired to make a layered 2024 calendar by a reel I saw on Instagram. I used some new products from Catherine Pooler and Crafty Meraki to put my own spin on it!
I chose this card as my inspiration from the gallery of this week's Splitcoaststampers' Featured Stamper!
LIST: Colours (plum, red, blue, yellow, burgundy), Techniques (stamping, colouring, fussy cutting, layering) Elements (layered mandala on square, border panel, subtle background pattern, no sentiment, gems)
INCLUDE: stamping, colouring, layering, layered mandala on square, no sentiment, gems
MODIFY: rainbow colours and black, cut with circle dies instead of fussy cutting
EXCLUDE: border, background pattern
SPIN: square card
Earlier this week, I talked about 'forgetting' to use my background stamps and my markers, so I combined these two to create this card, inspired by a very pretty mandala.
This retired Catherine Pooler mandala stamp is one of my old favourites and you can get so many different looks with it.
I stamped it on 3 pieces of white cardstock, then trimmed them into various circles (the fourth, smallest circle, I cut from the centre of the largest circle) I used my ink pads for the first layer of colour on each one, then added shading and variation with my Copic markers.
I stacked each layer with two pieces of white cardstock for lots of dimension. It was harder than I thought since this mandala is hand drawn and not perfectly symmetrical! I then added gems and some details with a white gel pen. For a flatter look, you could cut all the circles from one piece of stamped cardstock, and inlay them back in once they're coloured. Or, you could mask while you colour each ring.
This stamp is retired, so I've listed a couple of other options. If you have a mandala stencil, you could outline each area with black marker then colour it in for a similar look.
I found a faster way to ink blend perfectly smooth panels - only one of these panels was ink blended - the other two were 'gel-blended' - can you tell which is which?
I chose this card as my inspiration from the gallery of this week's Splitcoaststampers' Featured Stamper!
LIST: Colours (orange, yellow, red, teal, white, black), Techniques (stamping and watercolouring), Elements (poppies, snow, thank you stamped sentiment, teal/blue edge, watercolouring with a loose feel).
INCLUDE: orange, yellow, red, teal, white, poppies, teal blue edge
MODIFY: stenciling, spritzing technique instead of stamping and watercolouring, gold splatter instead of white, thinking of you sentiment higher on the card, trimmed panel down to leave white border
Micheline's work is absolutely stunning - she uses stamped outlines and watercolours to create little pieces of art that look hand-drawn and painted!
I had a crazy idea that I would stencil some poppies, blend a blue background and then spritz water over the whole thing to get it moving. AND IT WORKED! lol!
I used a Simon Says Stamp layering stencil set, and masked it off so that I only had two of the poppies showing. I blended yellow and red and brown ink onto the petals, and then two shades of green on the stems and leaves.
Then it was time to spritz it all with water to get that 'loose' look that Micheline had. And I'll be honest. I was scared! lol!
It started moving and then it kept moving and I grabbed my heat gun to dry it before it lost all the details. The colours did get a little paler with the water, but I think it's still really pretty.
Once it was dry, I splattered gold watercolour over top and then stamped my Catherine Pooler sentiment.
I chose this card as my inspiration from the gallery of this week's Splitcoaststampers' Featured Stamper!
LIST: Colours (shades of blue, white), Techniques (stamping, die cutting), Elements (pattern of shapes, vertical ribbon, pinked circle focal point with sentiment strip)
INCLUDE: blue and white, stamping, die cutting, pattern of shapes
MODIFY: stenciled instead of stamped/die cut, plain circle focal point with pattern on it rather than on the shapes,
EXCLUDE: ribbon, vertical element
SPIN: added lots of gems
This pretty monochrome inspiration really stretched my multi-colour comfort zone! lol!
I masked off a Hero Arts ornaments stencil and blended 2 colours of blue ink through 12 of the ornaments, to create dimension.
I stamped my sentiment with blue ink onto a white circle, and then used a small stamp from a snowflake set to add the pattern there instead of inside the geometric shapes.
I chose this card as my inspiration from the gallery of this week's Splitcoaststampers' Featured Stamper!
LIST: Colours (white, black, orange, pink, green), Techniques (stamping), Elements (3 strips of coloured flowers, black horizontal strip, 3 embellishments, thinking of you sentiment top left, square card)
INCLUDE: colours, horizontal stripes of 'flowers', black horizontal strip
MODIFY: combined stamped sentiment with black strip, die cut instead of stamped, and 2 stripes of each colour
EXCLUDE:
SPIN: die cut inlay, combined embellishments
These 3 stripes of flowers made me think immediately of this geometric coverplate from Catherine Pooler.
I blended a panel with stripes of ink, (2 of each colour), using a lighter tone at the top, and a deeper tone at the bottom for a gradient look. I splattered it with water and gold watercolour and then I cut it with the cover plate, creating all the little 'petals' to inlay into the white die cut.
I chose a very simple sentiment from Lawn Fawn and heat embossed it onto a black strip of cardstock.
INCLUDE: die cut, stamping, blending, splattering, tree, stamped sentiment, tree going over the edge
MODIFY: colours to blue/white, black, frame layout to blended strip in centre,
EXCLUDE: ribbon, stitching,
Seems like I rarely choose sympathy cards as my inspiration - like most of us, I prefer happy cards with bright colours. But this inspiration just radiates peace, doesn't it?
I masked off two edges of my white panel and blended 4 blue/green inks and then splattered them with water.
My original intent was to make the tree die cut the same colour as my darkest ink blending, but I liked the white (although maybe with pine trees, it looks a little Christmassy?).
I stacked up two tree die cuts and stamped a sentiment from a recent Catherine Pooler Sympathy set.
Today I'm trying out 10 different ways to get the look in your cardmaking from some DIY options to the latest tools. and here's a spoiler alert - some are more successful than others.....
This is part 2 of my video sharing some ideas for using solid stamps in card making. These basic card making tools can be used in so many ways to make amazing cards!
In order to create all the multi-coloured diamonds I needed for this card, I ended up with some rainbow leftovers. I made two same-but-different cards with these, by popping up the rainbow die cuts and then adding a layer of white panels cut with another cover plate die.
I finished with die cut sentiments, and then put gems in each of the little 'holes'. This is a great way to use up those larger gems that might tear an envelope in the mail - this way they are directly on the card base, and protected by the popped up layers.
At the Card Maker Success Summit a couple of weeks ago, we met a whole lot of new card makers, so I'm thinking this is a great time to show how you can use basic cardmaking tools and skills to make cards that are anything but basic.
So I started to make a video sharing some ideas for using solid stamps in card making but it turned out to be over 16 minutes long, so I've split it into two more manageable videos and I'll share the next one next week.
Today I'm sharing 9 quick and easy ideas for using up those backgrounds you have on hand. And if you're a person who doesn't make backgrounds, these ideas work with patterned paper, too!
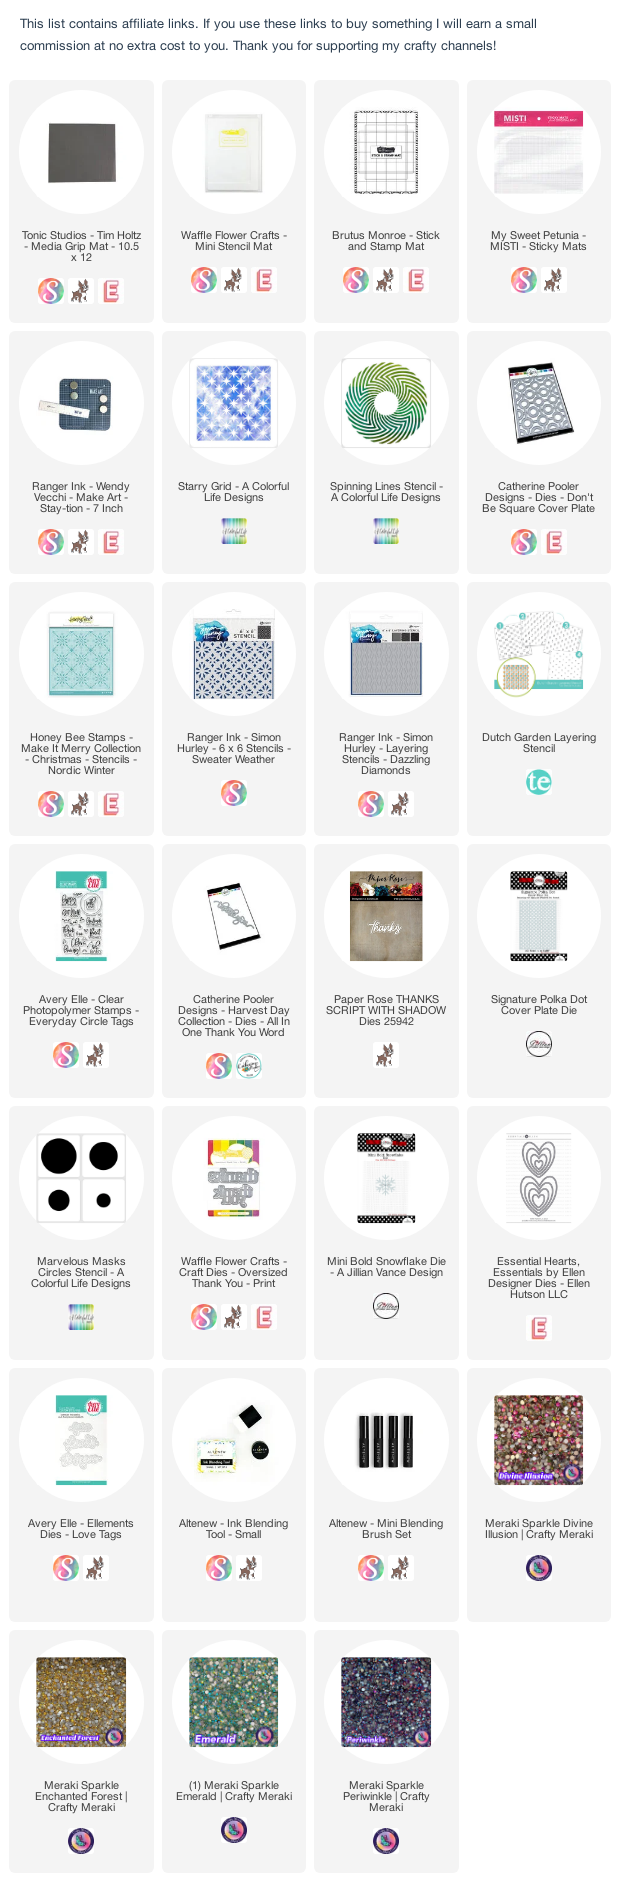
I recently realized that I own pretty much every product designed to hold your stencil while you're ink blending - but which one's best? Watch my video to find out, and get a FREE downloadable comparison chart so you know too!