Pages

Showing posts with label pinkfresh studio. Show all posts

Saturday, 7 October 2023

Ornamental Plaid


Welcome to this week's LIMES inspiration post!

I chose this card as my inspiration from the gallery of this week's Splitcoaststampers' Featured Stamper!

LIST: Colours (red, green, yellow, gray, black, white) Techniques (stamping, colouring, die cutting) Elements (plaid, gems, branch with ornaments, lantern, scalloped mat, branches with berries, angled sentiment on mat)

INCLUDE: green, white, stamping, die cutting, plaid, ornaments, sentiment in top left corner, lots of mats

MODIFY: added pink and blue, stenciled/stamped plaid, round matted sentiment

EXCLUDE: branches, lantern, gems


I love the classic, rustic feel of the plaid, branches and ornaments in my inspiration, but I gave it a more modern feel with brighter almost-traditional colours and a custom stenciled and stamped plaid background.

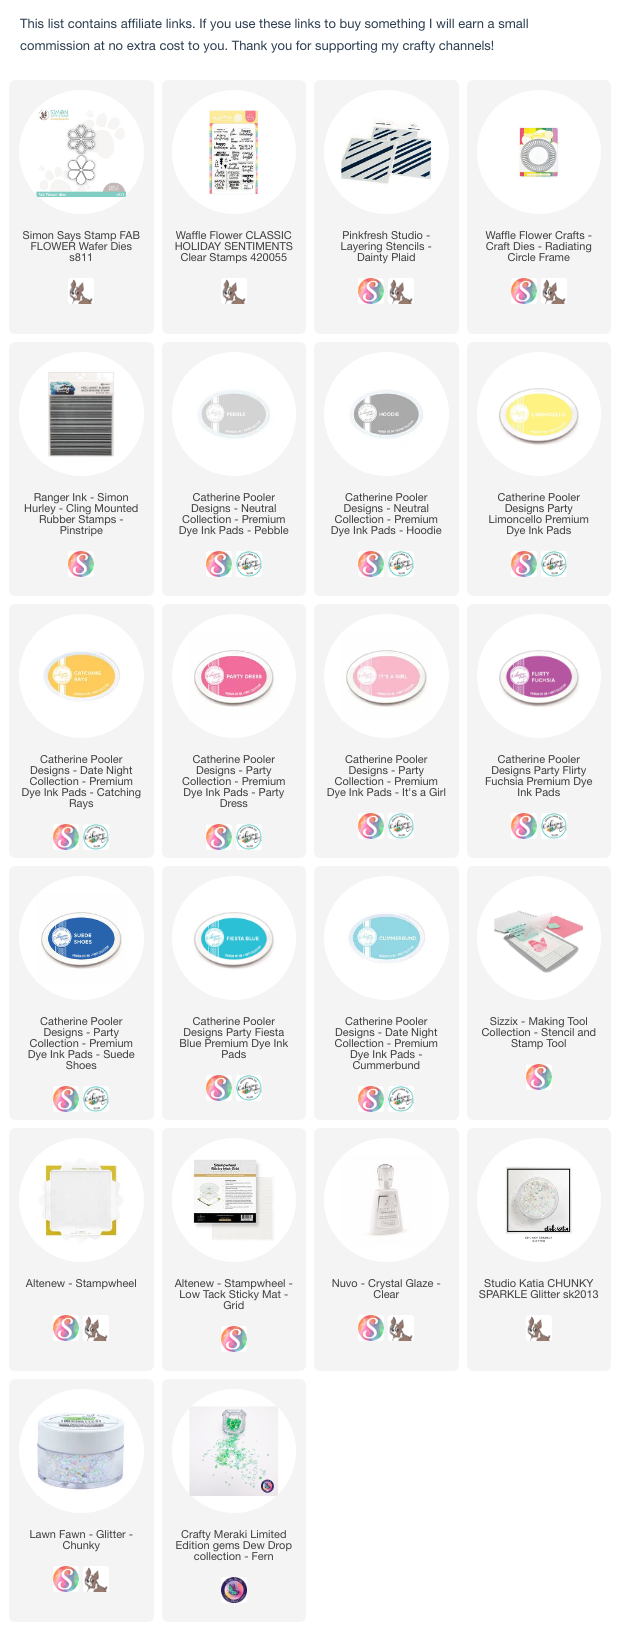
I repeated the ornament portion of a postage stamp Christmas layered stencil set to create my row of ornaments. Then I created my own matching plaid with the same colours, and another layering stencil set. I stamped the coordinating stamp over top, and didn't get it quite lined up properly, but it still looks great - I think that's the sign of a well-designed product!

I was pretty sure I was going to change the location of my sentiment - that top left corner is unusual to me. I tried a few different ideas, and landed on this little stamped sentiment on a white circle with a black mat, and I think it looks just right - that's one of the things I love about this challenge - I often end up making something I would never have come up with on my own!



Friday, 12 May 2023

LIMES with Brennan


Today, I'm excited to be introducing you to one of my newest crafty friends, Brennan. He's a talented newcomer on the card making scene and also to YouTube, so I'm excited to introduce you all to him, and show you how 3 of his cards helped me squeeze even more out of LIMES! (you can get a FREE LIMES worksheet here!)


Friday, 14 April 2023

Are you making these Card Making Mistakes?

Are you ready to rescue your cards? Today I'm talking about some ink-related cardmaking mistakes, plus one of the biggest crafty mistakes I think a lot of us make. PLUS, my friend Ishani has a whole bunch of creative solutions for even more cardmaking mistakes so whatever is going wrong with your cardmaking, I bet we can help! 


Saturday, 18 March 2023

Leafy Thanks

Welcome to this week's LIMES inspiration post!

I chose this card as my inspiration from the gallery of this week's Splitcoaststampers' Featured Stamper!

LIST: Colours (rainbow, white), Techniques (die cutting), Elements (flowers, leaves, die cut thanks sentiment, circle mat, photo corners)

INCLUDE: rainbow, white, die cutting, leaves, thanks theme

MODIFY: leaves only, in a (circle) wreath form, 

EXCLUDE: flowers, photo corners

SPIN: square card


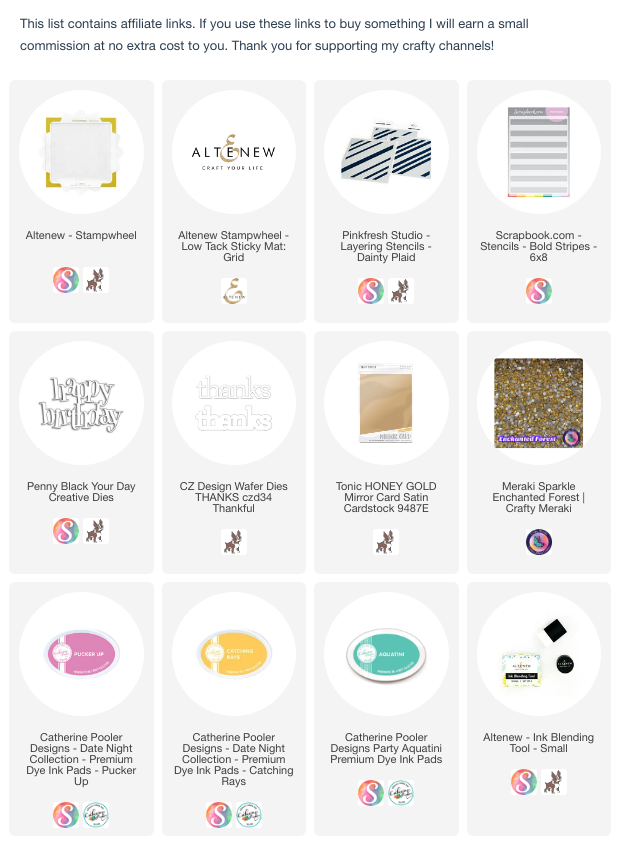
I love the feeling of spring's abundance of colour and life that was on this card, and I tried to capture it with a rainbow of leaves cut from some of my backgrounds, with a Pink Fresh Studio die. I finished with some gold accents and a bold black die cut sentiment.


Saturday, 25 February 2023

Daisy Happy Birthday

Welcome to this week's LIMES inspiration post!

I chose this card as my inspiration from the gallery of this week's Splitcoaststampers' Featured Stamper!

LIST: Colours (black, 2 pinks, 2 greens, white), Techniques (layered die cuts), Elements (3 flowers with leaves, white script birthday sentiment, pink frame)

INCLUDE: black, pink, green, white, white die cut birthday sentiment

MODIFY: number and type of flowers, technique (stencil plus die cut)

EXCLUDE: pink frame


I love the drama in Marlease's card thanks to the black background with pops of bold colour! 

I used two Floral Lace products - the layering stencils, and the die to create this look - I stenciled bright colours onto white cardstock, then glued the black outline die over top. I coloured the 'in between' spaces with either black or green. Then the whole thing felt a little dark, so I created the white flower centres with one of my all time favourite, basic cover plates. 

I finished with a stacked up die cut from Paper Rose.


Friday, 17 February 2023

9 Clever (and EASY!) ideas for using Backgrounds or Patterned Paper


Today I'm sharing 9 quick and easy ideas for using up those backgrounds you have on hand. And if you're a person who doesn't make backgrounds, these ideas work with patterned paper, too!


Friday, 20 January 2023

Get MORE from Layering Stencils


Today I'm sharing a video filled with ideas for getting MORE from your layering stencil sets! 


Friday, 21 October 2022

Cardmaking Trends


What do you think of the latest card making trends? Here's a few that I've tried:


Friday, 16 September 2022

Color Hues - Thanks


Today, I'm excited to be a guest at the newest Color Hues challenge! The colours for this challenge are Yellow & Brown.


I created this card with my newest favourite layering stencils from PinkFresh Studio, Dainty Plaid, and some of the newest brown inks from Catherine Pooler - Spice, Macchiato and S'Mores. 

I trimmed my brown panel with two Essential Rectangle dies to create a negative frame. 

I used an Impression Obsession Wheat die and a CZ Design thanks die to create my yellow elements.


Friday, 15 April 2022

Get More from Ink Pads!


In today's video, I'm showing off the newest Catherine Pooler ink colours and sharing ways to go beyond stamping with your inkpads with more creative techniques!


Sunday, 6 March 2022

Butterfly Thank You

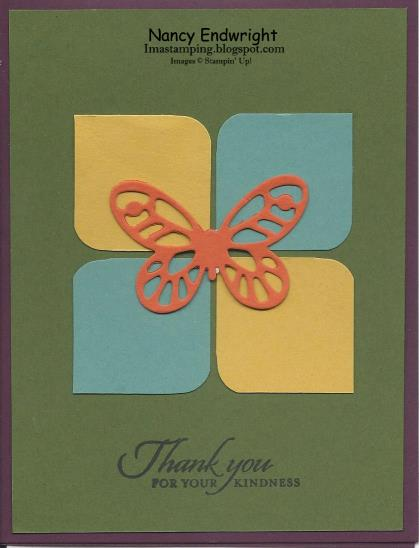
Congratulations to this week's Featured Stamper, Nancy!

I chose this card as my inspiration:

LIST: Colours (purple, green, blue, yellow, orange) Techniques (die cutting, stamping) Elements (butterfly, rounded squares, thank you sentiment, purple frame)

INCLUDE: colours, die cut butterfly, stamped sentiment

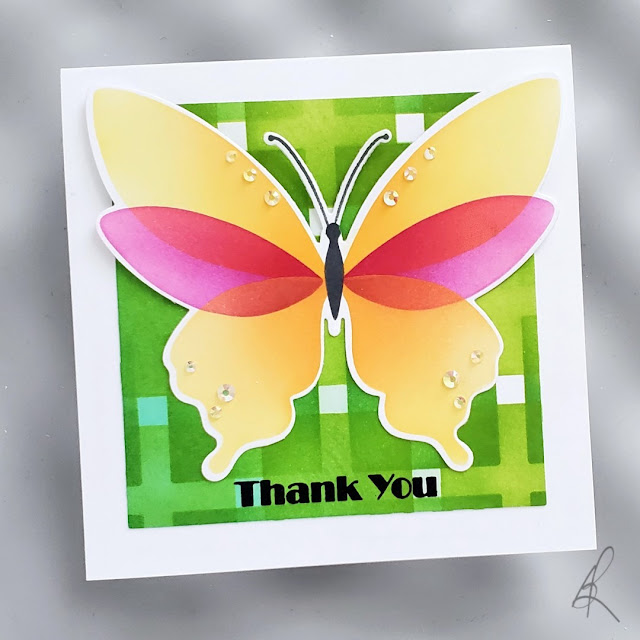
MODIFY: rounded squares to 'plaid', more white space, stenciled butterfly

EXCLUDE:

SPIN: square card


I started by creating a plaid background with the 4 square shadow stencil from A Colorful Life Designs and Lime Rickey ink. 

I used Pink Fresh Studios butterfly coordinating die and layering stencils to create the layered wings and body. I did some masking and used the stamp to get the antennae. 

Sunday, 28 November 2021

Holly Joy


Congratulations to this week's Featured Stamper Sue (StampinForMySanity). 

I chose this card as my inspiration:

LIST: Colours (Red, Green, White, Kraft), Techniques (stamping/watercolouring, die cuts), Elements (holy/winter foliage, JOY sentiment birds, gold twine, bow)

INCLUDE: Red, green, white, holly, JOY, 

MODIFY: Add aqua, technique to inlaid die cuts, clear embellishments instead of red

EXCLUDE: birds, twine, bow, kraft

SPIN: stained glass effect.


This is one of the inlaid die-cut cards I taught recently at the Eat, Sleep, Crafty Retreat. I cut the die from both white and chrome cardstock.

I coated a piece of printer paper with adhesive, laid the chrome frame on it and then coloured each of the white pieces (left the 'in between' pieces white), and pieced everything into the frame.

Because the die cut does not have a border, I then used a large rectangle die to cut the inlaid panel, and then from the chrome cardstock to create a rectangular frame.

I also cut the letters from the panel as well as from the chrome cardstock, and inlaid them. 

Sunday, 2 August 2020

Are you Ready (for Christmas cards?)


Congratulations to this week's Featured Stamper, Lisa Foster.

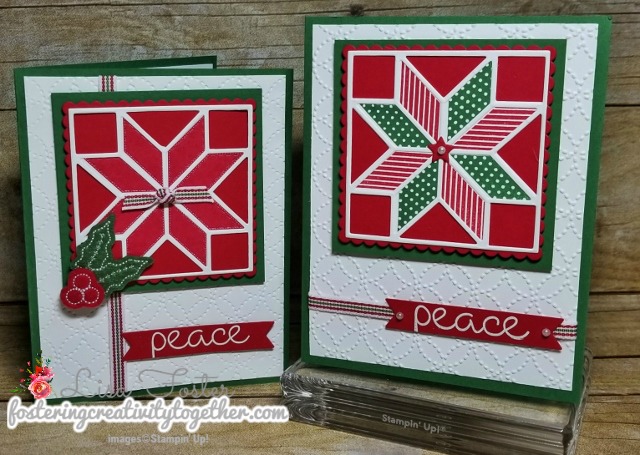
I chose this card as my inspiration:


I focused on Lisa's:
-inlaid die cut technique
-Christmas theme
-one word sentiment

I changed:
-square card
-no green
-floral vs geometric


I used the Ornate Floral coverplate from PinkFresh Studio and cut it from white cardstock. I coloured the petals red by putting them directly onto my Samba ink pad. I spritzed them with Avery Elle Shimmer spray and when they were dry, I inlaid them back into the frame. I trimmed it to a 4 inch square and glued it to a white cardbase. My sentiment is the Big Sugar Script Joy die from Birch Press designs. There are 4 layers of white cardstock, and one of silver glitter cardstock to give it dimension.

And then, of course, I had to make more:


This one also uses the inlaid die cut technique but this time, I used a graphite frame, and I blended ink onto every. single. piece. I put yellow in the centres to create a glow so that I could get the look of stained glass.


When I finished the first two cards, I had one white frame left over, so I did a 2 for 1 technique and used it as a stencil - I blended ink through it onto a panel of white cardstock. 


And then I used the stencil itself over black cardstock for some drama!


Here's my video:


Tuesday, 12 May 2020

Tips for Making Multiples with Stencils!


Over the past couple of weeks, I have been working hard creating cards for the residents of a local nursing home. Our church women's group delivered them on Mother's Day. I had made Mother's Day and thinking of you cards for all the residents and thank you cards for the staff. 

Many of the cards were one-offs that I already had in my 'sell/donate' bin, but I needed to whip up about 150 of them really quick! This was a design that turned out to be very simple, despite the use of an intricate (and very beautiful) PinkFresh Studios cover plate.


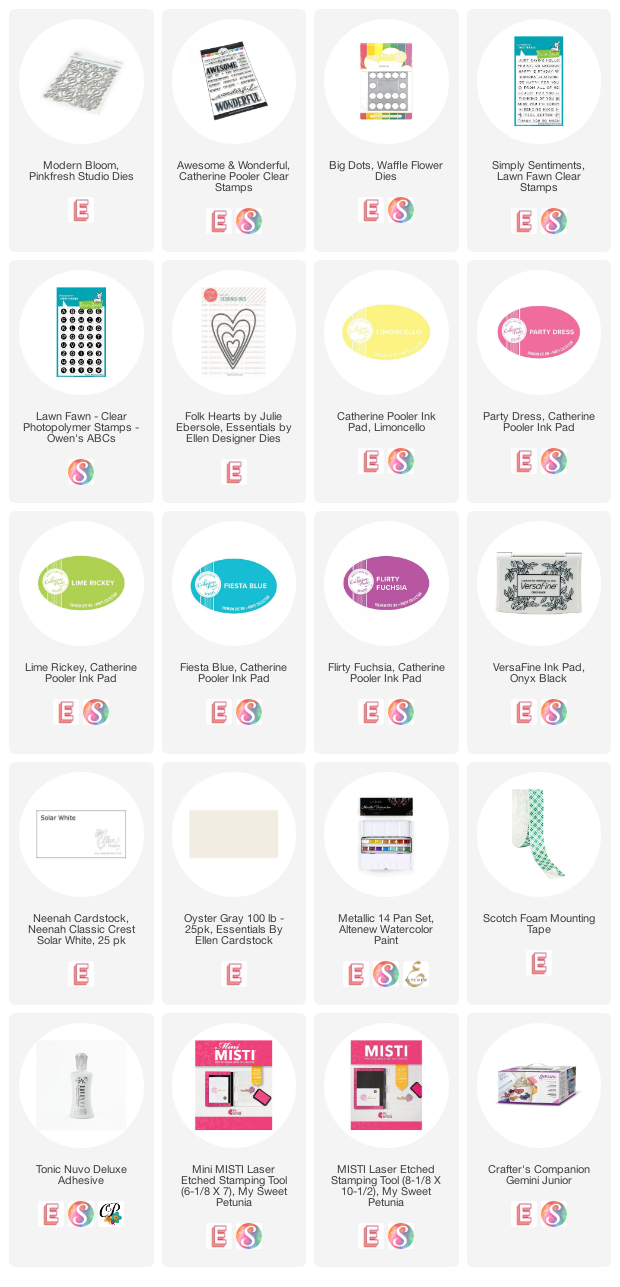
  • Cut PinkFresh Studios Modern Blooms coverplate from Neenah 80 lb white cardstock.
  • Used grid on worksurface to position purple tape about 1/2 inch over each edge of the stencil


  • Taped over a 4 x 5.25 inch panel of cardstock


  • Blended small areas with a dauber and Limoncello ink


  • Blended roses with blender brush and Party Dress ink


  • Blended remainder with blender brush and Lime Rickey ink


  • Rolled back the stencil, leaving the purple tape attached to the work surface on one side. 
  • Positioned next piece of white cardstock and repeated


12 panels in about 20 minutes.


The stencil held up but the blending started to get a little muddy so maybe use it only 8-10 times max unless you choose non-complementary colours.


Finished cards with Catherine Pooler Sentiment and green card base.

Here are a couple of additional cards I made with the same method:


For this card I used the new WaffleFlower Big Dots coverplate. I blended Party Dress, Limoncello and Fiesta Blue inks through. My sentiment was created with Lawn Fawn Simple Sentiments and Owen's ABCs.


For this card I used Essentials by Ellen Folk Hearts. I blended Party Dress and Flirty Fuschia ink through the stencil and then splattered Altenew Metallic watercolours over top before removing the stencil. I stamped the sentiment from Essentials by Ellen Totally Random Sayings with Versafine Onyx ink.