MODIFY: layout, stenciled background dots, die cut butterfly, matted panel rather than matted focal image, more blue than aqua, black stamped sentiment
I love the monochrome feel of this inspiration card, especially that tone on tone geometric background. I changed my layout, and used a gel plate to create a blended blue panel, that I then stencilled some confetti dots over top. I trimmed it down and added it to a white panel that I had trimmed with a rectangle stitching die to create holes around the edge.
I die cut a layered butterfly with black on the base, some of the leftover blue gel plate panel for the middle layer and white on top. I glued it down only in the centre so the wings add some dimension.
I stamped a bold sentiment underneath the butterfly in bold black and added some gems.
INCLUDE: colours, circle focal panel, stamped sentiment strip
MODIFY: lady bug to butterfly, florals to geometrics, less black
EXLUDE: embellishments
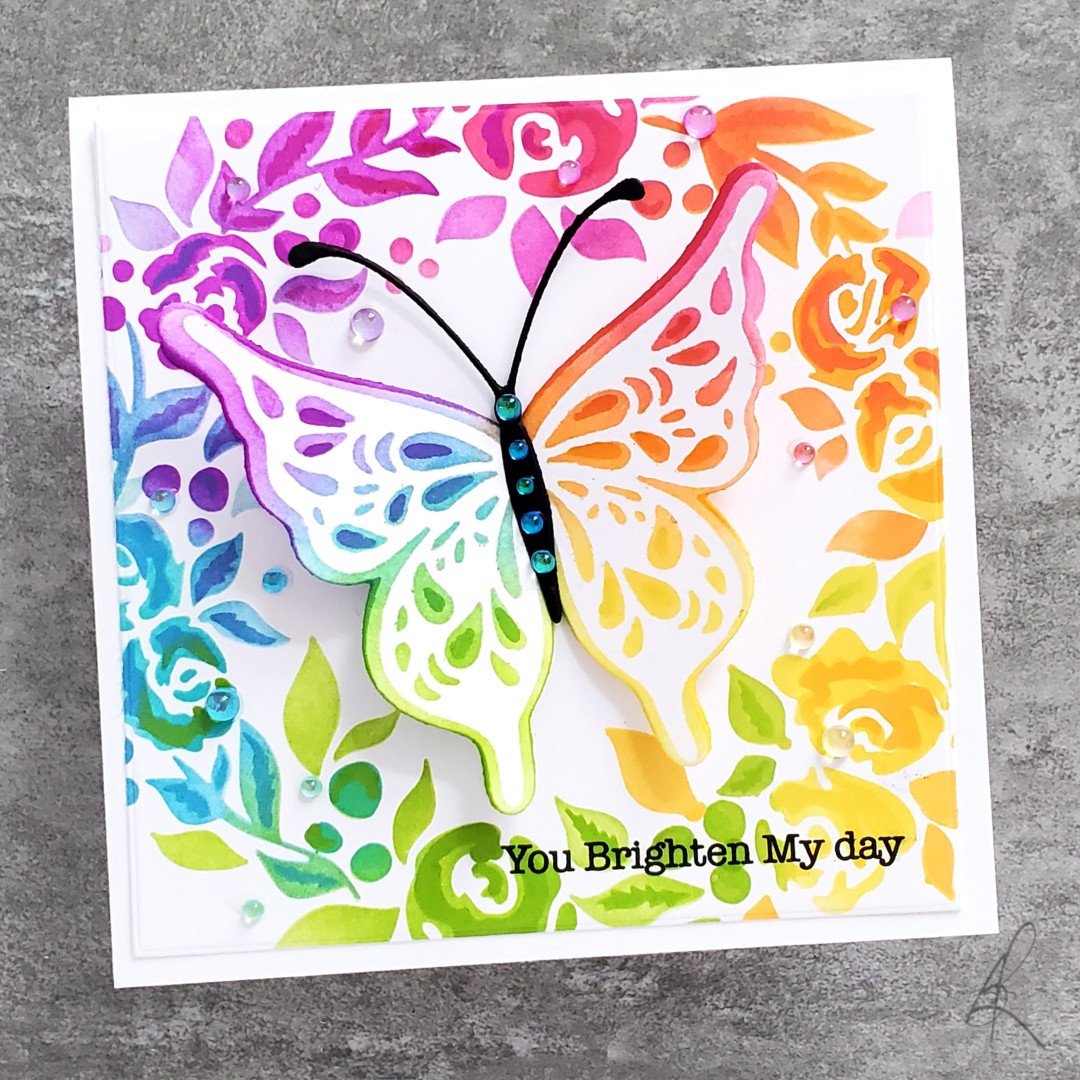
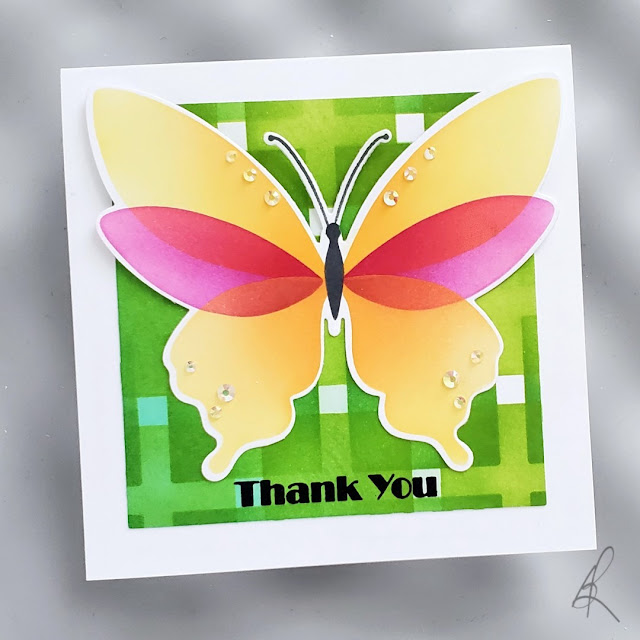
I love the rich colours on this patterned paper background, and I translated them into my CP colours before stamping my background with a turnabout stamp using the Altenew Stampwheel (so easy!).
Instead of a lady bug, I used a layered butterfly die set with black on the base, white in the centre, and a blend of the pink and peach on the top layers.
I chose this layout as my inspiration from the gallery of this week's Splitcoaststampers' Featured Stamper!
LIST: Colours (brown, black, red, yellow, orange, green, blue), Techniques (digital scrapbook/photos), Elements (grid, puppy, white words, flowers)
INCLUDE: black, yellow, orange, green, grid, white words
MODIFY: black background instead of brown, butterflies not puppy, die cut sentiment, pink not red
EXCLUDE: blue, flowers
SPIN: square card, gems
I love a grid and this puppy is adorable! I used a Paper Rose die to cut 16 identical squares, and I blended 4 colours of ink onto them. Then I stamped some small outline butterflies onto each square, making sure to create movement by having some of them stamped off the edge. I coloured them all in with a black Copic marker.
The hardest part was trying to get them spaced evenly, and straight (don't look too closely! lol!) and then I added my white die cut sentiment.
I chose this card as my inspiration from the gallery of this week's Splitcoaststampers' Featured Stamper!
LIST: Colours (red, white, yellow, green, gold), Techniques (die cuts), Elements (3D flowers and leaves, vertical arrangement, lady bug, kraft frame, slimline card, no sentiment)
INCLUDE: vertical, overlapping arrangement of main image
MODIFY: theme to spring, flowers to butterflies, slimline to A2, die cuts to stamping and colouring,
EXCLUDE: 3D elements, kraft frame
SPIN: added a sentiment
This gallery is amazing - absolutely full of gorgeous 3-dimensional flowers! Although these are clematis and it was likely a summer card, they remind me of poinsettias and Christmas, and I started by changing my theme to spring, by using stamped butterflies.
I used a couple of old-school tools for this card - an old favourite woodblock stamp and a stamp-a-ma-jig to help with positioning. I masked to get an overlapping look, and then I coloured very simply with pastel shades of copic markers. Then I masked them again and blended the background for some contrast.
I'm excited to be part of an Instagram hop to celebrate Crafty Meraki's 2nd birthday. Today, they are releasing some new stencils and stamps.
I made this card with the new Butterfly Garden stencil. I love that I could use small blending tools to add multiple colours without any masking, and then to take it to the next level, I added a thin coat of Enchanted Gold Gilding Polish which not only softened the colours, but added subtle shimmer and texture!
I added a stacked up hello sentiment and lots of the newest colours of Meraki Sparkle gems!
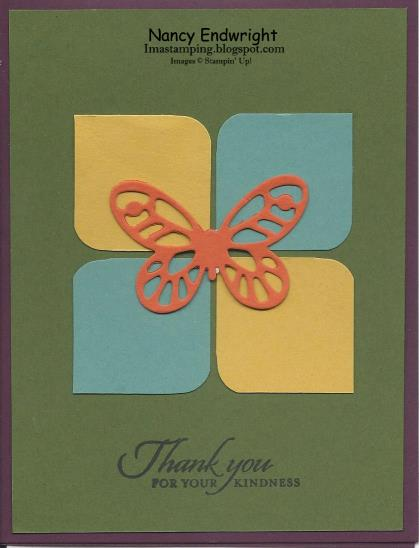
LIST: Colours (purple, green, blue, yellow, orange) Techniques (die cutting, stamping) Elements (butterfly, rounded squares, thank you sentiment, purple frame)
INCLUDE: colours, die cut butterfly, stamped sentiment
MODIFY: rounded squares to 'plaid', more white space, stenciled butterfly
EXCLUDE:
SPIN: square card
I started by creating a plaid background with the 4 square shadow stencil from A Colorful Life Designs and Lime Rickey ink.
I used Pink Fresh Studios butterfly coordinating die and layering stencils to create the layered wings and body. I did some masking and used the stamp to get the antennae.
Congratulations to this week's Featured Stamper, Deb. I chose this card as my inspiration:
LIST: Colours (mint, black, grey, white), Technique (stamping, die cut), Elements (curved ferns, butterfly, sentiment on layered strip, black frames, hex background stamping)
INCLUDE: butterfly, curving element, sentiment on layered strip
MODIFY: colours, curving element is mirrored, background technique
EXCLUDE: black frames
SPIN: square card
I made this card for a friend who loves purple, so I knew I had to change the colours. I started with one of my watercolor powder backgrounds that I made last week. To get that protective curve of the ferns, I used a stencil and some metallic paste.
My butterfly is bigger, my sentiment strip is narrower and I changed the occasion to birthday. My sentiment was embossed on a purple strip and backed with a border that I created with the same metallic paste spread on cardstock.
LIST: colours (aqua, blue, pink, white), watercolour background, pink die cut butterfly/flowers, die cut sentiment
INCLUDE: blue, pink, white,
MODIFY: add black, stamped sentiment, circle inkblended daisy background
EXCLUDE: aqua,
SPIN: square card
I started by creating the inkblended background. I die cut 4 each of the 3 sizes of Open Daisies from A Jillian Vance Design, from post-it notes, to create masks. I placed them on a panel of white cardstock and blended Tranquil, Serenade and Drive-In ink over top.
I removed the masks, cut a circle from the panel and spritzed it with shimmer spray.
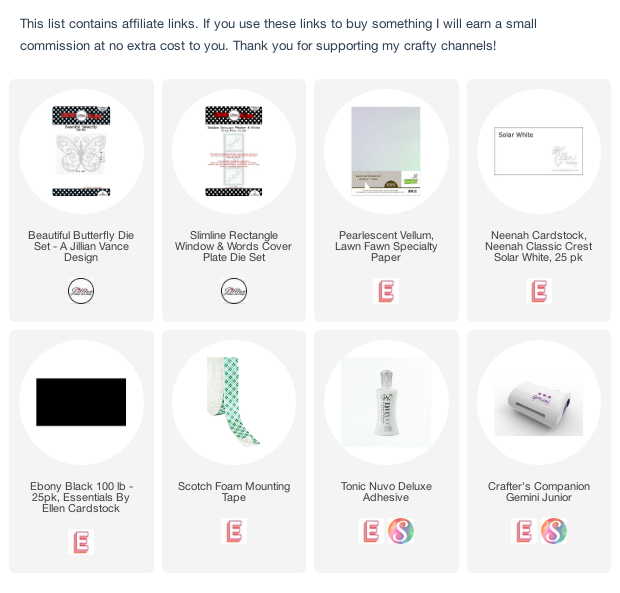
I cut the AJVD Beautiful Butterfly once from white cardstock and blended Pucker Up and Flirty Fuchsia on it before spritzing it with shimmer spray too.
I also cut the butterfly from black and trimmed the wings off before gluing the body on top of the pink/purple butterfly.
I'm on the A Jillian Vance Design blog today showing how easy it is to get another look from the new Beautiful Butterfly die!
On a housekeeping note, I have switched the email notification feed from Feedburner to follow.it
If you signed up to get email notifications of my new blog posts, you should continue to receive them. Please let me know if you have any questions or problems. Thanks!
I'm on the A Jillian Vance Design blog today with this fun card for a Mini-Release of 3 new stamp sets. Head over for more information and to see how you can win!