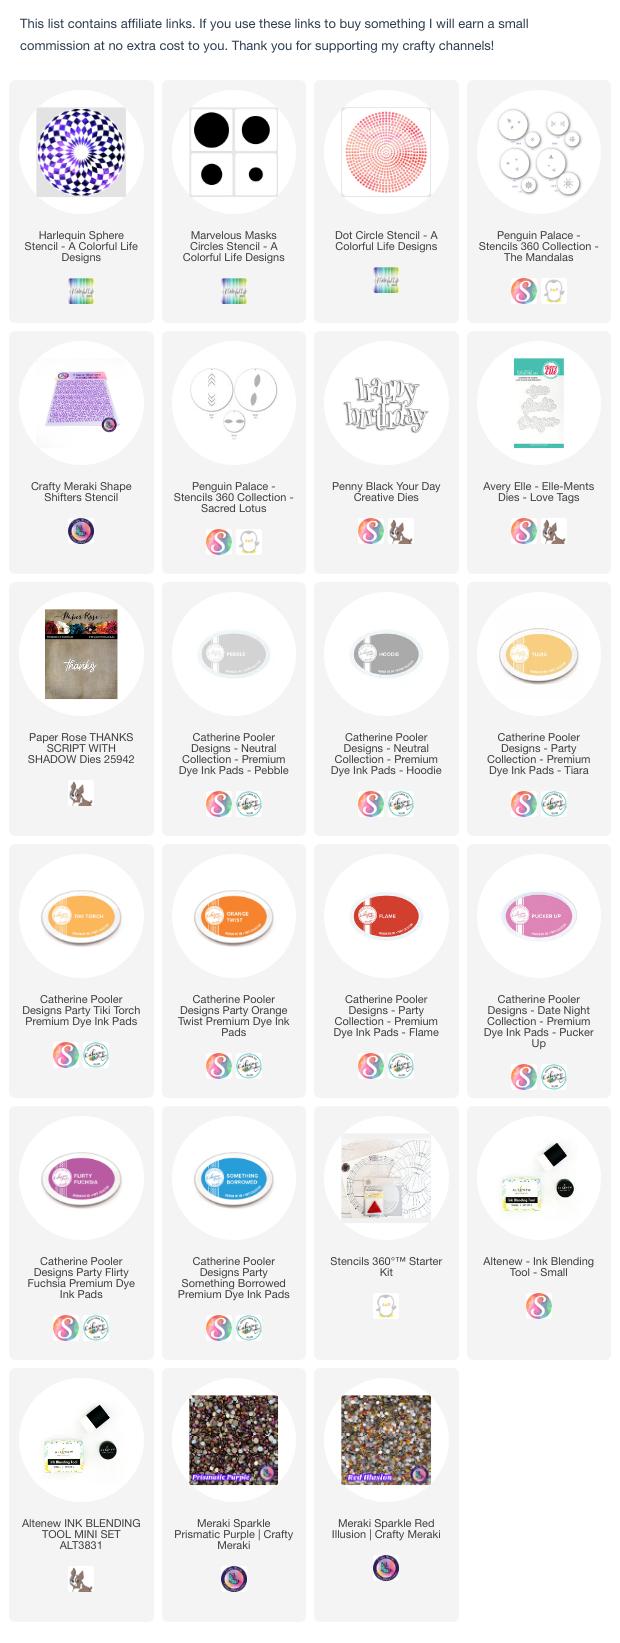
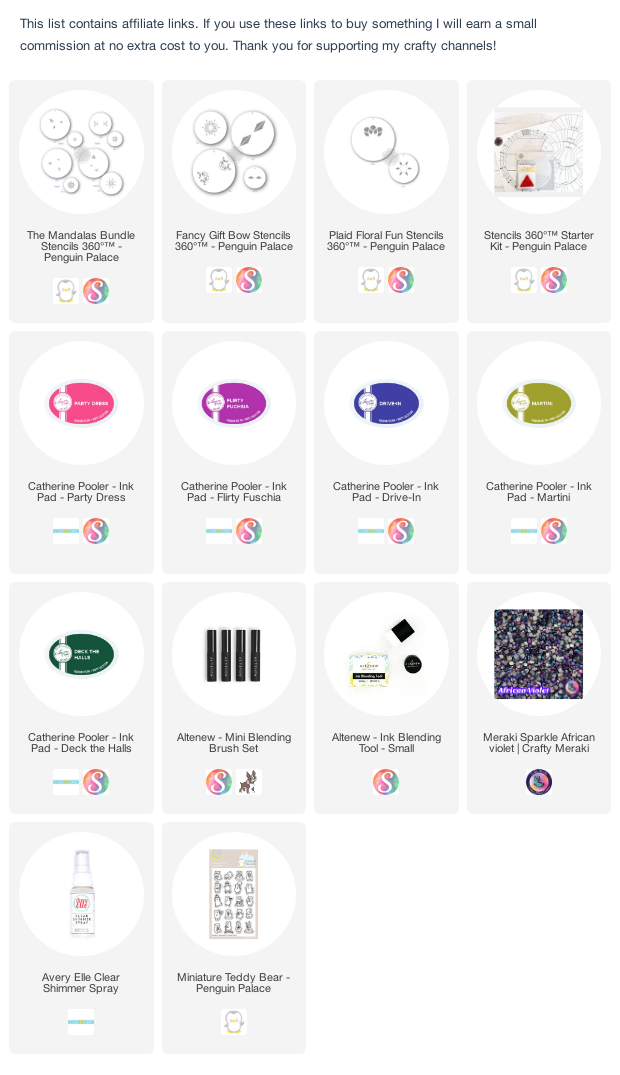
This is the new Stencils 360 friends edition from Penguin Palace Stamps, the little sister to the original stencils 360 and honestly, I've fallen in love all over again. Watch here to see how this smaller, just-for-cardmakers kit works and how it can take you through the whole card making year!
Use TJArdyth10 to get 10% off at Technique Junkies!
I chose this card as my inspiration from the gallery of this week's Splitcoaststampers' Featured Stamper!
LIST: Colours (red, yellow, blue, white, green), Techniques (stencil, die cut, stamping, inkblending) Elements (square pattern multi-colour background, parrot, two pink circles, white sentiment strip with red stamping, stickles)
INCLUDE: yellow, blue, white green, stencil, die cut, ink blending, square pattern multi-colour background, stickles MODIFY: pink instead of red, white die cut sentiment, one pink circle instead of 2 EXCLUDE: parrot SPIN:
I was absolutely intrigued by the colourful, grid background in my inspiration card. I love geometrics and I love ink blending, so I grabbed a stencil and 4 inks and created my background.
I added green to my background since I knew I wouldn't be able to add a green parrot and I cut out a circle from the centre. I added Stardust stickles to all the edges for a bit of sparkle.
I inlaid my pink circle and that solid colour helped to make my die cut birthday sentiment stand out.
Today I'm sharing ways to stretch your stencils and I'm not just talking about spinning, flipping or shifting, either. Let's take a look at 6 NEW ways to get more from these craftroom basics.
Just for fun (they're both out of stock right now, anyway! lol!), let's compare the Stencils 360 tool with the Altenew Stampwheel. How does each one work? How do they differ? Can you use them together? (bonus: I also tried out the Gina K Wreath Builder!)
Today, I'm excited to be introducing you to one of my newest crafty friends, Brennan. He's a talented newcomer on the card making scene and also to YouTube, so I'm excited to introduce you all to him, and show you how 3 of his cards helped me squeeze even more out of LIMES! (you can get a FREE LIMES worksheet here!)
I chose this card as my inspiration from the gallery of this week's Splitcoaststampers' Featured Stamper!
LIST: Colours (pastel aqua, pink, yellow, blue, white), Techniques (inkblending, stamping, die cutting), Elements (pastel/white background, white die cut sentiment, stamped sentiment, large white frame, silver pearls)
INCLUDE:pastel colours, die cutting,
MODIFY: technique (gel plate, stencil 'removal' of ink with water)
white die cut with gray die cut sentiment over top, clear gems instead of pearls, portrait instead of landscape orientation
Look how dreamy this inspiration card is! I think it's colours inkblended and then white stamping over top and it's absolutely gorgeous!
I tried a different technique to get a similar feel - I used my Catherine Pooler inks and my gel press to create a background, and then I spritzed water over a stencil to kind of bleach out the colours in the pattern.
Are you ready to rescue your cards? Today I'm talking about some ink-related cardmaking mistakes, plus one of the biggest crafty mistakes I think a lot of us make. PLUS, my friend Ishani has a whole bunch of creative solutions for even more cardmaking mistakes so whatever is going wrong with your cardmaking, I bet we can help!
Today I'm sharing how I get perfectly layered prints, using lots of my new stencils, to create artistic, mixed-media cards! And if you don't have a gel plate, I've got you covered with an ink-blended alternative!
(DISCOUNT CODE: Use ARDYTH10 for 10% off at A Colorful Life Designs)!When you're finished watching my video, Amy has a video showing how she's using some of her new goodies to make a birthday card for her husband! This is our second collaboration and I'm hoping it will become an annual tradition!
There's a new release at Penguin Palace Stamps this week, and I've been lucky enough to be able to play with some of the new round stencils for the Stencils 360 tool!
This one uses the new Gazania stencil set. I used two of the three stencils in the set (I used the 3rd one a couple of days ago on my snowflake wreath, remember?)
There's a new release at Penguin Palace Stamps this week, and I've been lucky enough to be able to play with some of the new round stencils for the Stencils 360 tool!
Today I used the new Abstract Blossom stencil and I turned it just once, to get this beautiful rainbow burst!
There's a new release at Penguin Palace Stamps this week, and I've been lucky enough to be able to play with some of the new round stencils for the Stencils 360 tool!
I used 2 separate sets for this card - the Flurry Snowflakes (comes with 2 stencils, I used one) and the Gazania (comes with 3 stencils, I used the small one to make the centre).
MODIFY: stencil instead of stamping, 4 squares with circle cut from centre, used more vibrant shades of colour, black sentiment, design element instead of flora/fauna
EXCLUDE: multi-coloured stamping
SPIN: square card, popped up my squares
I love squares and I love grids, and that's what drew me to this pretty card. I also loved the clever idea of not having a square in the 4th space but I wanted to change it up a little, so I used the 4 squares and cut a circle from the centre.
I used an element from a new round stencil from Penguin Palace Stamps. These round stencils are designed to be used in the Stencils 360 tool, but there's no reason why you can't use them like regular square stencils. I blended darker shade of each colour through the stencil.
I temporarily held the 4 squares together and cut a circle from the centre. I popped up the 4 shapes and in the negative I stamped a bold happy birthday sentiment from Avery Elle.
I finished each design with a clear iridescent sequin and a matching gem.
Mediterranean Stencils available for pre-order here (releasing December 5)
2 minute Christmas cards. Impossible? Today I'm sharing 3 quick ideas (PLUS tips for making multiples AND a free printable filled with tips for making cards in a hurry!)
INCLUDE: green, yellow, blue, dots on right side, birthday sentiment with large happy, script 'birthday'
MODIFY: stencil instead of patterned paper, die cut happy,
EXCLUDE: vertical 'divider'
SPIN:
Anytime I see a layout that is divided in half, I immediately think "2 for 1"! I stenciled my confetti into the centre of a 8.5x6" panel of white cardstock, using similar colours to Carol's dots. I like how they fade out to the edge, to give the left half of the card a cleaner look, similar to my inspiration. I edged the panels with a black copic marker for some subtle definition.
I cut my two layered sentiment/shadow once from white and once from black cardstock, to give me two different looks.
I stamped the script birthday with black ink in some of the clear space where the dots fade out toward the edge.
It's time for the 3rd Annual Canada Day Video Hop! We have $1000 in prizes so hop and comment for a chance to win. Some of the sponsors also gave us discount codes to share with you: (video, supply list and full hop list are below discount codes).
Valid July 1st 9:00am EST to July 5th 11:59pm EST on all products, excluding ink and new release items. Cannot be combined with other offers or used towards shipping.
This exclusive offer is valid through July 15, 2022 on any online classes, stamps and dies sets and kits on the Scrapbook & Cards Today website. This offer is not valid on events, subscriptions or the SCT Sampler.
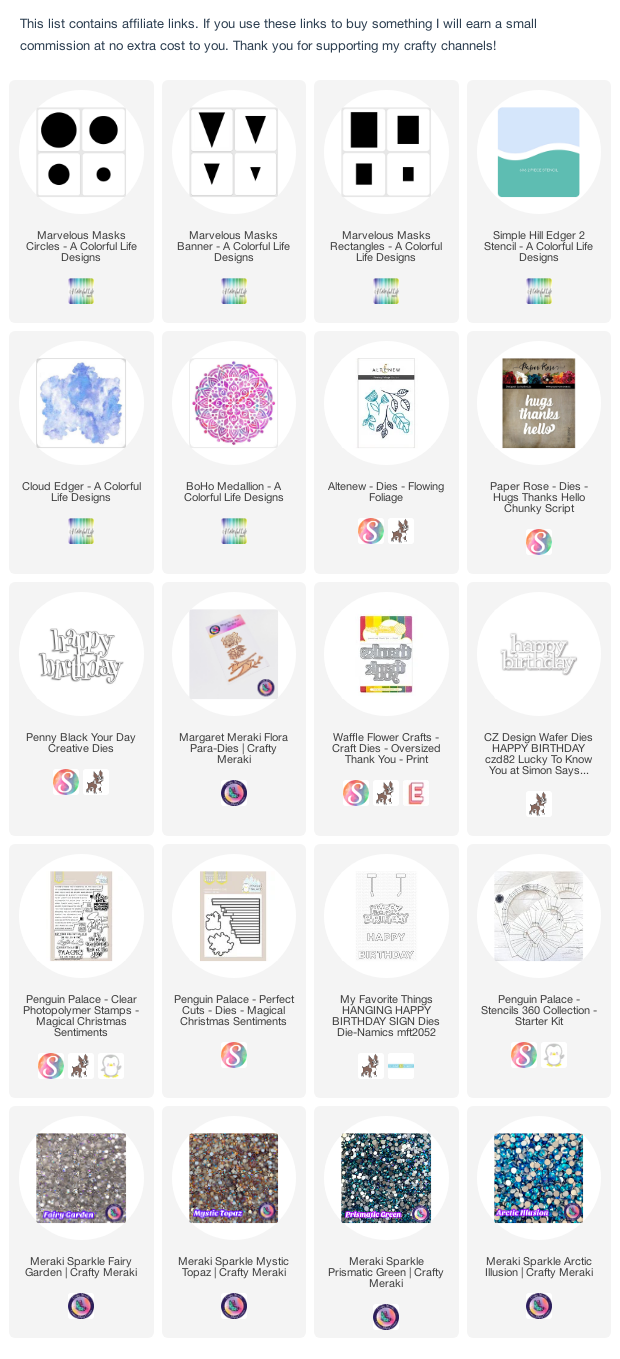
Masking is one of the best little tricks in any card maker's toolkit; it gives the look of dimension without any added layers!
Today, I'm using a special type of permanent, reusable mask and simple shapes to make cards, and when you're done watching my video, you can head to Gerry's channel for 5 more ways to use masking in your card making!