I chose this card as my inspiration from the gallery of this week's Splitcoaststampers' Featured Stamper!
LIST: Colours (black & white), Techniques (die cutting, stamping) Elements negative heart with diagonal strips of patterned paper, embossed dots, black ribbon and bow, stamped sentiment
INCLUDE: black, white, die cutting, stamping,
MODIFY: die cut 'scribble heart' - scribbles are like diagonal strips, gold splatter instead of embossed dots, die cut sentiment on the heart
EXCLUDE: ribbon, bow
SPIN: square card
I don't often make cards in just black and white, but this inspiration really caught my eye. I pulled out an unused heart die and embraced the graphic look of it. I stacked up 3 instead of having a negative die cut, and I splattered gold watercolour on the top layer. I added a simple love die cut sentiment, along with a tiny stamped 'you'.
INCLUDE: pink, white, gold, die cut glitter hearts
MODIFY: valentine to 'love you', used masking and stencilling for background, one big white heart, 5 small gold hearts, added black and yellow/orange
EXCLUDE:
SPIN:
Darlene's inspiration card is full of energy and love. I masked a large heart on my panel and then I blended pinks and one orangey-yellow ink through my illusion Rippled Squares stencil from A Colorful Life Designs. I trimmed it down to follow the ripples and stamped a bold black sentiment before putting it on a black rectangle mat. I added 5 little gold glitter heart die cuts as my embellishments.
I chose this card as my inspiration from the gallery of this week's Splitcoaststampers' Featured Stamper, Amber!
LIST: Colours (white, grey, silver, pink, yellow), Techniques (stenciling, embossing, stamping, colouring, die cutting), Elements (partially stenciled brick wall, stamped outlines, silver embossed panel, sheer ribbon, coloured/cut flowers, one word die cut sentiment)
INCLUDE: white, silver, pink, yellow, embossing, die cutting, flower, basic layout of colourful focal image in the centre of a white card
MODIFY: focal image is colourful, embossed heart with silver frame instead of flowers, background is white on white die cut, square card, moved sentiment onto focal image
EXCLUDE: ribbon, stamping, colouring
SPIN: square card
Amber's simple, clean card with LOTS going on really caught my eye - especially the idea of using the outline stamped image, uncoloured, to create part of the background. So clever!
I needed to make some valentines this week, and I'm on a mission to start using up all the background panels I've created over the years so I started with an old alcohol ink panel with similar colours as my inspiration. I cut a heart from it and embossed it with an embossing folder. I also cut some small flowers from the panel to decorate my 'love' sentiment.
My background is geometric, but not bricks; I used an A2 coverplate die and then trimmed it with a square die, and created a square frame to give it a finished look.
I added a narrow silver frame to my heart for some shine and some gems for sparkle.
Here's another card using new dies from the Suddenly Spring release from Altenew. See yesterday's post for Blog Hop and Giveaway details!
I cut the same die from Decorative Swirls twice from white cardstock, and flipped one over before blending ink on them. Then I embossed them both with an embossing folder.
I love how they kind of hook together to create a heart, and I finished the card off with a partial sentiment from the Slim Sentiments die set.
LIST: colours (teal, green, watermelon, white), big white heat embossed letters, love theme, dry-embossed hearts in the colour-blocked background, sparkly heart, sequins, watercolor, heat embossing (wow, there's a lot going on!)
I blended 3 colours of ink through the Scribbled Hearts stencil, allowing it to fade at the top and bottom. I trimmed the panel with 2 Essential Rectangles dies, to create the cut-out frame, which gives a similar look to a panel on a mat. I used a Posca Paint pen to splatter white over the panel.
I cut Classic Block Alpha letters from silver glitter cardstock and a small 'you' from white cardstock, which I added Serenade ink to.
Good morning! Today is release day at i-crafter! There's lots of fun new products including this mini Hedge Hugs set which pairs PERFECTLY with a prickly sentiment from Positively Plants. Head over to see all the new goodies!
I had some time the other day to make a few cards, get this, just for fun! lol! I re-discovered this Quilting Stitches Background Builder stamp and immediately thought of a number of different ways to use it. I've got a link to my video below, and a close up of each card, listing the other AJVD goodies I used.
Daisy Die Set, Grande Greetings: Celebrate
Delightful Daisy Jr Die Set, Delightful Sentiments
Delightful Daisy Jr Die Set, Delightful Sentiments
Delightful Daisy Jr Die Set, Sentiment Strips 2.0 Die Set, Delightful Sentiments
Swirly Vine Die Set, Delightful Daisy Jr Die Set, Delightful Sentiments
Grande Greetings: Love
Sentiment Strips 2.0 Die Set, Delightful Sentiments
I made this rainbow wreath using a heart stamp from the Essentials by Ellen mini set - It's a Date.
I started by stamping a rainbow of Catherine Pooler inks on the back of the stamp, to get solid hearts.
There are 16 hearts here, but only 8 places in the Gina K Designs Wreath Builder template, so after my first 8 hearts, I moved the stamp in between 2 of the hearts and filled in the wreath with the next 8.
Then I cleaned the back of the stamp, flipped it over and repositioned it on my MISTI door to stamp the outlines with Versafine Onyx ink, a nice crisp black.
My sentiment is from Totally Random Sayings Vol 3 - after a bit of stamp surgery, to make the most of the centre portion of the wreath.
I trimmed the wreath with a circle die and then popped it up over a circle frame of Concord & 9th glitter cardstock (I reserved the centre circle for a future project - no sense leaving it covered by my wreath panel, right?).
Good morning! I've got exciting news to share today! I'm one of the very proud members of a new Inspiration Team for a new company called i-crafter!
Here's a few words from Lynda, the owner:
This is a company backed by years of experience in the crafting industry. Built from the ground up with a lot of blood, sweat and tears {of joy} by people who truly like working with each other.
We will be launching new product at the beginning of each month and together with that, we will feature an inspiring blog hop by our talented Inspiration Team. New ideas and new crafty goodies to start your month off as well as an entire 30ish days of inspiration by the Team.
Because we are so new, you may notice a few glitches here and there. Just know that we are working to make your experience with us as fun and inspiring as possible. We want to build lots of tutorials, videos and ideas into this site so each time you visit there is something new to see and learn.
So here we are and here we go!
Today we're having a blog hop to celebrate the launch and January release so be sure to hop along (information below).
I created 5 different projects featuring the new Zip Gift Tags die set - here's a video to show how I made them:
Be sure to hop to all the blogs and leave a comment, plus leave a comment on the i-crafter post as well. On February 1, one winner will be randomly selected from all commenters who have posted a comment on every blog. This winner will receive a a prize of some brand new i-crafter dies and stamps.
Good morning! Today is release day at Pretty Pink Posh and the first release for 2020 is now available in the shop!
January is also Pretty Pink Posh's anniversary, so starting Monday, January 13, we've got some fun celebrations planned, including giveaways, discount codes, free gifts and a blog hop to show you the newest products, and give you tons of inspiration!
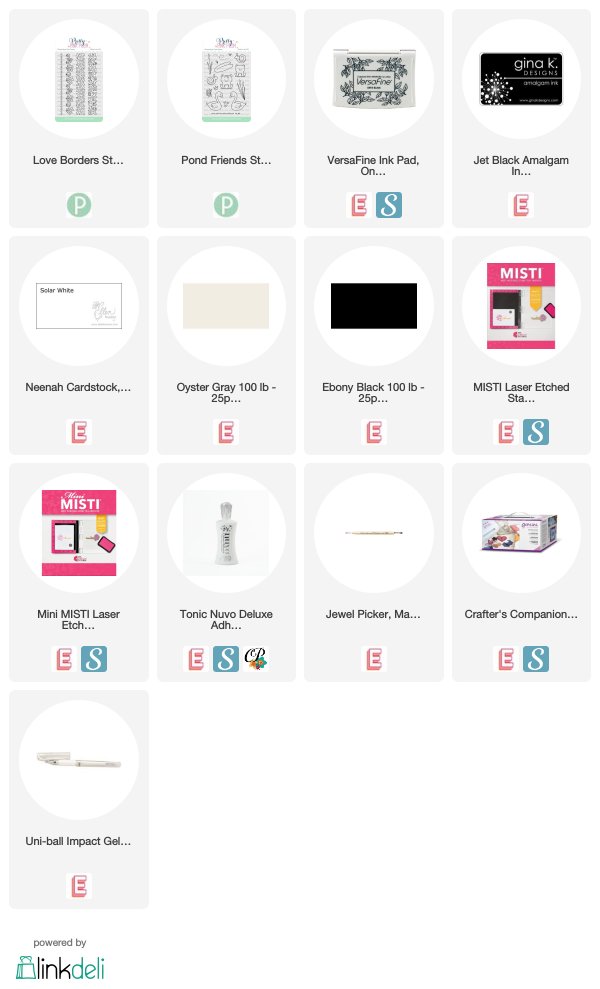
This simple card shows one of the best qualities of photopolymer stamps, especially if they are long and narrow like this row of hearts from Love Borders, and the sentiment from Pond Friends - they can bend!
I started with the row of hearts. I put a panel of white cardstock in my MISTI and then I put a piece of acetate over top. This allowed me to curve that row of hearts the way I wanted it to, and it kind of 'stuck' in place on the acetate while I picked it up with my MISTI door. Then I stamped one row, moved the panel up by 1/4 inch and stamped again, then moved and stamped, moved and stamped until I had 5 rows of hearts.
Then I lined up the sentiment in the same way, so that it curved underneath the curved row of hearts and stamped it with black ink.
Before I coloured the hearts, I went around the left side of each heart with a gray Copic marker to make them look like they are popped up. Then, I chose a rainbow of Copic markers and went from darkest at the bottom to lightest at the top - yes, that means I used 45 different markers on this! I made it easier by starting in the centre and then working out left and right, and colouring the rainbow symmetrically, if you know what I mean.
Finally I added little dots with a white gel pen to look like 'shine' and added some Sparkling Clear Confetti sequins.
Today is the blog hop for Catherine's new Storybook Collection! I'm not officially on the hop, but I have a couple of fun, rainbow cards to show you. (blog hop details below).
I started by stamping the arrangement from Mondo half on and half off each side of a 4.25x5.5 panel of white cardstock, with pale gray ink.
I then coloured selected flowers and the background with Copic markers. I shaded several flowers with gray markers to leave them 'white'.
I used the matching die to cut the flowers out of the panel, and then I used a stitched rectangled die to cut down the remainder of the panel.
I placed the 'remainder' onto a white card base and then popped up the flowers around the edges so that they fit back into the panel, but appear to over hang the edges.
I made this card with the Sparkle Dots Pattern Set 2 stamp set from Pretty Pink Posh. These sets have little outline dots in various shapes, so that you can stamp them and then place some Pretty Pink Posh jewels on the little dots to create a lovely sparkly shape!
There are several of these sets and Sparkle Dots Pattern Set 1 has a heart shape, but my set does not. It does however, have a petal shape, and I used it to create my pink heart.
I started by stamping the full petal of dots on the right, in pale gray ink. Then I flipped the stamp over, and used the back of the stamp and some pale pink ink to create a solid shape around the grey guideline dots. I masked that petal and then stamped the left side - first the grey dots, and then flipped the stamp over and used the back with some darker pink ink.
I put a jewel in each 'guide dot' using a Jewel Picker and liquid glue. I used the Valentine Mix and used lighter jewels on the right side and darker ones on the left.
I finished the focal panel with a sentiment from Cupcake Critters and a little sprinkling of jewels (at least one might be hiding a little pink smudge! LOL!) I created a pink mat by blending the edges with darker pink ink and popped the two panels up with foam tape on a white card base.
I think this could actually work as a card for a new baby, or for anyone who loves pink!
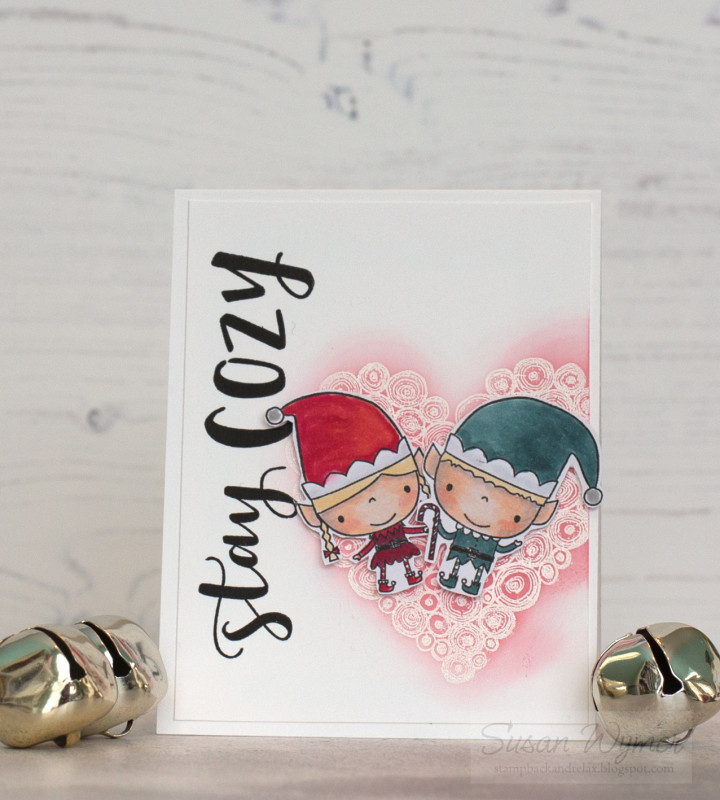
I focused on Susan's:
-blended heart with white element on top
-two 'characters'
-black vertical element on left
-big script sentiment
I changed:
-season/occasion
-layout
-technique (inlaid die cut instead of heat embossing)
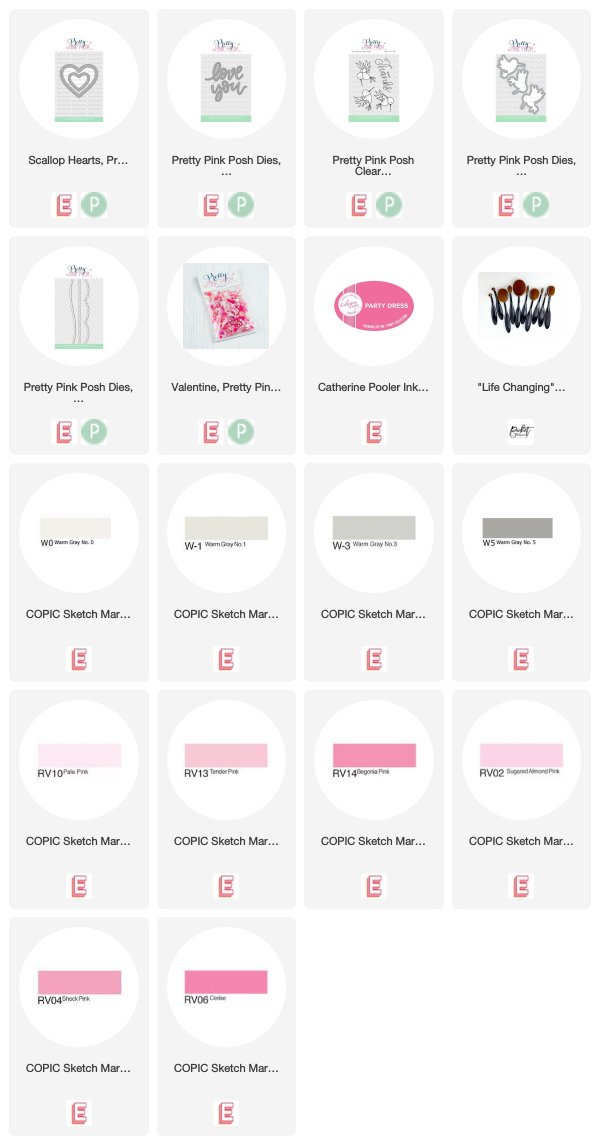
I started by blending Catherine Pooler Party Dress ink, using a Pretty Pink Posh heart die as a stencil. I inlaid the Love You Script die and then stamped, coloured and cut the hummingbirds.
I used a Stitched Scallop border die to create a black edge on the left.