Pages

Showing posts with label baby. Show all posts

Saturday, 27 June 2020

Baby Shower Blog Hop


Today the Ellen Hutson Design Ambassadors are having a surprise baby shower blog hop for Carly, who is heading off on maternity leave very soon!


We had quite a time keeping it all a secret because Carly is the main contact person at Ellen Hutson for all the Ambassadors and she is so good at keeping tabs on us!

I created my card with some of Carly's favourite things:
  • EBE Classic Block Alphabet - stacked up, glossed up and glittered up!
  • aqua (her baby is a boy, so I left out her other favourites - coral and pink!)
  • shaker 
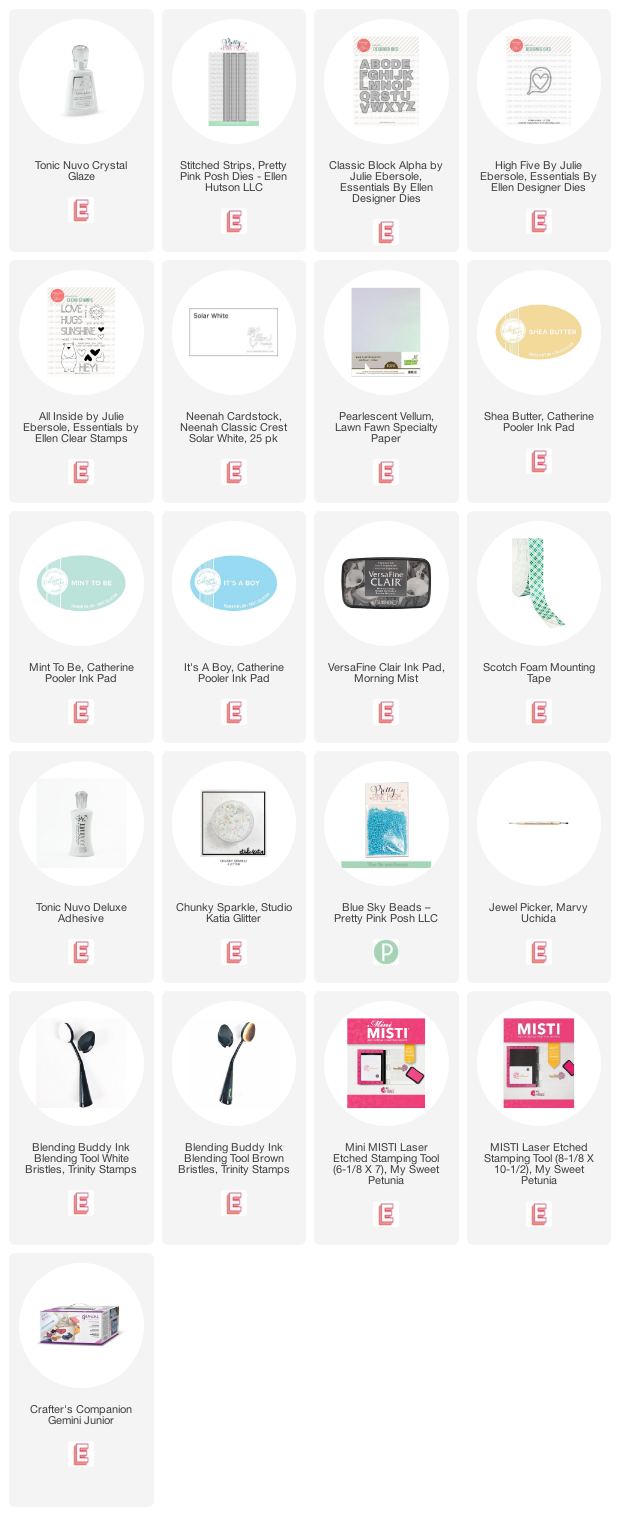
I created my background with the new Pretty Pink Posh Stitched Strips dies by creating a stencil and then blending ink through it, both at the top and then at the bottom of the panel.

I cut the letters for BABY from white cardstock blended with the same inks as well as 3 more times, and stacked them up for lots of dimension. I added Nuvo Crystal Glaze over top and sprinkled some Studio Katia chunky glitter on them. Check out the close up below - I see why Carly loves this look!

Then I thought I would create a little heart-shaped shaker with the heart die from High Five. Unfortunately, I used LawnFawn Pearlescent vellum instead of acetate. The vellum is gorgeous and shimmery, but a little more opaque than I had anticipated, so you really can't see the Pretty Pink Posh seed beads inside! 

So I came up with a Plan B - I ran a bead of glue around the heart cut-out and added the seed beads to create a kind of frame.

Happy Baby Shower, Carly! I hope we managed to surprise you, even if it was earlier in the week! lol!


Thursday, 26 March 2020

Oh, baby, baby! (Card for twins!)

click here for my 30 Days Colouring post.


Good morning! Today the Ellen Hutson Design Ambassadors are having a little Sprinkle for our teammate, Emily, who is expecting twin boys soon! (you can see the rest of the team's cards on Ellen's blog here).

A Sprinkle is a toned-down baby shower for second babies. Or, in this case, 3rd and 4th babies, since Emily already has twins at home!

Congratulations and best wishes to Emily and her family!

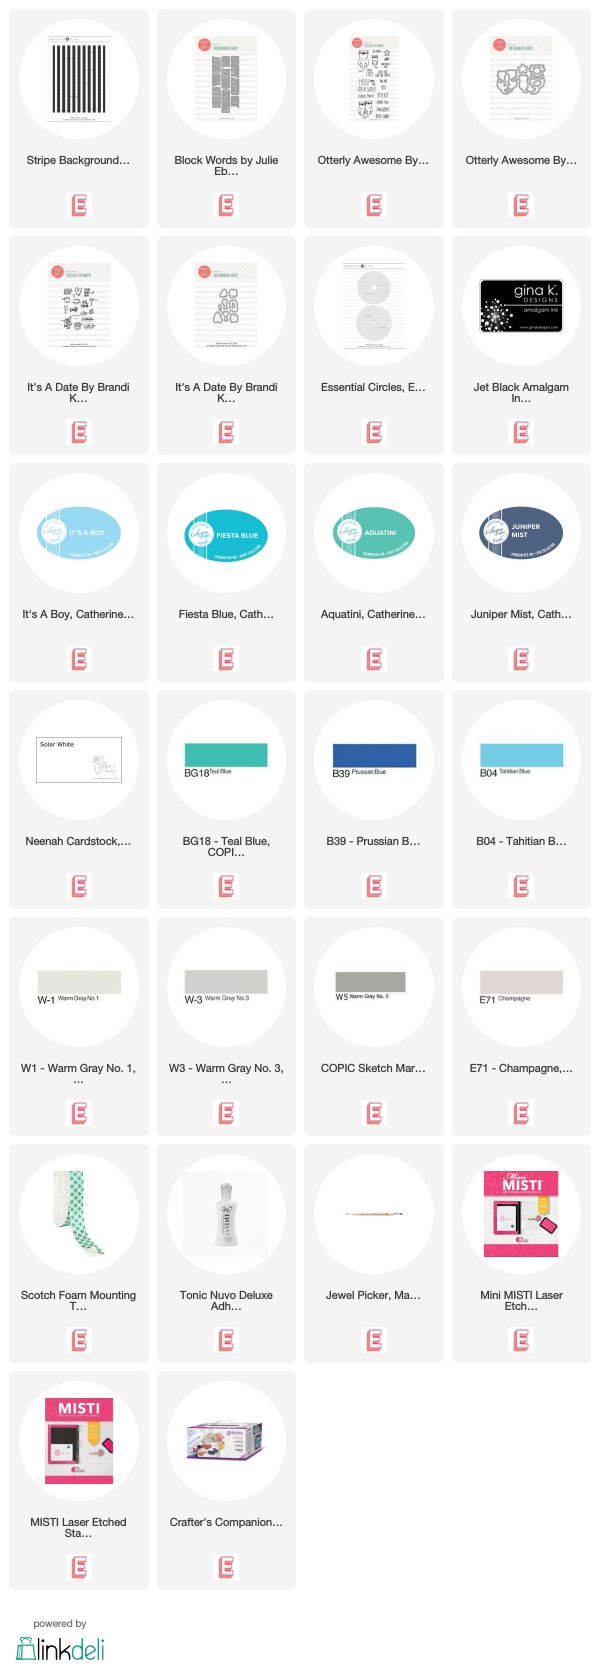
To make my card, I used the new Stripe Background stamp to create a plaid panel with Juniper Mist and Aquatini ink. Then I blended Juniper Mist, Fiesta Blue and It's a Boy over top to create a more tone on tone look.

I cut a circle using one of the new Essential Circles dies and turned it 90 degrees so that the plaid is going the other way. I blended Juniper Mist ink around the edges.

For my sentiment, I used letters from words from the Block Words die set. To save me having to line them up, I glued them down in a bouncy way on purpose!

And finally, I added some little otters from Otterly Awesome, holding some hearts from It's a Date.


Friday, 20 March 2020

Three Rainbow Cards using *new* Pretty Pink Posh!


Good morning! It's release day at Pretty Pink Posh and we've got lots of fun new goodies to share with you!


I used the new Baby Script die plus one of the Eyelet Borders dies and a solid heart stamp and co-ordinating die for this one.


This card features stamps and dies from the new Spring Days set. I created a frame with the the Easter egg border stamp and coordinating die and then added stripes to the square bunny image to colour-coordinate! (yes, you get a square die and a stitched scallop square die with this set!)


Finally, I used another of the Eyelet Border dies to create this 'rainbow'! The sentiment is from Ladybug Friends, which is also included in this release!

Monday, 6 May 2019

Congrats!


Today I have a pretty baby card using some new goodies from Pretty Pink Posh.

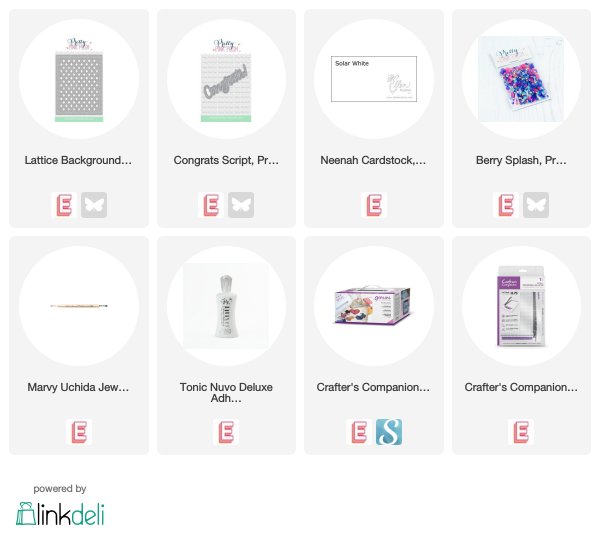
I started by cutting the Lattice die from white cardstock. When I ran it through my Gemini Jr, every single one of those diamonds simply fell right out of the die cut - no fuss at all!

I used my paper trimmer to remove 3 diagonal rows from the centre of the die and then adhered the two sides to a white cardbase.

I cut the new Congrats Script die 3 times from black cardstock and 1 time from silver sparkle cardstock, and stacked them all up using liquid glue, before gluing it to the cardbase.

Then I simply filled in some of the lattice with white diamonds, and some with a mix of gems from the new Berry Burst Jewel Mix.


Friday, 3 May 2019

Pretty Pink Posh April Release Blog Hop - Day 2


Welcome to Day 2 of the Pretty Pink Posh April Release Blog Hop! (details below)


I created 6 cards using the new Wide Stripes Stencil in different ways to create backgrounds so that I could feature as many of the new products as possible.

Let me know in the comments below which one is your favourite! (and commenting gives you a chance to win, as well!)

Here's a video:


Be sure to hop along to all the stops, and leave a comment for a chance to win!
There are 4 $25 gift certificates up for grabs (two winners each day). Winners will be picked randomly along the blog hop. Comments must be left by 11:59 PM PST on 5/8/2019. Winners will be announced on the PPP blog.


Monday, 25 February 2019

You're So Sweet


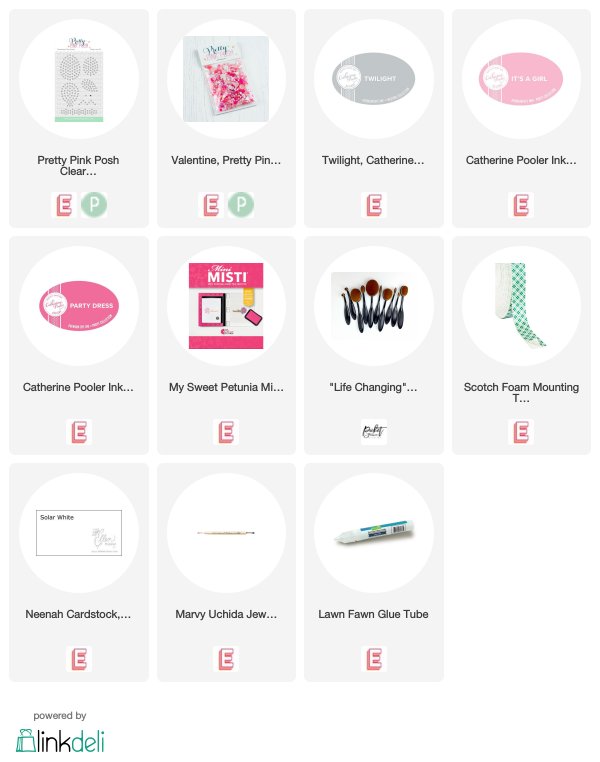
I made this card with the Sparkle Dots Pattern Set 2 stamp set from Pretty Pink Posh. These sets have little outline dots in various shapes, so that you can stamp them and then place some Pretty Pink Posh jewels on the little dots to create a lovely sparkly shape!

There are several of these sets and Sparkle Dots Pattern Set 1 has a heart shape, but my set does not. It does however, have a petal shape, and I used it to create my pink heart.

I started by stamping the full petal of dots on the right, in pale gray ink. Then I flipped the stamp over, and used the back of the stamp and some pale pink ink to create a solid shape around the grey guideline dots. I masked that petal and then stamped the left side - first the grey dots, and then flipped the stamp over and used the back with some darker pink ink.

I put a jewel in each 'guide dot' using a Jewel Picker and liquid glue. I used the Valentine Mix and used lighter jewels on the right side and darker ones on the left.

I finished the focal panel with a sentiment from Cupcake Critters and a little sprinkling of jewels (at least one might be hiding a little pink smudge! LOL!) I created a pink mat by blending the edges with darker pink ink and popped the two panels up with foam tape on a white card base.

I think this could actually work as a card for a new baby, or for anyone who loves pink!

I used:

Thursday, 10 May 2018

Friday, 9 February 2018

Concord & 9th February Release - Everyday Bundle


Good morning! I'm delighted to be one of the Guest Designers for Concord & 9th's February release.

Each Friday, we will be focusing on a number of products from the release as part of the Feature Friday posts.

Today's focus is the Everyday Bundle which includes the Tintables Card pack, Everyday Greetings stamp set and Everyday Circles dies.

As you can see, I had a lot of fun with this bundle - as I started each card, an idea for the next would come to me - I finally had to stop and do some laundry! lol!

The Tintables cards are new to me and really amazing - there is a pattern on the cardstock that resists watercolour, so you can quickly create a background in whatever colours you want.

Everyday Greetings is a bunch of sentiments in a block font that will provide a graphic feel to your projects.

Everyday Circles is so much fun - you can mix and match the various dies as I did above.

Here's a quick video:


I used:

Monday, 8 January 2018

CTS253 - Oh So Sweet


I have a sweet new baby card for this week's CAS(E) This Sketch challenge, using some of the latest Essentials by Ellen products.


I started by stamping the papa-bear and then masking him, masking a horizon and blending a sky with Distress Ink. I stamped and die-cut the mama and baby bears, and coloured all 3 with copics.

I'm also linking up to Ellen's Mix it Up Challenge with Concord & 9th.

BONUS: Play along with Muse this week for a chance to win this set!

I used:

Sunday, 2 July 2017

FS543 - Happy 100 Days


Congratulations to kraftyaunt who is this week's Splitcoaststampers Featured Stamper. I chose this card  as my inspiration:


I focused on:
-big, popped up flower flocal point
-pink colour scheme
-patterned background

I changed:
-layout and shape
-theme
-techniques
-no ribbon

I was asked to make a 100 Days card for my friend's niece. Celebrating 100 days of a baby's life is an old Chinese tradition, but I made a modern-looking card. I used the same happy colour combination as yesterday's cards - perfect for a baby girl.

I started with an old The Crafter's Workshop stencil from my stash and distress inks. I blended ink on another panel for the flower and flower centre. I cut a banner and stamped my sentiment, using a portion of a 'holidays' stamp for the word 'days'. I curved the sentiments to fit the curve of the banner. The sequins I used are from Neat & Tangled (you know how they put a little 'thank you' pack in with your order?) but I've linked similar colours below.

I used:


Saturday, 25 March 2017

Welcome Baby Croghan


Today is a very special day! Lori Turner is hosting a Blog hop for Baby Croghan.


Baby's mom, Lesley is a fellow-Canadian and friend of mine through this wonderful stamping community. We can't wait for the happy day!

I used 2 Lawnfawn sets to make this sweet card: Happy, Happy, Happy andLittle Bundle. I coloured with Copics and some Stickles for sparkle.

Congratulations, Lesley! Can't wait for the big day!


Tuesday, 1 November 2016

CASology 222 - Welcome


This week's CASology Cue Card is Welcome!


I decided to make my sentiment also act as my focal point. I used two alphabets to create a sentiment with lots of colour and contrasting fonts for interest.

For 'welcome', I started stamping in the centre of the panel and worked my way out. I still had to trim it a bit to even it up. For 'baby', I started with the y and worked my way backwards.

I used:
-LawnFawn Owen's ABCs
-Concord & 9th Perfectly Penned

Now it's your turn! Be sure to check out the DT blogs for more inspiration:

Monday, 18 April 2016

The Challenge #69 - Thank You


The Challenge has a rainbow inspiration this week.


Kate's piano teacher is expecting a baby soon and asked me to make her a set of thank-you cards. I was inspired by this card (although using washi tape made mine much easier!)

I used:
-WaffleFlower Cloud Dies
-unknown sentiment
-Doodlebug Washi Tape
-Stardust stickles