Welcome to this week's LIMES inspiration post!
I chose this card as my inspiration from the gallery of this week's Splitcoaststampers' Featured Stamper!
LIST: Colours (plum, red, blue, yellow, burgundy), Techniques (stamping, colouring, fussy cutting, layering) Elements (layered mandala on square, border panel, subtle background pattern, no sentiment, gems)Earlier this week, I talked about 'forgetting' to use my background stamps and my markers, so I combined these two to create this card, inspired by a very pretty mandala.
This retired Catherine Pooler mandala stamp is one of my old favourites and you can get so many different looks with it.
I stamped it on 3 pieces of white cardstock, then trimmed them into various circles (the fourth, smallest circle, I cut from the centre of the largest circle) I used my ink pads for the first layer of colour on each one, then added shading and variation with my Copic markers.
I stacked each layer with two pieces of white cardstock for lots of dimension. It was harder than I thought since this mandala is hand drawn and not perfectly symmetrical! I then added gems and some details with a white gel pen. For a flatter look, you could cut all the circles from one piece of stamped cardstock, and inlay them back in once they're coloured. Or, you could mask while you colour each ring.
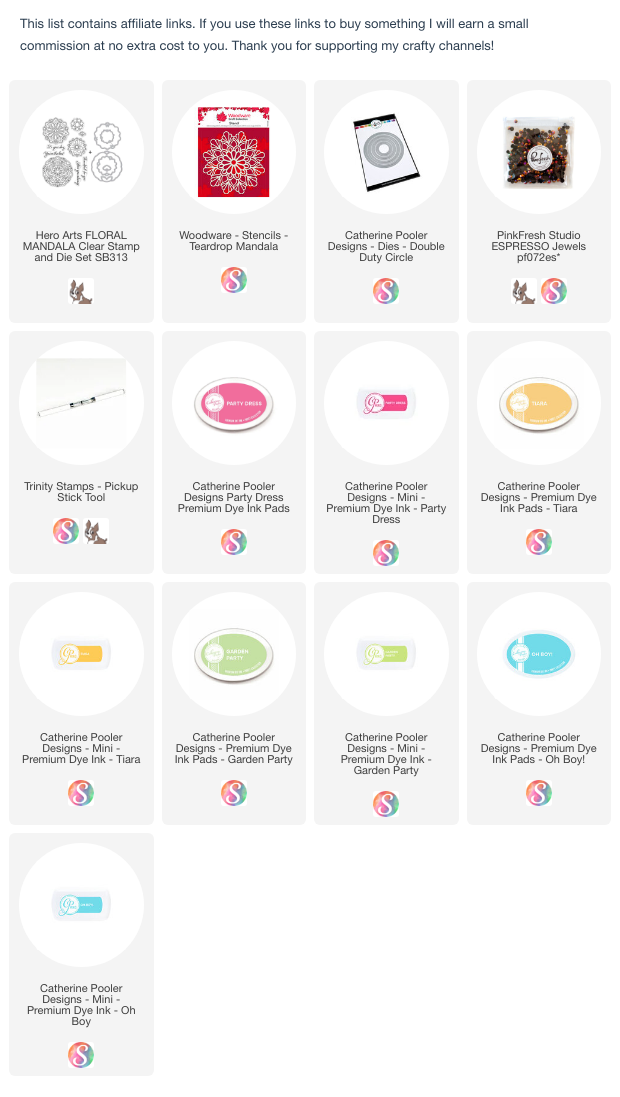
This stamp is retired, so I've listed a couple of other options. If you have a mandala stencil, you could outline each area with black marker then colour it in for a similar look.


Love this colourful result Ardyth - as the only mandala images i have are digital ones, I think I would go with cutting and re-inserting from the one print... A fine black line around the edge of each circle die cut could add some visual 'division' between the inserted layers.
ReplyDeleteBlessings
Maxine