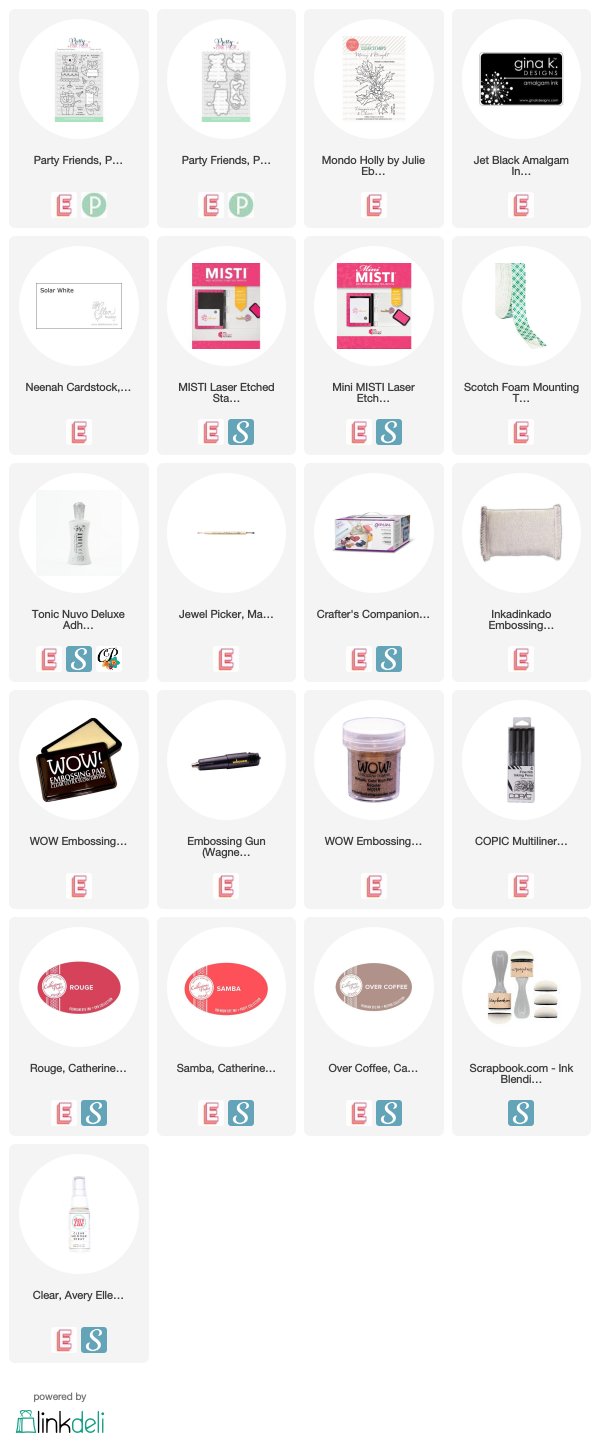
Today's video is a real mishmash of techniques including a surprise 2 for 1 technique that I wasn't expecting but gave me a couple of really fun cards.
This video is part of a video hop to celebrate the July release from Alex Syberia, so head over to YouTube, hop and comment for a chance to win!
I chose this card as my inspiration from the gallery of this week's Splitcoaststampers' Featured Stamper!
LIST: Colours (Red, yellow, gray, blue, silver), Elements (red card base, partial panel of dotty circles, with silver strip, lots of bling, rectangle matted sentiment, New Year's theme)
INCLUDE: red, yellow, blue, bling, New Year theme
MODIFY: full panel of dots, black instead of gray, black card base,
EXCLUDE: silver strip, matted sentiment
SPIN:
I love the use of simple shapes to convey a feeling, and these concentric dots have so much energy with their colours and bling - perfect for a New Year's Celebration!
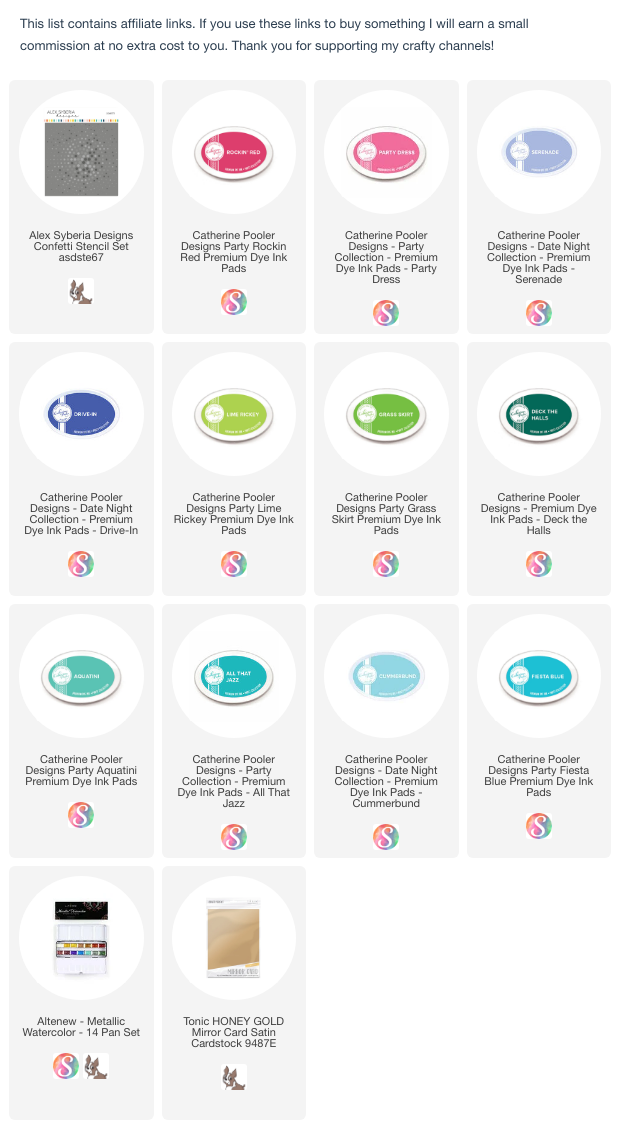
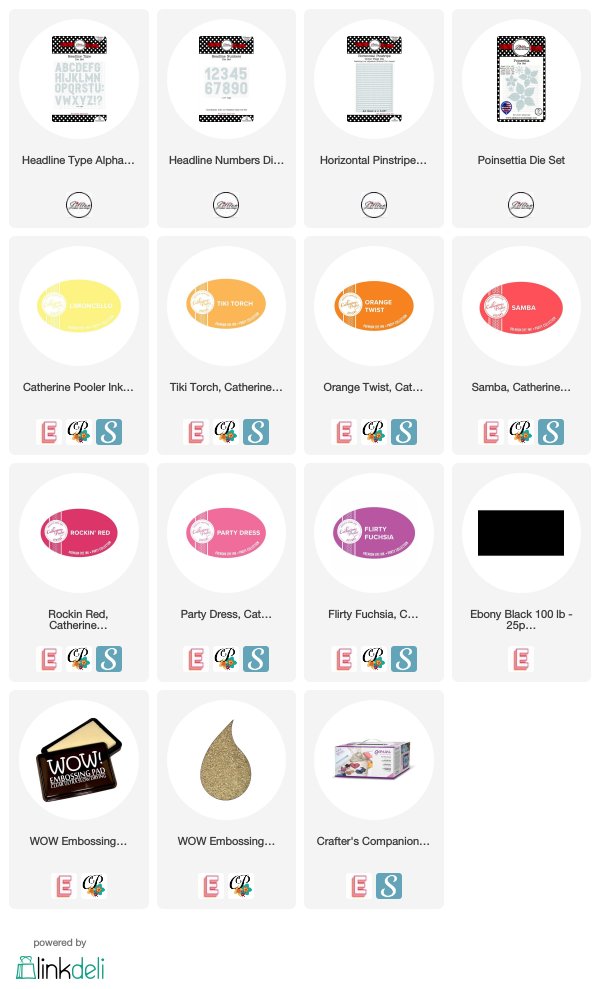
I used one of my 'new in 22 but not used' stencils from Catherine Pooler - this is one of those classic designs that you can get so much out of by changing colours, positioning, techniques!
I used red (well dark pink), yellow and blue, but mixed my colours to get a full rainbow of colour in my radiating dots.
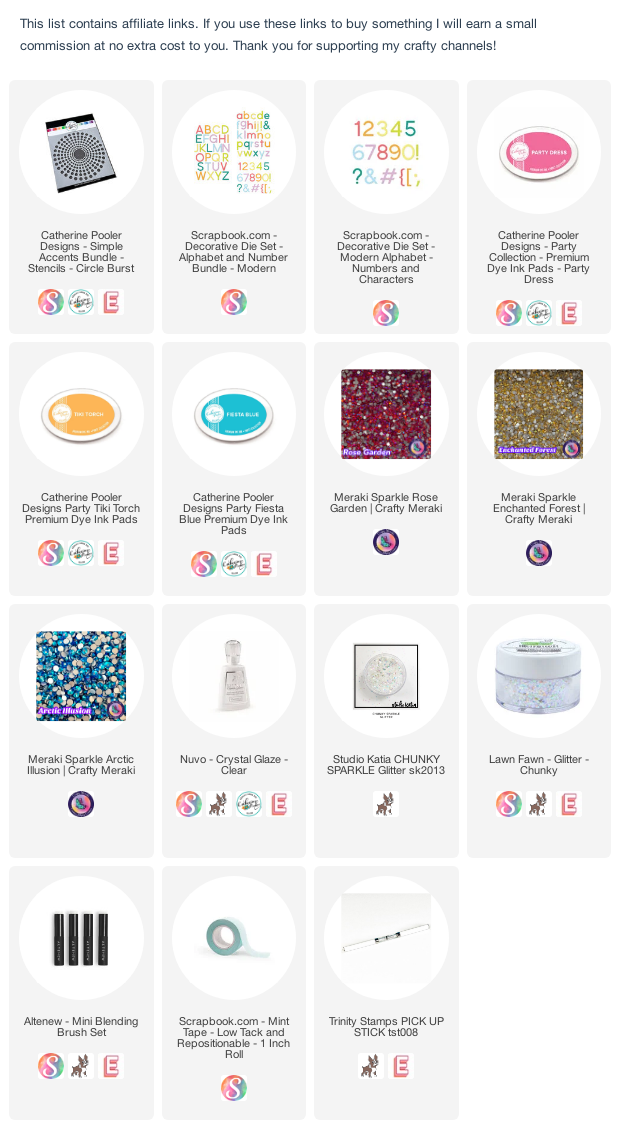
My numbers are 3 layers of black cardstock, coated with Crystal Glaze and some chunky iridescent glitter - this adds shine, sparkle and a real feeling of celebration!
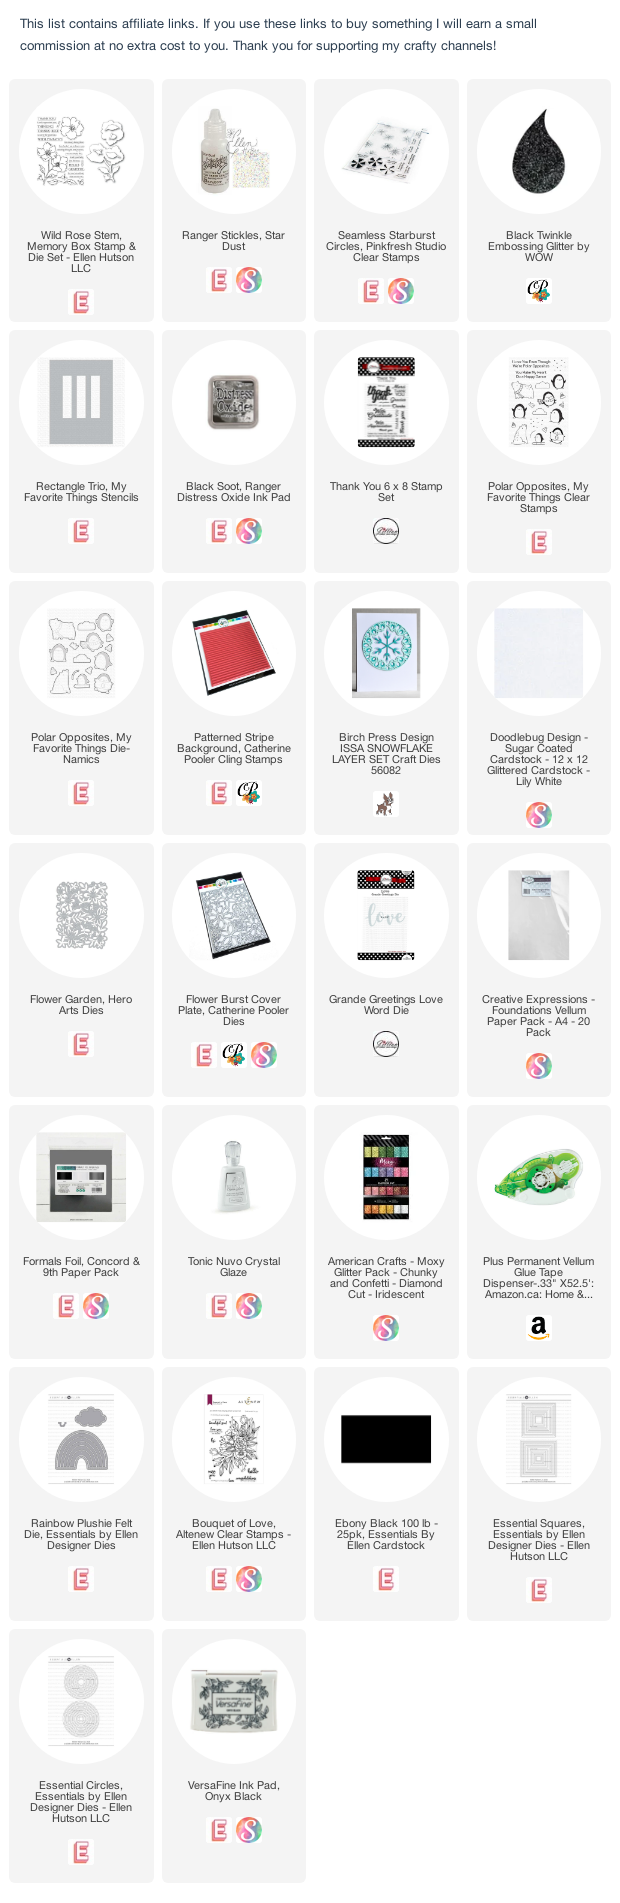
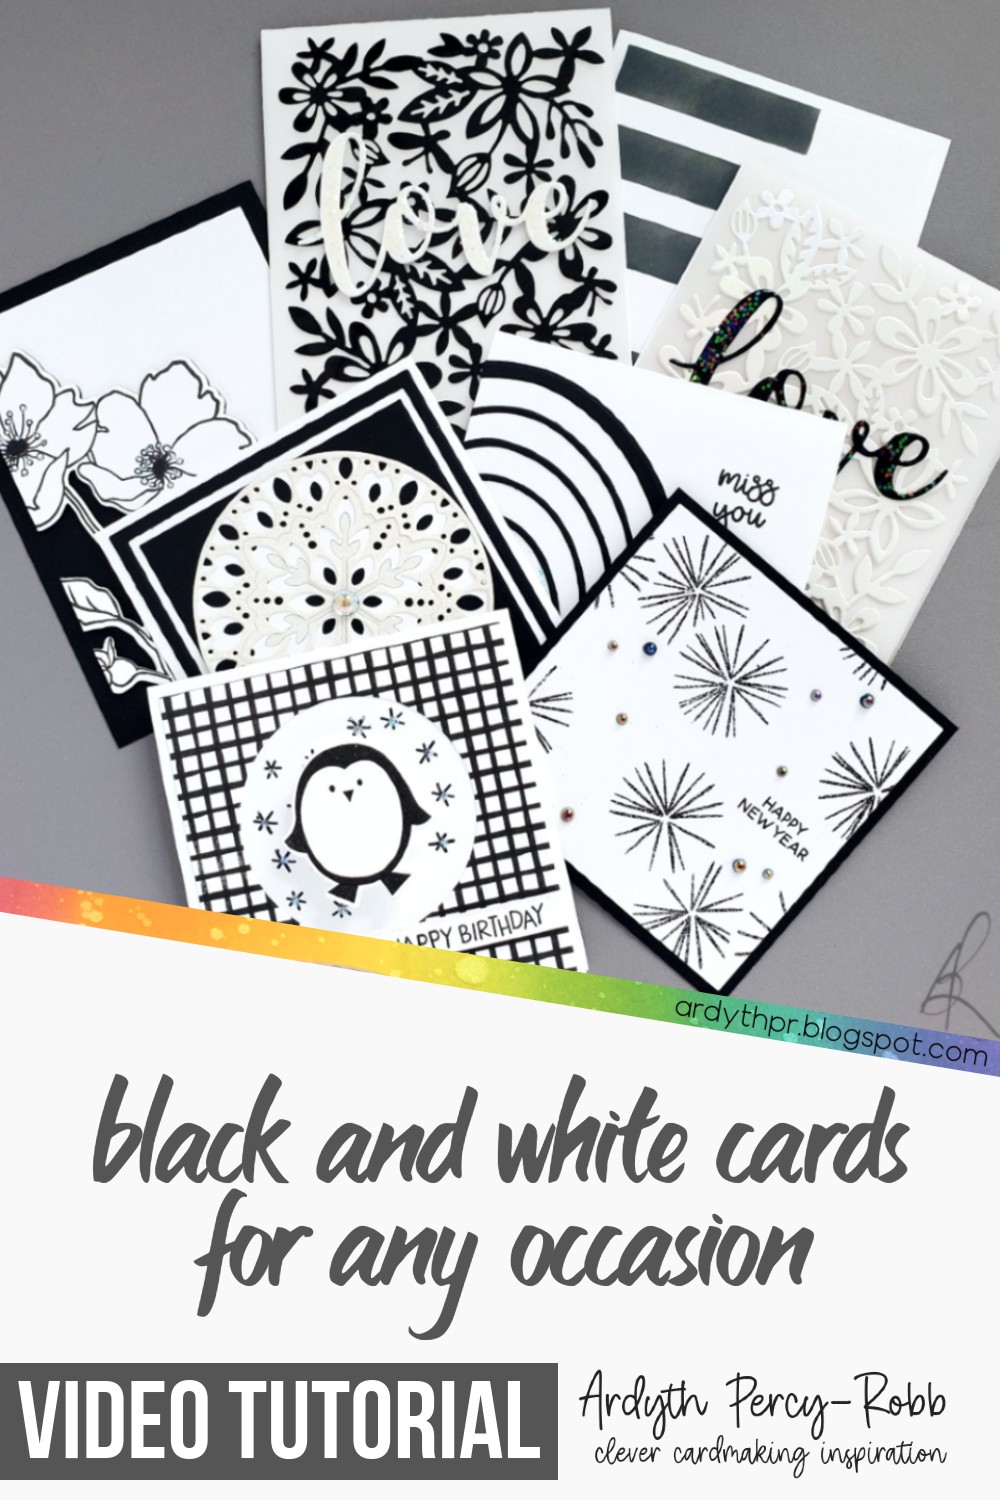
Today's video is all about using black and white to make high-impact cards for any occasion! I explored different techniques and supplies to add lots of visual interest!
And after watching, if you're craving colour, you can head to Inkhill Revival, where Kerri is showing unexpected and exciting ways to add colour to your cards!
Remember last week's video about customizing stamped images? It included this card with 2 mice holding a present.
I made two easy changes to the image to create a Lunar New Year's card to celebrate Saturday's arrival of the Year of the Rat.
I made the sign into a lucky money envelope. And I thickened the tails to look more like rats.
I embossed a gold heart on the envelope and I popped the image up on a panel of white cardstock that had been blended with 2 colours of red ink and one shade of brown for depth. I also spritzed the background with Avery Elle Clear Shimmer spray.
Tonight's the big night! Time to get ready for 2020!
I thought it would be fun to use these Happy New Year stamps from Pretty Pink Posh, differently from how they look in the package.
This did involve some stamp surgery (where I cut stamps apart), but you could also use masking if you're not into surgery!
I started with the double-glass image and snipped between the two classes. Then I used my MISTI to stamp a row of evenly-spaced glasses with bubbles over top.
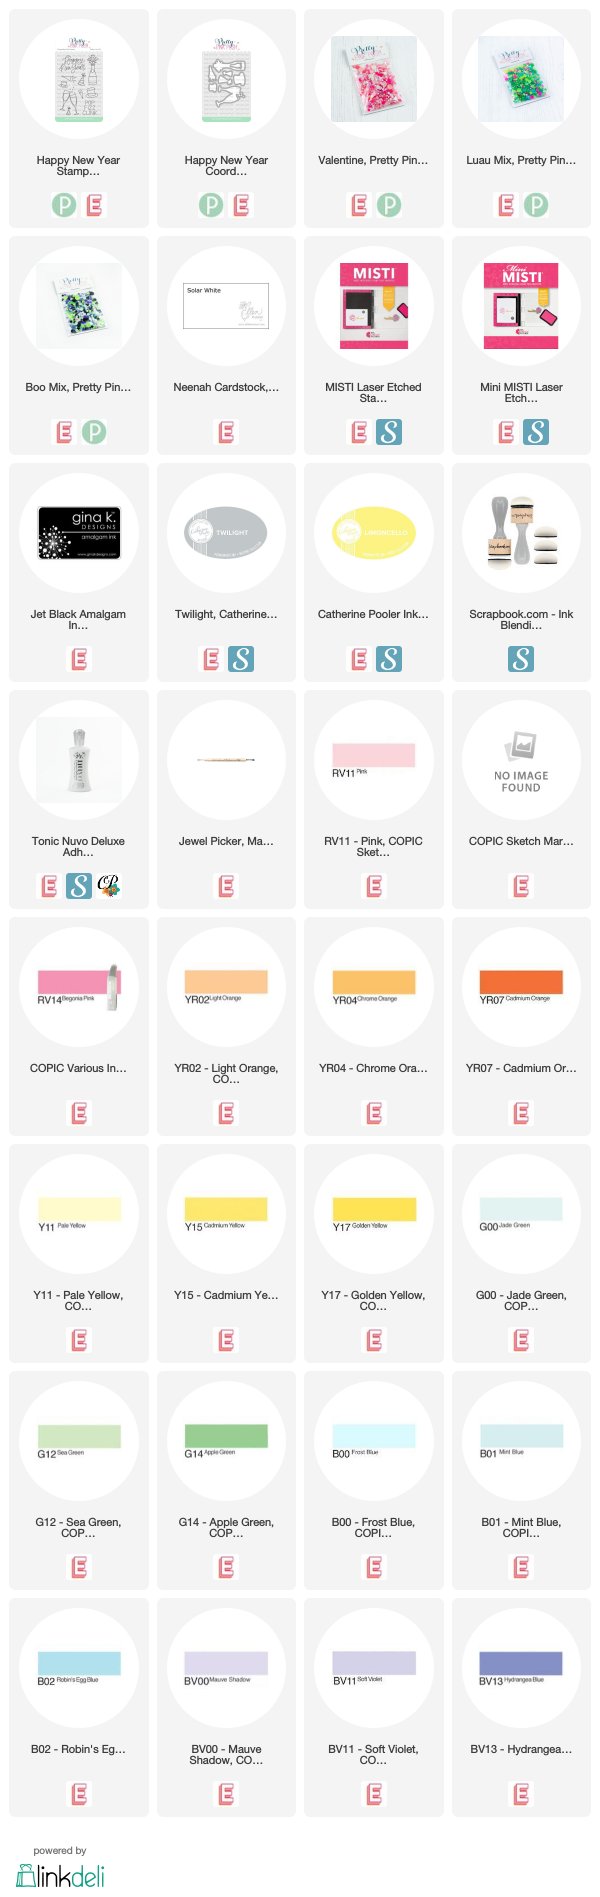
I coloured the 'champagne' with a rainbow of Copic markers and then cut 6 masks for the glasses. I created a 'table-top' by adding a horizontal mask across the panel, and then blending gray ink below the glasses. Then I moved the horizontal mask and added a glow with yellow ink above that table-top line.
The sentiment was cut apart for a horizontal orientation and stamped with my MISTI.
Finally, I added some additional bubbles to the very top of the panel by turning the same glass stamp upside down and just stamping the bubbles along the top using my MISTI again for even spacing.
I coloured the bubbles with the same Copic markers and then hunted through my collection of PPP jewels to add some sparkle by gluing a few of them over top of some of the stamped bubbles. I've listed the mixes below.
It's almost New Year's, a perfect time for toasting, so I made a Happy New Year card. I used Papertrey's Keep It Simple: New Year and Neat & Tangled's Starburst die. These 'fireworks' add interest but no clutter to my clean white background.
Now it's your turn - I think this one's going to be especially fun! We can't wait to see what you come up with!
Be sure to check out the DT blogs for more inspiration:
As you can imagine, I've got all my Paper Smooches stamps and dies close at hand this month as I make cards for my stint as October Guest Designer. So it was easy (don't look in my recycling bin!) for me to come up with a card to play along with the current Sparks challenge photo:
I combined a partial sentiment from Holiday Cheer with the fireworks from Metropolis. I added some Stardust Stickles, and layered up a couple of pierced squares from MFT to finish it off.
Inlaid die cuts are a popular trend right now, and I thought that they would be a simple, subtle way to add a date to my very simple New Year card.
I started by stamping the Papertrey sentiment in Versafine Onyx. I then lined up the Memory Box number dies on my graph paper before laying a strip of repositionable tape across their backs (this makes proper positioning so much easier!). I cut them out of the stamped panel and then laid them back in.
Now it's your turn!
Before you go, don't forget to check out all the other DT Members for more inspiration - and be sure to stop by our two newest members - Kymona and Hazel - to say welcome! We've got a sponsor this week, too - Cindy B Designs; be sure to check out CASology for all the details!
Tomorrow is Lunar (Chinese) New Year and the beginning of the year of the Horse. I'm well prepared for this occasion, with a whole drawerful of horse stamps!
Red and gold are lucky colours in Chinese design. I embossed my Deadbeat Designs abstract horse and (awesome!) sentiment in gold on red mirror cardstock. I used an embossing buddy to ensure minimal stray embossing powder. I had to 'buff' the panel to get the extra embossing buddy-stuff off after, but I'm pretty happy with my first try at embossing on mirror card! I made the cardbase out of red mirror card.