
Tuesday, 30 March 2021
10K Hop Celebration

Sunday, 28 March 2021
Rainbow Daisy Thank You
Congratulations to this week's Featured Stamper, Francine!
I chose this card as my inspiration:
LIST: Rainbow 'plaid', b&w floral image, script sentiment, square card, colourful dots, wide white border around the focal areaINCLUDE: plaid, rainbow, b&w floral, square card, white border, placement of sentiment
MODIFY: simplified background from 3x3 to 2x2, simplified flower die cut (and no stamping).
EXCLUDE: coloured dots
SPIN: popped up, die cut background
This is a very simple card. And it took 5 attempts before I was happy with it! lol! Here's my progression:
When you're casing someone there are lots of strategies for getting a similar look and I think I went through them all before I landed on 'minimize'.
Instead of a 3x3 plaid element, I focused on the 4 colours in the corners of Francine's background and made a smaller 2x2 focal area. I popped up the colourful squares on the white card base for some dimension.
I grabbed a very small AJVD Daisy die and glued it onto the squares.
Thursday, 25 March 2021
Isolation in Card Design
Tuesday, 23 March 2021
Geo-Fun
Sometimes, you just have to have a little fun. And that's what this card is. I am trying so hard not to buy a lot of new goodies, and focus on using what I have, but this geometric stamp set from Birch Press Design screamed my name and I bought it.
I wish it was a full A2 background, since slimline cards (which this is designed for) are not my favourite (gasp! Yes, it's true!) but I made it work!
I stamped the pattern on a piece of white cardstock with black ink, then masked off various portions and blended ink onto it, making sure that there was some 'pure' colour and some overlapped colour.
Then I re-stamped the outline, this time with WOW! Embossing ink, and I embossed it 3 times with Brass embossing powder for a really dimensional stained glass look.
It felt a little flat, so I blended more ink into each shape (masking each shape as I went). I used even more colours, and this really brought the panel to life.
I stamped and embossed the pattern twice on a white cardbase - here's a secret - there's a 'bald patch' down the centre of the card that's hidden by my coloured panel!

Sunday, 21 March 2021
Friends with Bookmark
Congratulations to this week's Featured Stamper, Sandy (stampingwriter).
I chose this card as my inspiration:
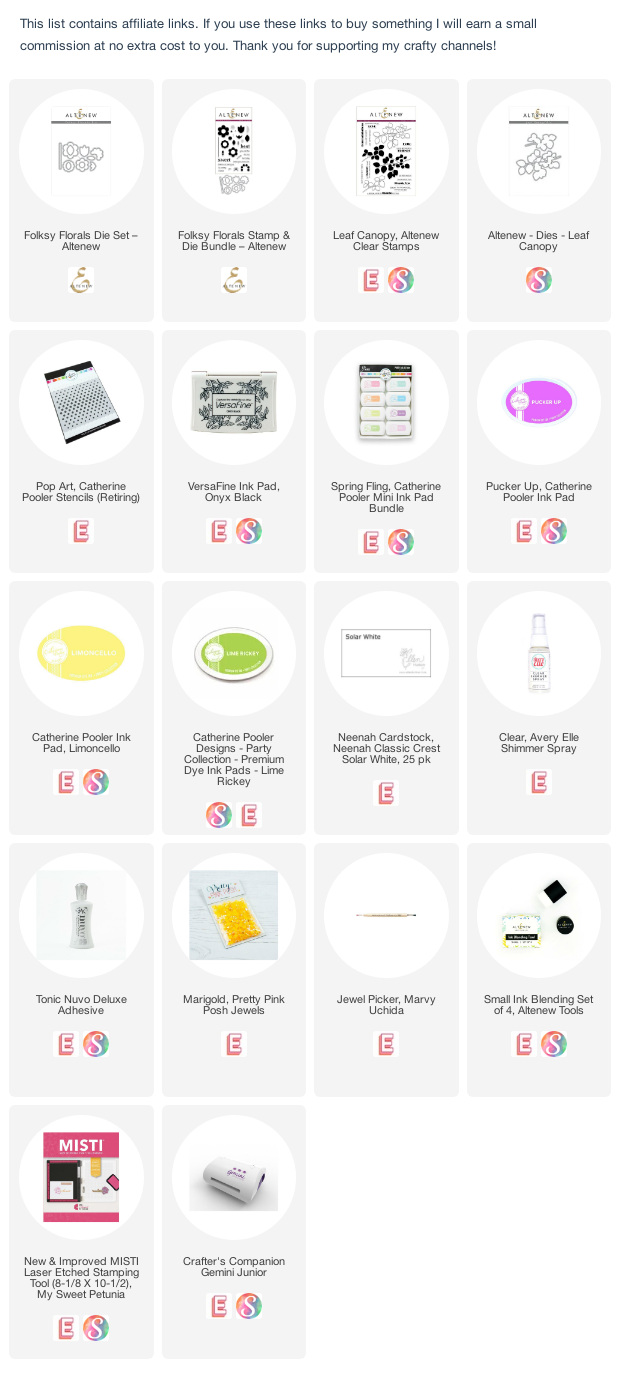
LIST: flower, leaves, pocket, tag (on and off card), pastel colours (peach, lilac, pink, green, blue), diagonal element, dots
INCLUDE: pink flower, green leaves, bookmark/tag element, pastel colours, dots
MODIFY: dots are stencilled, not patterned paper; flower is die cut; bookmark attaches differently
EXCLUDE: diagonal pocket
SPIN: faux 'shaker' in the flower centre
This card shows more use of negative and positive die cuts (if you haven't seen my latest YouTube video about this, click here).
I used stacked up die cuts on the card itself to help hold the detachable bookmark in place. You can carefully remove the bookmark (and put it back on) without having to use any kind of adhesive!
And although I wanted the bookmark to play the part of 'white space' on my card, I didn't want it to be boring on its own, so I put colour on the reverse at the same time as adding colour to the main focal panel.
I cut two panels - one 4x5.25, the other 2x5.25. I created a pastel rainbow on both panels with my Catherine Pooler minis, direct to paper. Then I used the Catherine Pooler Pop Art stencil and blended the same inks over top for a tone on tone look on the larger panel.
I laid the bookmark on my rainbow panel and glued the stacked up die cuts in the negative spaces - precision is key here - if they're not in the right place, the bookmark will not come off, or fit back on!

Friday, 19 March 2021
Negative Die Cut Techniques

Saturday, 13 March 2021
Daisy Happy Birthday
Congratulations to this week's Featured Stamper, Anna-Karin (Layersofink).
I chose this card as my inspiration:
LIST: alphabet background, offset rectangle focal panel, red flowers, blue sky, watercolor technique, stitched die cut edges, white stamped sentiment strip
INCLUDE: rectangle with stitching around it and blue/green inside,
MODIFY: one flower, pink rather than red, heat embossed 'birthday' background
EXCLUDE: alphabet
SPIN: square card
I started by creating my background panel using a technique from my latest video - I put a bunch of birthday-themed stamps on an acrylic block and stamped it repeatedly. This time I stamped with embossing ink, heat embossed with clear powder and then spritzed Distress Oxide sprays over it.
I cut my solid daisy from white cardstock and spritzed it with Distress Oxide sprays (look closely, you can see yellow and purple 'speckles', which is a hallmark of these sprays.) I attached the open daisy die cut only at the centre, to allow more dimension between the two layers of petals.
I created my frame with one of the Essentials for Stitching Rectangles dies placed outisde an Essential Rectangle die - I love this look!

Friday, 12 March 2021
Stamped Backgrounds for Personalized Birthday Cards
Sunday, 7 March 2021
2 Tips for Getting More from Stencils!
Congratulations to this week's Featured Stamper, Sociology Street!
I chose this card as my inspiration:
LIST: Single flower with stem & leaves, thank you theme, stitching on focal panel, colours (purple, green & silver)INCLUDE: Single flower, stitching 'frame'
MODIFY: colours (more white, pink vs purple), technique, Mother's Day vs thank you
EXLUDE: tag and twine element, metallic element
SPIN: square card with stitching on cardbase, jewels, ink-blended interior to show through stitching holes
I used my Stencils 360 tool with two little tricks (partial blending and paper movement) to create 2 same-but-different tulip cards (or is it a crocus?) and I have a quick video to show you how I did it.

Friday, 5 March 2021
Happy 18th Birthday!
Today's my daughter's 18th birthday. Not sure how that happened, but here we are! lol!
For this year's card I made a simple design of inlaid die cuts using blue (her favourite colour) cardstock and holographic foil cardstock. Then I kicked it up with a new Altenew embossing folder.
Since the front was so plain, I made it into an easel card with some more fun on the inside:

Thursday, 4 March 2021
Finding Patterns in Patterns
You know I love to get more out of my stamps and one way to do this is to find a pattern within a pattern. This Peacock Patter background from MFT Stamps is classic and beautiful, and I found tulips!
I started by stamping the background with copic-friendly ink onto a white panel. I used a MISTI and left the stamp on the door.
I isolated and coloured the row of tulips with Copic markers and then cut masks before blending ink over the rest of the panel.
Finally, I put the panel back into the MISTI and restamped with embossing ink before heat embossing with gold powder.
I trimmed the panel with two Essential Squares dies which cut frames around them - I popped the two squares up on a black panel and then added a heat embossed sentiment.
