Today I'm excited to be part of another Save the Crafty YouTuber video hop, organized by Justine Hovey. You can visit her blog for more details.
The Save the Crafty YouTuber Video hop is a collection of cardmaking video tutorials created by a group of talented crafters of all different styles and levels. We are coming together to give our viewers a chance to discover other amazing cardmakers and help the creators reach monetization goals!
All you have to do is watch, like the video, consider subscribing, and click the link in the video description below to hop to the next video. Let yourself be inspired! Don’t forget to comment because we have tons of prizes to give away. Please indicate if you are located in the USA or International so that prizes can be awarded appropriately as some prizes (not all!) have restrictions on them.
Check out our generous sponsors:
I made a birthday card for my son, using Lawn Fawn's Magic Picture Changer die, along with the Plane and Simple Stamp set and a Happy Birthday sentiment die.
I focused on Joanne's:
-stenciled background
-two 'animal' images
I changed:
-colours
-background technique
I started by creating my background on watercolour cardstock. I taped it to a board to limit warping and then laid the Heffy Doodle Circles of Life stencil over top.
I sprayed the panel with lots of water and then sprinkled Shimmer Powder over the top. I wasn't sure what I would get by doing that and when I first lifted the stencil, I didn't love it. So I replaced the stencil and used an aqua brush to help me fill in the circles a bit more. I'm happy that the separation of the powder into blues and yellows is still visible in some areas - that's one of the things I love about watercolour powders. Plus this one has shimmer built right in!
Once my background was dry, I used an elephant from Ellie Goes Nuts and I used some mirror-stamping to create a kissing couple. I added the hearts and sentiment to complete the little scene.
I watercoloured the elephants with Catherine Pooler inks and then added some Dream Drops for embellishments and over the little hearts.
Today I've got 3 cards using the new Buffalo Plaid background stamp from Catherine Pooler Designs. There are so, so many things you can do with plaid.....
My first card is a simple thank you card. I started by using my MISTI and Midnight ink to stamp a full panel of the plaid on Catherine Pooler Premium White cardstock. I cleaned and dried the stamp.
I left the panel in my MISTI so that I could tell where to put a piece of 1 inch Post it Tape to create a masked area for my sentiment.
Then I stamped it on a new white panel with Rouge ink before removing the tape.
I trimmed the panel so that it would fit perfectly within the pattern on the black panel behind it.
I used a black lettering marker and a ruler to add the black 'in between' lines and finally stamped the sentiment and 3 stars. I popped the red panel up over the black one, so that there is a very narrow 'frame' around the red panel.
For the next card, I went a little more rustic. I simply stamped the plaid background with Sand Castle ink on a Sand Dunes card base, and then stamped one of the paw-prints from Wild About You in the open squares. You could of course vary this - right now I'm thinking black plaid on white with a star stamped in each square, using different colour of the rainbow for each row. For my image, I used the solid woodslice stamp from Hey Mister and my MISTI. I stamped it twice - once with the top half inked up with Stone Blue and once with the bottom half inked up with Sage. Then I stamped the sentiment, tree and howling wolf. The white panel was trimmed with one of the rectangles from Postage Stamp dies.
So, let's call this one "minimal" plaid. Believe it or not that 'frame' is created by a trimmed panel of black-on-white plaid underneath the front panel. I think it's kind of cool.
The front panel was created in my MISTI, where I lined up the moon stamp from Wild About You at the bottom of the panel, stamped it with Queen for a Day ink, turned the panel 180 degrees and stamped again. Then I repeated with Sage, Lemongrass and Rouge inks before stamping the sentiment from Hey Mister.
So there are 3 very simple ideas with this background stamp, and I still have many more! Let me know if you would like to see a video of these 3 (and more) in the comments below and I'll see what I can do.
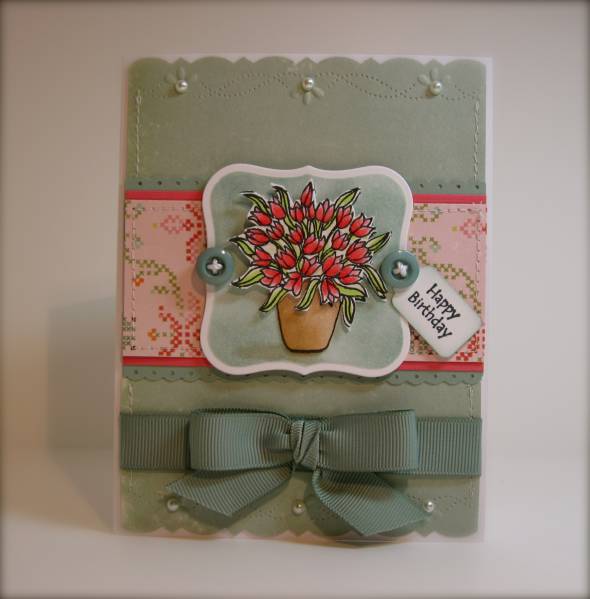
I focused on Kerry's:
-pot of flowers
-border-blended die cut
-stripe panel
-small sentiment
-pearl embellishments
-horizontal strip
I changed:
-colours
-occasion
-adapted the layout slightly
-no ribbon or buttons
-no stitching
-no patterned paper
I love the feminine feel of Kerry's card, and all the pretty details, but I wanted to 'urbanize' it a bit. To do that I changed the colours to dark grey and lemongrass, added stripes to 2 layers of the background, and shifted the position of the focal strip/area, I also left off the buttons and ribbon, although I kept the 'pearls' by using iridescent Tonic Dream Drops.
I kept the die cut behind the flowers, with ink blended over it while still in the die - that's an old technique that I had forgotten, but it's a good one - it leaves a white border around the ink-blended area that helps the die cut pop.
Today, I'm on the Ellen Hutson blog and YouTube channel with my next "Innovations with Ardyth" video! Wait until you see what happens when you open this clean and simple birthday card!
All month long they’re celebrating with lots of fabulous guest designers and giveaways! I'm really excited to be a part of this birthday bash, and at the end of my post I’ll share a discount code and details about how to enter to win a $100 gift certificate to their shop!
I created a fun one-layer birthday card using Bear Family and Cup Cake Love. And this one's just as fun on the inside as it is on the outside!
I started with a 5.5 x 8.5" piece of cardstock (normal A2 card base size) but I didn't score it.
I stamped a row of cupcakes along the base of the front and back and then created masks for them.
Then I stamped the bears, creating masks just for the edges so that I could stamp them again and fill the card.
I stamped the Happy Birthday sentiment from Cup Cake Love and then stamped 'Bear' (from one of the sentiments from Bear Family) in red just below. Then I used a black marker to cross out BIR, so the sentiment is now Happy Bearthday. Perfectly appropriate, I think!
To add a bit of colour, I blended light blue ink at the top of both sides, using a
large Life-Changing Blender Brush.
Then came all the colouring! I used Copic markers and even though the cardstock was 110 lb, I used a light hand and fairly light colours, to minimize the bleed-through to the other side.
Here's the interior of the card:
This card looks like a lot of work, and it did take a bit of time. But here are a couple of things I did to make it easier.
1) I used the same cupcake icing and base instead of using all the cupcakes in the set. This saved time in stamping, and also when I cut masks, because I was able to cut 4 at a time.
2) I used limited colours for the bears and no shading or complicated blending. This saved colouring time, and also minimized any bleed-through to the other side
Here's a video (be sure to leave a comment on my YouTube channel before 11:59 on May 24, 2019 for a chance to win $100 gift certificate to the Picket Fence Studios shop!):
Picket Fence Studios has generously given me a $100 gift certificate to give away! For a chance to win, head to my YouTube video and leave a comment! The giveaway will close at 11:59PM on May 24th, 2019, and the winner will be announced here on May 25, 2019.
In the meantime, here's a discount code for 20% off in the Picket Fence Shop! It's good for the next 3 days.
I'm excited that Emily asked me to be a guest this month for her Two Many Cards series, where we each share our take on the same set of products.
Today we are using the Wrap Around Box, Slice of Summer Stamp set and Summer Splash patterned paper from Sunny Studio.
I created a watermelon-themed gift set, adding windows to the box, so that the recipient can get a peek at what's inside the Wrap Around Box.
I matched the watermelon patterned paper with some of my favourite Catherine Pooler Inks so that the box and thank you card coordinate perfectly!
Be sure to check out Emily's blog, to see what she made with these products!
Here's my video:
GIVEAWAY
Sunny Studio Stamps is giving away a $25 gift certificate to one lucky winner, chosen randomly from one of our videos. You must be a subscriber to both our channels!
Be sure to leave some love for both of us to increase your chances of winning! Comments will close at 11:59pm EST on May 22, 2019 and the winner will be announced in the YouTube description for Emily's video for today before the next video goes live. Be sure to check back to see if you're the lucky winner!
**GIVEAWAY CLOSED** The winner of a $25 gift certificate to the Sunny Studio Stamps shop is Sharon Gullikson. Please contact Emily to claim your prize!
Congratulations to this week's Splitcoaststampers' stamper Cheryl (Motherload).
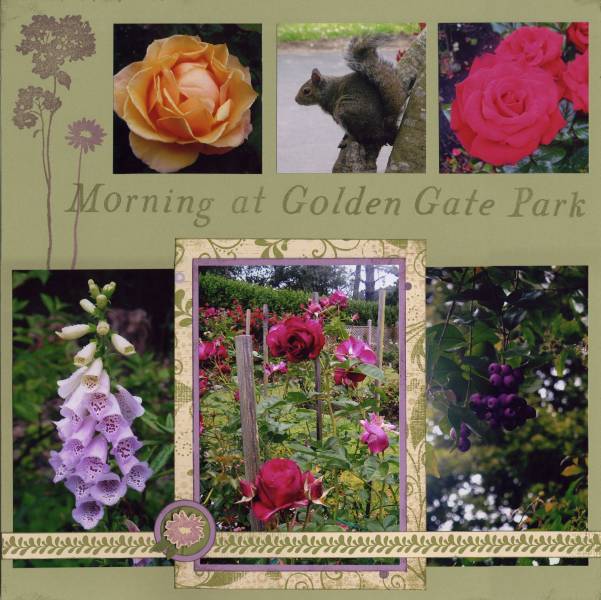
Cheryl is a scrapbooker and I chose this layout as my inspiration:
I started by stamping the main image from the new Essentials by Ellen Mondo Wildflowers set and then created a mask.
With the mask in place, I used a dotted stencil to help me position my grid of smaller flowers, stamped in Catherine Pooler Twilight ink. My stencil is so old, I have lost track of who made it, but I've linked a similar one below.
Once I had all the stamping done, I coloured the flowers with Copic markers and highlighted them with Star Dust stickles.
As a finishing touch, I filled in the background flowers' centres with something new to me - Tonic Dream Drops in Indigo Eclipse. This photo does not do them justice - they are iridescent and so shimmery, with just the right amount of dimension.
There is a quick video on my Instagram grid showing how I made this.
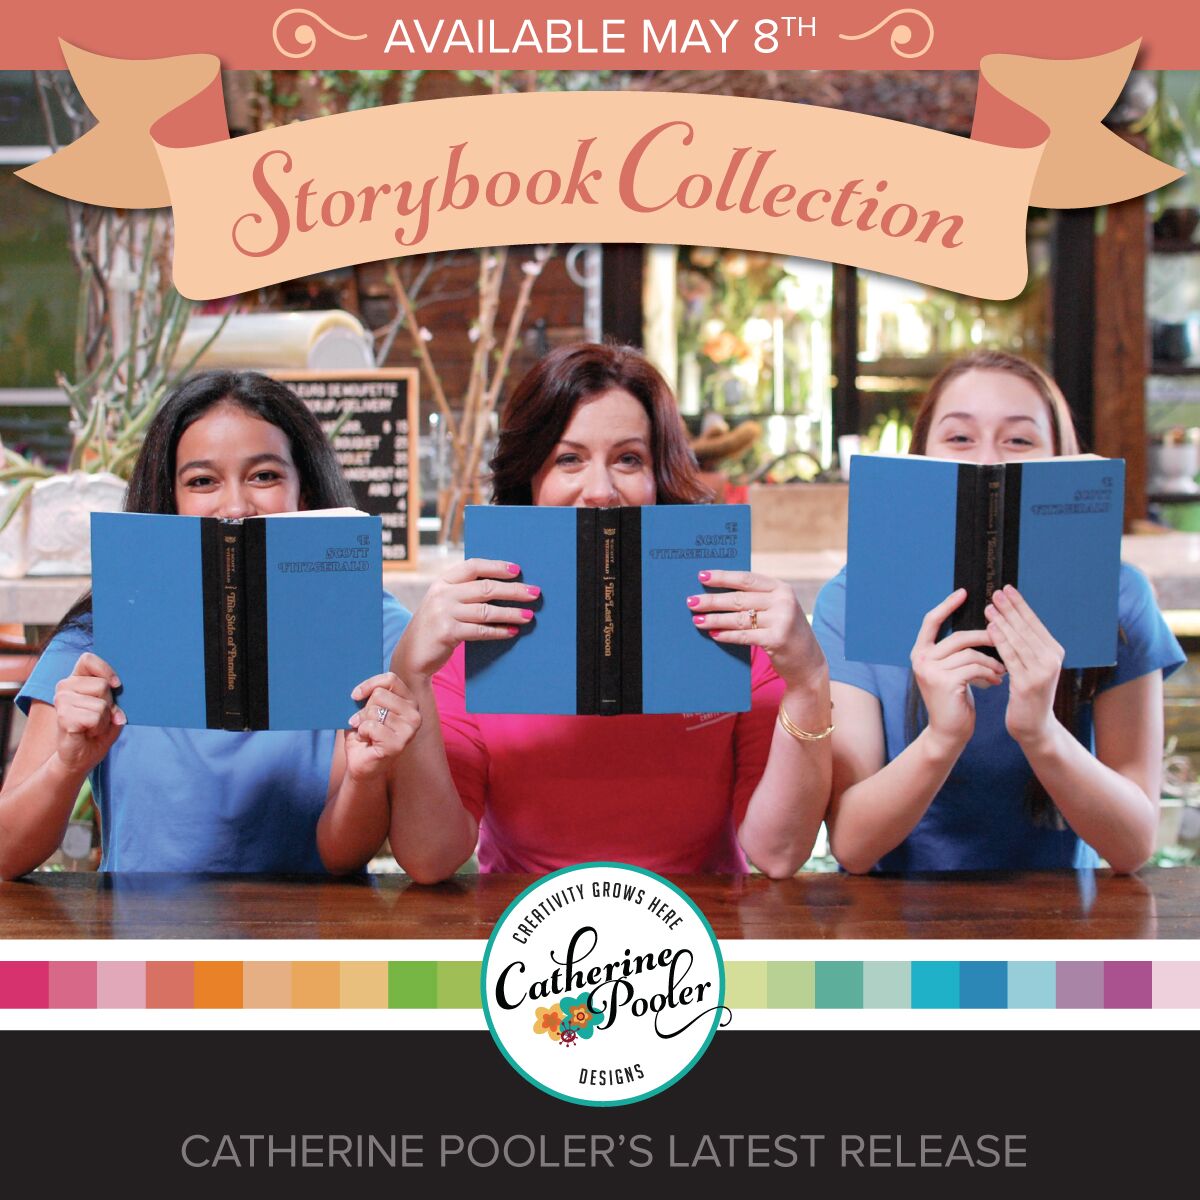
Today is the blog hop for Catherine's new Storybook Collection! I'm not officially on the hop, but I have a couple of fun, rainbow cards to show you. (blog hop details below).
The Catherine Pooler Creative Team is having a fun little Instagram hop this morning, to celebrate the release of the Storybook Collection!
I made this with the new (and very masculine) Hey Mister set, to show that how versatile it is! I used the lined woodslice stamp as my rainbow.
I used Copic markers with Midnight ink on this one - as long as you use Catherine's Premium white cardstock, there's no smudges!
Once I had the colouring done, I inked up the whole thing with WOW! Embossing ink and embossed it with Wanderlust embossing powder, for a little sparkle!
Head over to check it out - comment along the way for your chance to win!
By now, you've heard that in Catherine Pooler's new release (available tonight for StampNation members and tomorrow for everyone else), there are 4 new ink colours. Rouge, Lemongrass, Sage and Queen for A Day form the Urban Oasis - part of the Spa Collection.
To show you the new colours, I made the same card twice, first with the newest colours and then with Party Collection colours. I used the Bloomin' Happy stamp set - I just love that sentiment!
Photography and monitor differences make colours tricky sometimes, so here's my swatches of the new colours (direct to paper, along with my best match for Copic markers) compared with previously released colours.