Pages

Showing posts with label fathers day. Show all posts

Sunday, 19 June 2022

Happy Father's Day


Congratulations to this week's Featured Stamper, mschoener.

I chose this card as my inspiration:

LIST: Colours (Red, white, green, blue, yellow), Techniques (colouring, stamping), Elements (red car, balloons, presents, patterned paper background, horizontal element, red frames, red ribbon, 'fireworks' sequins)

INCLUDE: red car, horizontal element on background, 

MODIFY: die cut instead of stamped/coloured, embossed background instead of patterned paper,

EXCLUDE: ribbon

SPIN: Square card

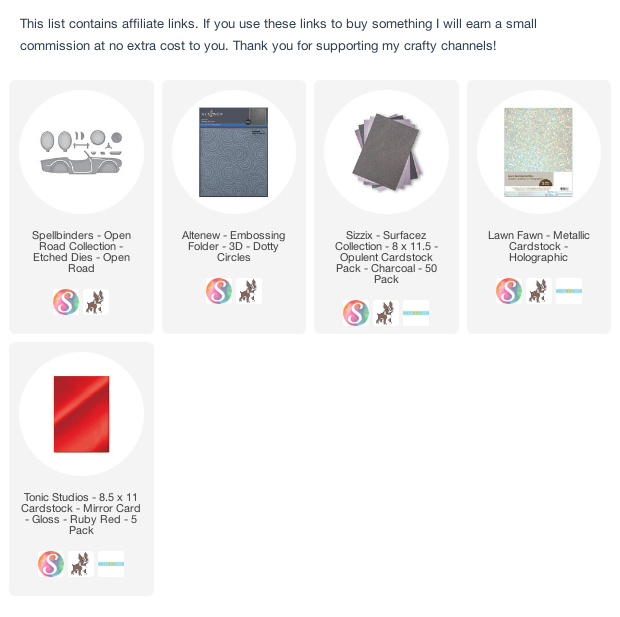
I started by creating my background by piecing together 2 strips of Sizzix metallic gray cardstock with 1 strip of white, then embossing it with a new folder.

I cut the car from red mirror cardstock, and holographic cardstock and assembled it.

I stamped an old sentiment with WOW! Embossing ink onto a strip of the metallic gray cardstock and embossed it with silver powder for a tone on tone look.


Sunday, 28 February 2021

Long Time No Sea


Congratulations to this week's Featured, Stamper, Gem35!

I chose this card as my inspiration:

LIST: Colours (red, blue, yellow, black, beige), ocean, quilling, ship, circle focal point, black frame, 

INCLUDE: colours, ship, circle, 

MODIFY: technique (gel plate), black frame, white embossing, colours in sky, not on ship

EXCLUDE: quilling

SPIN: square card


You may recognize my 'sea at sunset' circle panel from last week's birthday card for my brother in law. I made a few of those panels at the time, knowing they would come in handy for future cards. I cut a circle, splattered it with white and spritzed it with Clear Shimmer Spray.

I stamped a sailboat and sentiment from the new Essentials by Ellen Just Squidding set with WOW! Embossing ink and embossed with white powder. I added shading to the hull and flag with a copic marker (being very careful not to colour on the white embossed outline).

To create my frame, I cut a panel of Oyster cardstock with a EBE Essential Squares die, and then ran it through my die cutting maching two more times with 2 Essential for Stitching Circles dies (they were too close in size to run them through at the same time).

I backed the Oyster panel with black cardstock to make my 'frame' more visible.


Monday, 25 May 2020

Scalloped Father's Day


Are you Zooming these days? I have weekly calls with some crafty friends and also with my family, and while I'm on a call, I like to have something to work on. This card came about during my family call this weekend.

I started with a partial rainbow of inks - orange to yellow to green to deep teal and I blended my initial layer of ink:


Then I used the scalloped border die from Stacked Borders 1 to create a positive die cut and a 'negative' border:


I used the negative border like a cloud edge and started at the top (since it was my lightest colour and I didn't want to keep cutting stencils) and blended more ink over top:


Then I used the positive die cut as a spacer to line up the scalloped stencil (and despite my best efforts, I see a slant creeping in! lol!)


I continued working my way through the colours. Notice how the blending smoothed out over time (and also because of the extra layers!)


Here's the finished panel:


I trimmed the panel to straighten out that slant and to allow for a clean white border around the edge of the card.

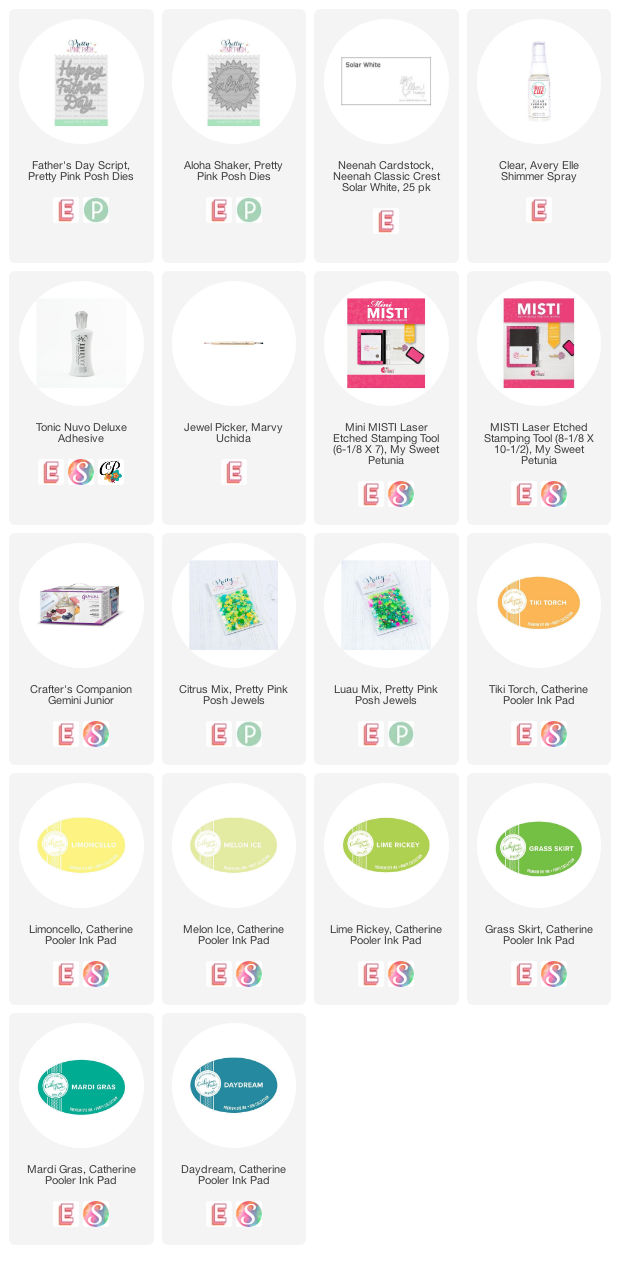
To finish the card, I inlaid the Happy Father's Day script in the centre of the panel, and also just a part of the Aloha Shaker die into the bottom of the front panel. I added some jewels from Luau and Citrus mixes.


Friday, 8 May 2020

i-crafter Best Dad


Good morning! I'm on the i-crafter blog today with this fun Father's Day card using some of my favourite products from the May release!

Monday, 20 May 2019

Fun with Plaid - One Background Stamp, 3 Masculine Cards


Today I've got 3 cards using the new Buffalo Plaid background stamp from Catherine Pooler Designs. There are so, so many things you can do with plaid.....

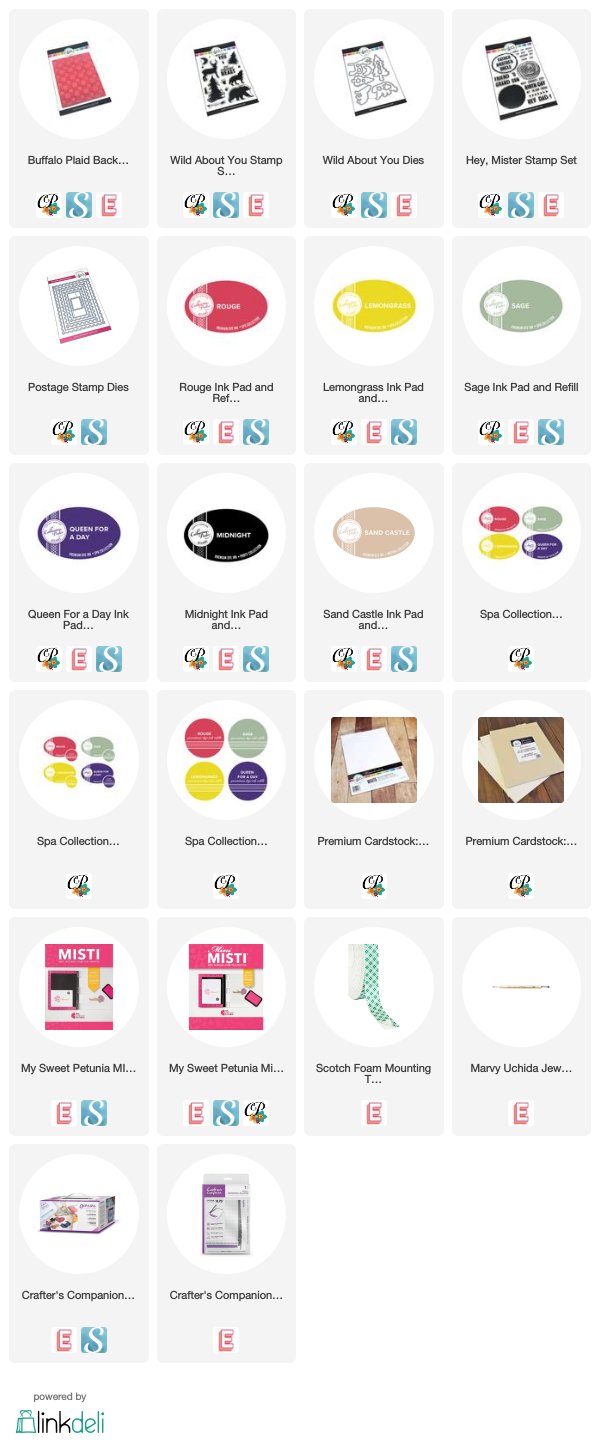
My first card is a simple thank you card. I started by using my MISTI and Midnight ink to stamp a full panel of the plaid on Catherine Pooler Premium White cardstock. I cleaned and dried the stamp.

I left the panel in my MISTI so that I could tell where to put a piece of 1 inch Post it Tape to create a masked area for my sentiment.

Then I stamped it on a new white panel with Rouge ink before removing the tape.

I trimmed the panel so that it would fit perfectly within the pattern on the black panel behind it.

I used a black lettering marker and a ruler to add the black 'in between' lines and finally stamped the sentiment and 3 stars. I popped the red panel up over the black one, so that there is a very narrow 'frame' around the red panel.


For the next card, I went a little more rustic. I simply stamped the plaid background with Sand Castle ink on a Sand Dunes card base, and then stamped one of the paw-prints from Wild About You in the open squares. You could of course vary this  - right now I'm thinking black plaid on white with a star stamped in each square, using different colour of the rainbow for each row. For my image, I used the solid woodslice stamp from Hey Mister and my MISTI. I stamped it twice - once with the top half inked up with Stone Blue and once with the bottom half inked up with Sage. Then I stamped the sentiment, tree and howling wolf. The white panel was trimmed with one of the rectangles from Postage Stamp dies.


So, let's call this one "minimal" plaid. Believe it or not that 'frame' is created by a trimmed panel of black-on-white plaid underneath the front panel. I think it's kind of cool.

The front panel was created in my MISTI, where I lined up the moon stamp from Wild About You at the bottom of the panel, stamped it with Queen for a Day ink, turned the panel 180 degrees and stamped again. Then I repeated with Sage, Lemongrass and Rouge inks before stamping the sentiment from Hey Mister.

So there are 3 very simple ideas with this background stamp, and I still have many more! Let me know if you would like to see a video of these 3 (and more) in the comments below and I'll see what I can do.


Friday, 10 May 2019

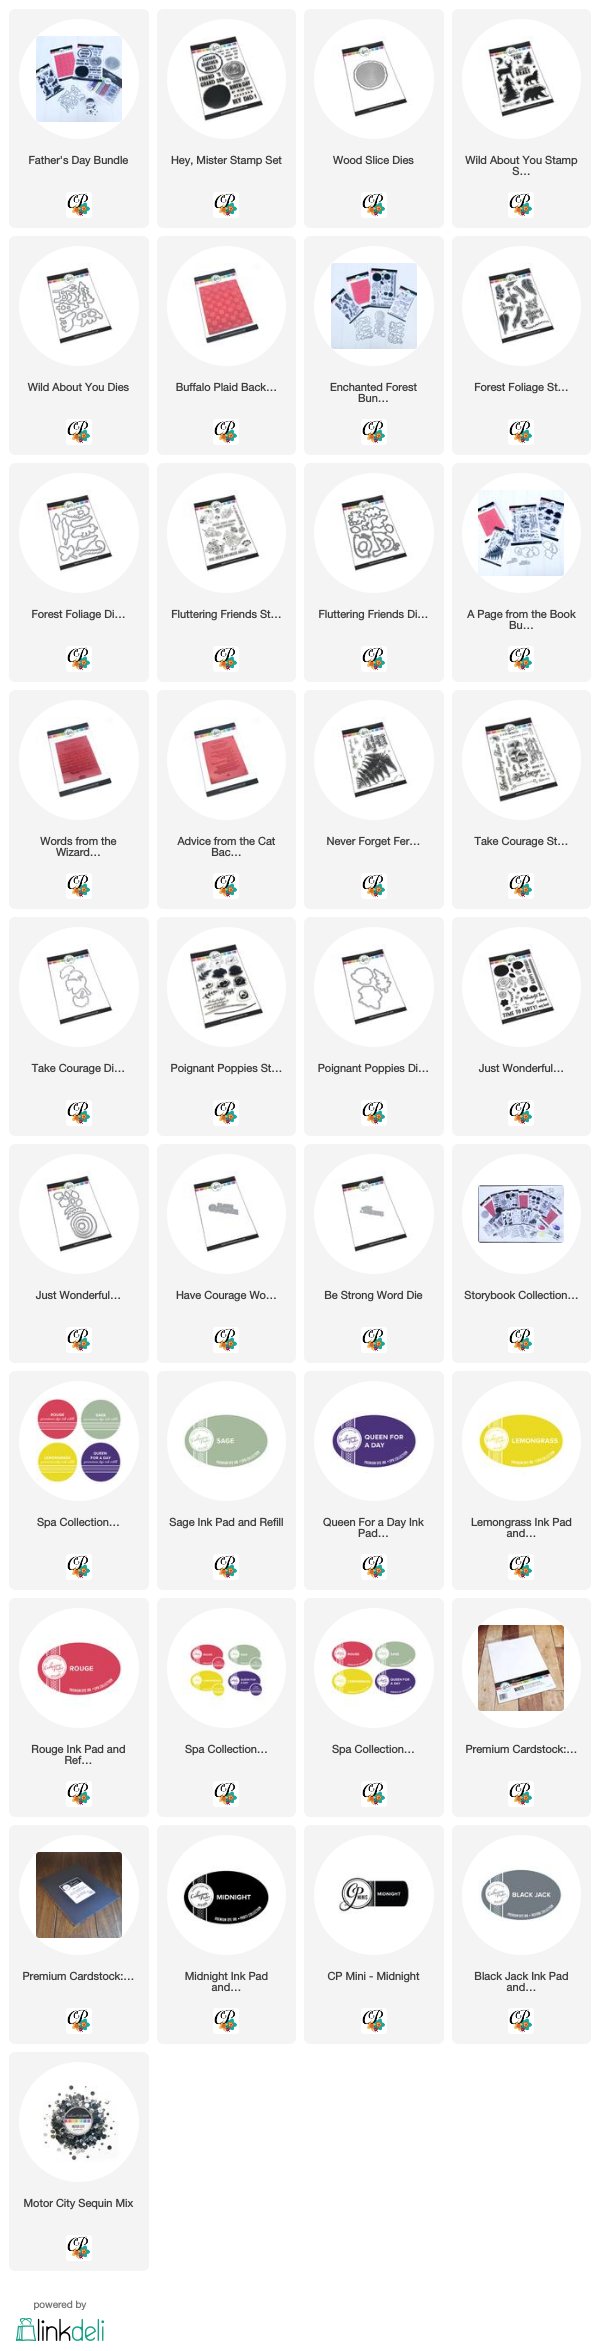
Father's Day Shaker Card - Catherine Pooler Designs Storybook Collection Video Hop

Welcome to the Video Hop to celebrate the arrival of the Catherine Pooler Storybook Collection release.

Be sure to head to YouTube by clicking on the video below to check it out - and comment on each video for a chance to win!


Tuesday, 11 April 2017

SugarPea Designs Sweet Peeks - Day 2


Be sure to drop by the SugarPea Blog for more information about prizes! Today we're introducing our Father's Day goodies. They'll work all year long, though, whenever you need to make a masculine card! As you can see, Sugar and Spice has papers that can work for masculine cards, too (I chose the blue, gray and aqua stripes from one design for my first card and I covered the pink triangles on the paper with my focal panel in the second card).


Tuesday, 14 June 2016

CASology 202 - Masculine


This week's CASology Cue Card is Masculine!


CAS design is perfect for masculine cards - limited colours, layers and embellishments work perfectly for a card for dad or son. And our challenge timing is perfect for (Canadian, American and UK, anyway) Father's Day!

I kept my focal image to the left side of the card to preserve white space on the right. (It works with the image, too, since the (old A Muse Art Stamps) golfer is looking far, far away where his ball has landed! lol!) To add some colour, I used an almost-dry brush and one green KGT to create the little 'hill' he is standing on.

Now it's your turn - we can't wait to see what CAS designs you come up with! Be sure to visit the rest of the DT for more inspiration:


Tuesday, 2 June 2015

CASology 149 - Vintage


This week's CASology Cue Card is Vintage!


Father's day is coming up so it's the perfect time to pull out simple, masculine images. For this card, I started with a square white panel. I sponged a Tumbled Glass and Salty Ocean sky and then I stamped my Sugar Peas designs bi-plane and Papertrey sentiment. (not sure which is more vintage - the plane or my dad! lol!)

To add some interest, I die cut a large circle from the panel and then popped it up with a couple of same-sized circles. I sponged the edges so that they would blend better into the background.

Now it's your turn - we can't wait to see your 'vintage' interpretations!

Make sure you visit the rest of the DT for some more inspiration!

Tuesday, 16 September 2014

CASology 113 - Grass

Looking for Bev's birthday party? Click HERE.


This week's CASology Cue Card is Grass


Although my grass is a small element, it's noticeable because it's the only pop of colour on an otherwise black and white card. I love how the size of the little white pompom I used for the ball gives some perspective - because it looks 'big' in comparison to the A Muse golfer, it's like he's further away and the ball is popping off the card. Yes, I totally planned that! ;-)

I created my little 'hill' of grass with a swipe of a Copic marker. You can see that by resting the marker on the panel for a second before moving it to the left, I got different shades of green and different thickness of the line. Experiment to see what effects you can come up with!

Anyway, now it's your turn. Don't forget to get some more inspiration by popping by the blogs of the rest of the DT:


Wednesday, 11 June 2014

Muse 71, RS118 - Modern Father's Day


There are so many great challenges around that it's hard to play in as many as I would like. So I thought I would start combining them. Harder than it sounds (for me, anyway!)

This father's day card came together a little unexpectedly. I started with the Retro Sketch:


In fact, I started by trying to combine this sketch with my Festive Friday card for this Friday, but it wasn't working. Then it hit me that DAD is a 3-letter word. Perfect for the sketch.  I looked at my various alphabet dies and settled on this new 'Smooth' Alphabet from Papertrey. The letters were almost too big for my 1" squares, so I decided to go with it and cut them off the edge.

That's when I started to realize that this could also be my Muse card - colour-stacked die cuts with the top layer matching the card base (although this is much less fun than Therese's DP!)


So a reasonable start at combining challenges!  But it's time to get this baby into the mail or it will be late!


Friday, 30 May 2014

CFC132 - What a Catch!


Time for the next CAS-ual Fridays Challenge!


The challenge is to make a masculine card that uses ribbon and (here's the catch!) no kraft.

Hmmmm. It's ALWAYS a challenge for me to use ribbon, but on a masculine card? Seems like that's the trickier catch for me! lol! I chose navy grosgrain.

I came up with this 'gold medal' award idea for Father's Day. Brickworks is the perfect set for that - lots of great sentiments that can be used for a Father's Day card.  I embossed 'good job dad' in gold on brushed gold cardstock and cut it out with a circle nestability. I felt it needed to be bigger so I decided to layer it onto another piece of gold and a slightly larger piece of red. I added hearts from Sands of Time to created more interest.

I could have made this card 4.25x5.5 so that the medal would fit right on the card, but I think it's more fun this way, with the medal sticking out on the top. It will still fit in a regular envelope.

I hope you'll get a chance to play along - the deadline for this challenge is June 20.

Saturday, 1 June 2013

A Blog Named Hero - It's A Man's, Man's, Man's World


I'm so excited to be a (temporary) member of the DT at A Blog Named Hero. Congratulations to Kelly, who had baby Nathaniel last week. And thanks to Linda and Mary Dawn for asking me to fill in for Kelly while she's on maternity leave!

Today's challenge is to make a masculine card.


Just in time for Father's Day! I kept it simple and stamped a pattern using a background stamp and then shaded it with Copic markers to make it look 3D.

I snipped up my sentiment so that I could stack the words. It really makes these clear stamps even more versatile - I just lined them up on my grid paper desk pad, pressed the acrylic block down on them and voila, perfectly placed sentiment!

I hope you'll get a chance to play along with our masculine challenge! You can win a $25 gift voucher to Simon Says Stamp!

ETA - Whoops, I goofed! The challenge doesn't go live until 5:00, so please act surprised when you see it later today at ABNH!

Here are the supplies I used: