Pages

Showing posts with label watercolor. Show all posts

Friday, 18 February 2022

Next-level ink-smooshed backgrounds!


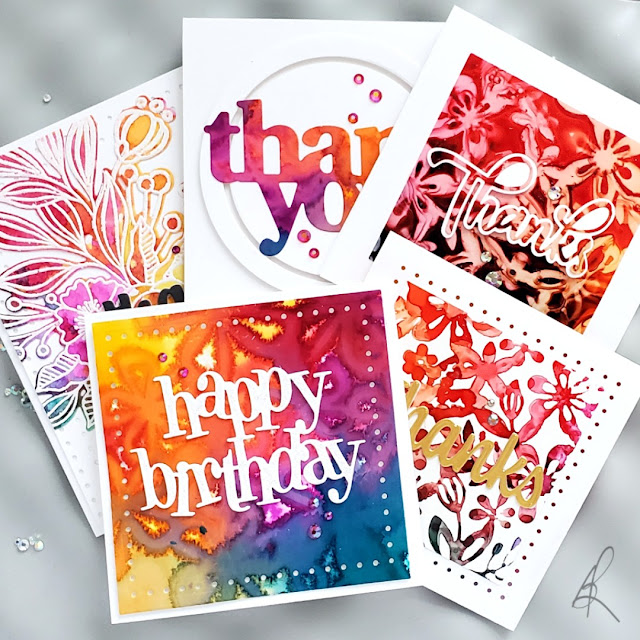
I took ink-smooshing to the next level by using watercolor powders and Distress Oxide sprays - so easy to make and so hard to stop making! 

Here's my video:


Friday, 14 January 2022

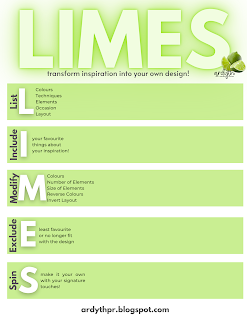
A NEW TWIST on LIMES

It's an exciting week here - I've got a new in-depth look at my LIMES process, including tips and strategies for each step. And I've created a free, printable worksheet PDF to help you take any inspiration you have and turn it into your own work of art!

Click HERE for your FREE PDF Worksheet!
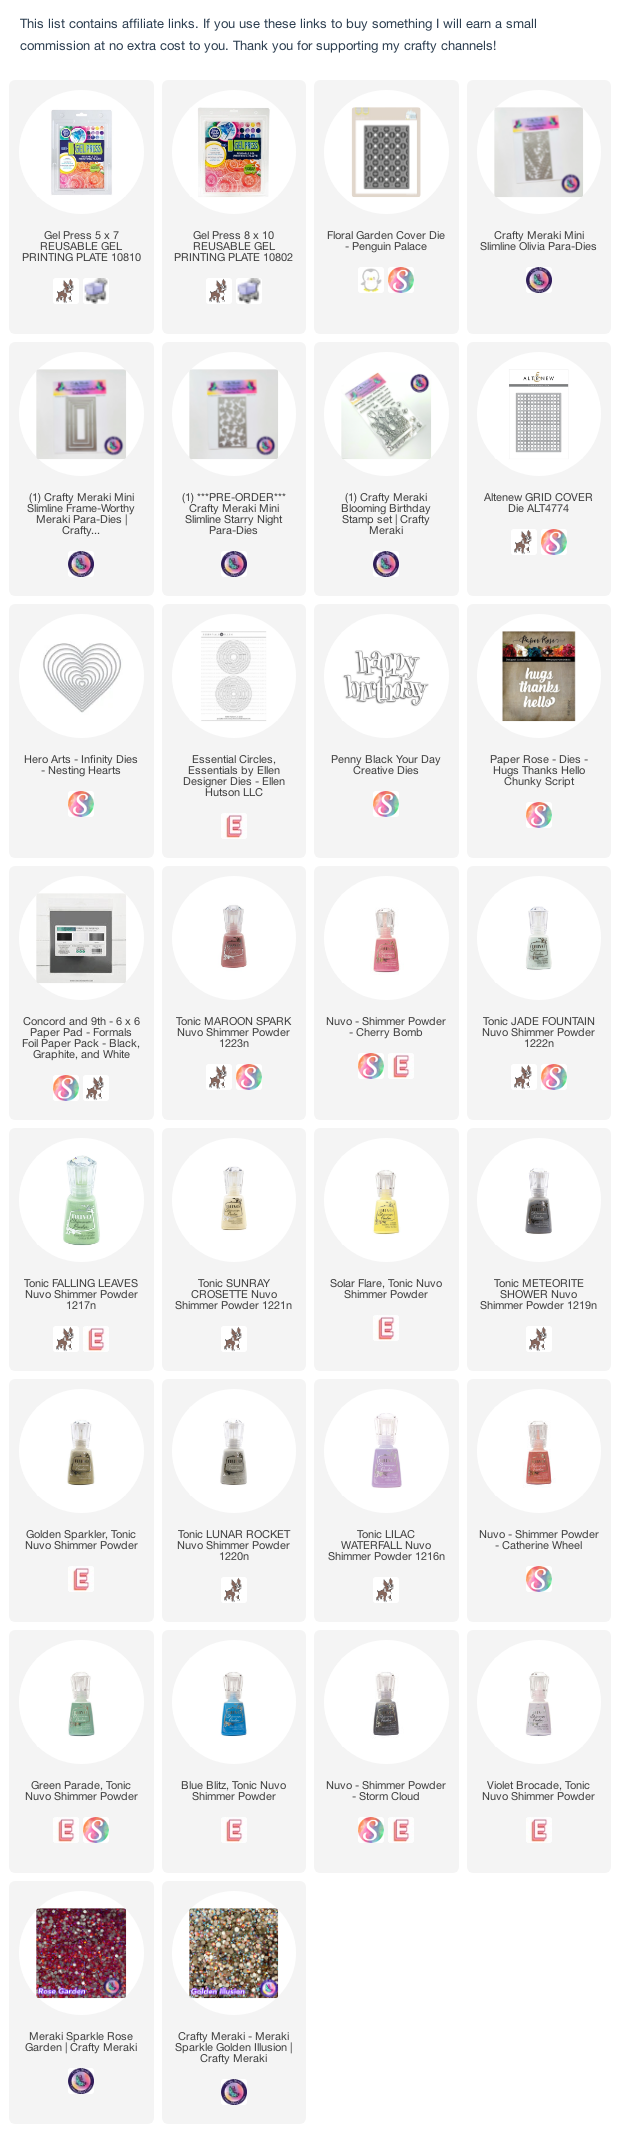
PLUS I tried 2 experiments - variations on some techniques I've shared previously and THEY WORKED! 

PLUS I reached 20K subscribers on my YouTube channel, so I've got a giveaway over there. 20 lucky commenters (on YouTube!) will win a pack of gorgeous Crafty Meraki gems! Winners will be announced on Thursday, January 20, 2022, on the channel.

Head to my video here for all the details!


Sunday, 11 April 2021

Watercolour Thanks

Congratulations to this week's Featured Stamper, Mary Ellen (cr8iveme)!

I chose this card as my inspiration:


LIST: watercolour background, colours (blue, purple, black and white), large letters, masking for the letters, stamped sentiment strip, black embellishments

INCLUDE: watercolour background, large sentiment

MODIFY: die cut instead of masked letters, pearl embellishments, watercolour background texture created with cling wrap, rather than a smooth blended wash

EXCLUDE: purple, stamped sentiment strip

SPIN: square card

I love this watercolour wash that Mary Ellen created, and how the colours blend together! I used a technique my friend Tiffany did in one of her videos, and when my watercolours were on the paper and still wet, I crinkled up some cling wrap and placed it on while it dried completely. This technique gives some amazing texture!

My sentiment was created with a CZ Designs thanks die which comes with a shadow die. I cut the shadow from my watercolour background and popped it up on my gray cardbase. Then I stacked up the actual thanks word 4 times so that it's the same level as the background.

Thursday, 26 November 2020

25 Days of Christmas Tags 2020 - BONUS Day 26!


Welcome to BONUS Day 26 of this year's 25 Days of Christmas Tags event. All the details can be found here on Tracey's blog.


Today's sponsor is MFT Stamps.

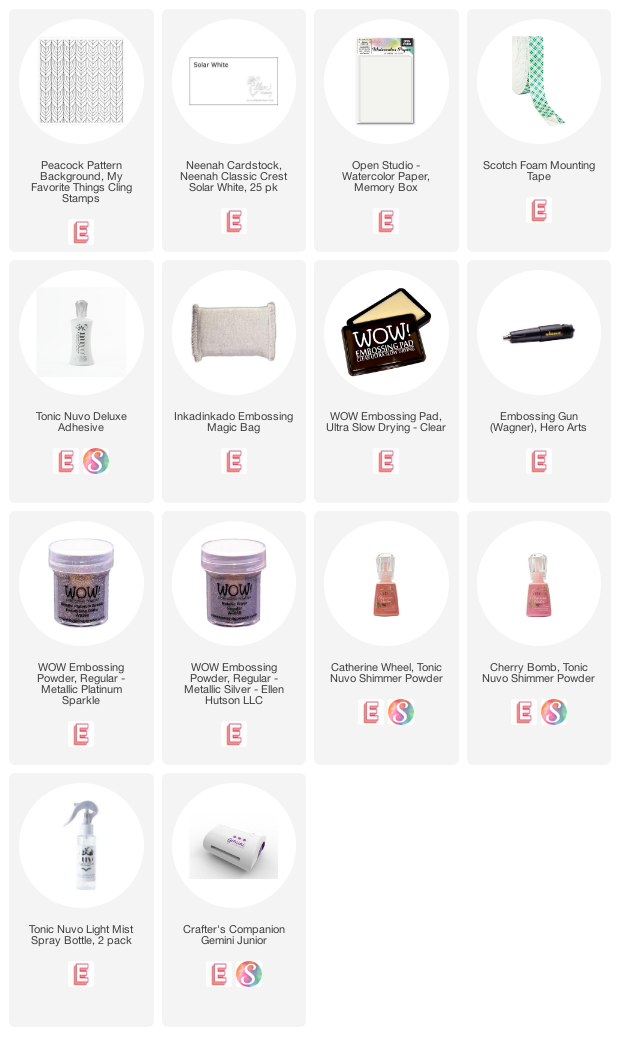
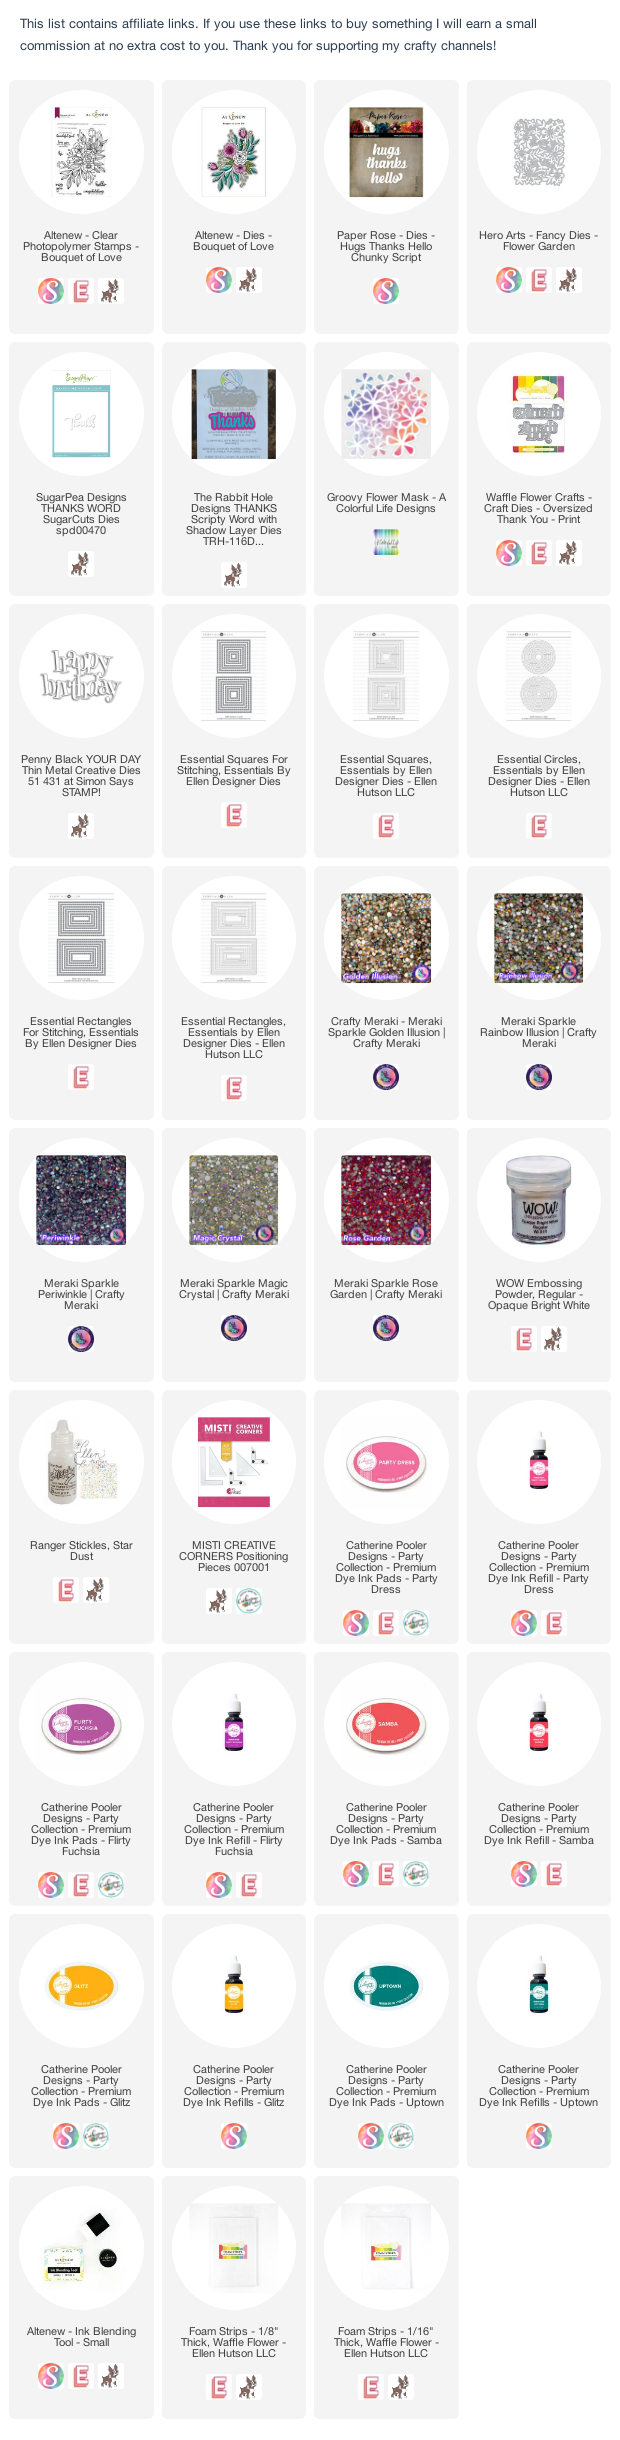
I used the new Peacock Pattern background stamp to create my sophisticated tag. I embossed it with Silver embossing powder onto Memory Box watercolor paper.
Then I sprinkled Tonic Nuvo Shimmer Powders (Catherine Wheel and Cherry Bomb) over top and spritzed it with water. The powders moved and separated into these colours, settling into the wells created by the embossing.

I added a (retired) Joy die cut that had been embossed with Platinum Sparkle embossing powder.

Thursday, 2 July 2020

6 Card Rescue Plan


What do you do when you have a plan for a card, and it FAILS? Head to the Pretty Pink Posh blog to find out!


Wednesday, 1 July 2020

Canada Day Video Hop!


Happy Canada Day!  Today I'm part of a video hop celebrating Canadian YouTubers, craft products and shops.  There's over a dozen videos plus 13 shops and 2 Canadian papercraft magazines involved and we’re giving away over $1000 in prizes! All the information is on Emily's blog


The more you comment, the higher your chances of winning.

Here's my video, enjoy!


Sunday, 21 June 2020

Time for Wild Roses


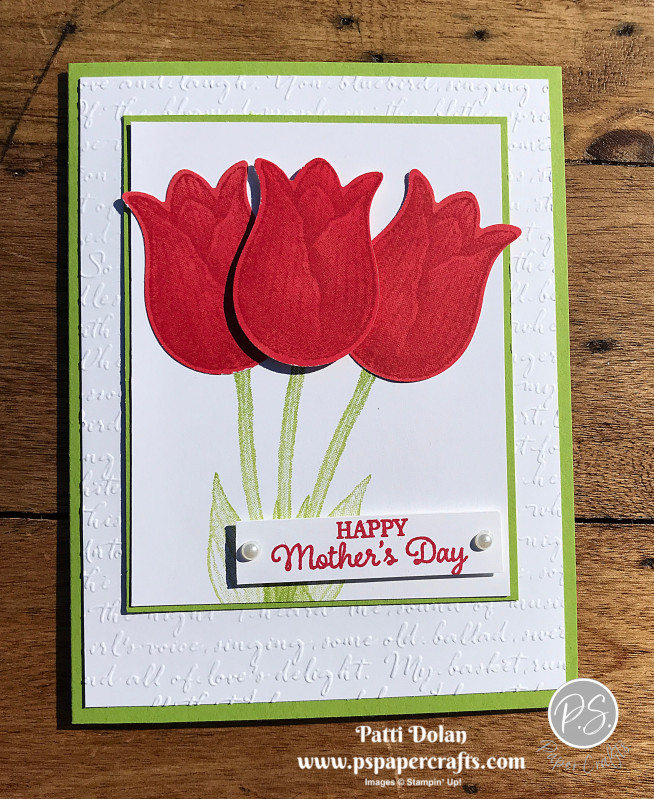
Congratulations to this week's Featured Stamper, Patti (pspapercrafts).

I chose this card as my inspiration:


I focused on Patti's:
-big red flowers
-white background

I changed:
-accent colour (green to blue)
-technique
-position of sentiment


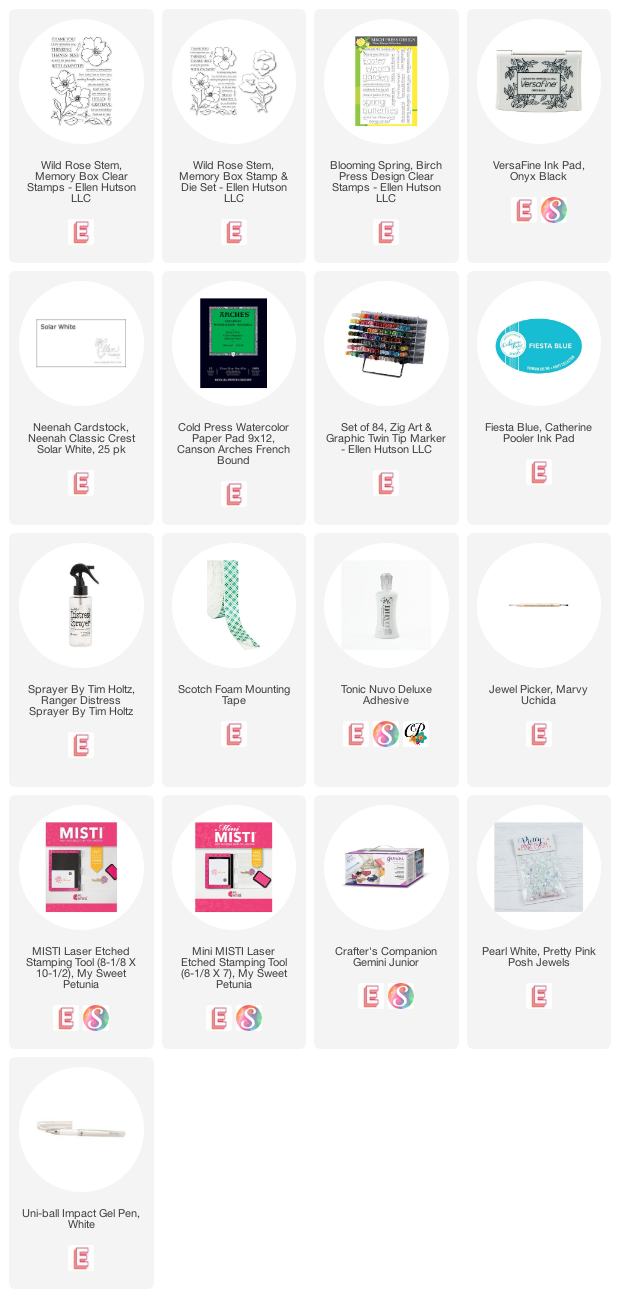
I started by watercolouring this Memory Box Wild Roses stamp with Zig Art & Graphic Twin Tip markers on Arches Cold Press watercolour paper. I am still learning to control these markers, and this time I built up my colour by using a number of layers and shading of pale colour.  I used the coordinating die to cut them out.

I blended blue ink onto a white panel of cardstock and spritzed it with water for some interest.

I used small strips of foam tape to pop up the roses and stamped a sentiment from Blooming Spring.

Saturday, 13 June 2020

Weeds on my Mind (and comparing Karin BrushmarkerPro with Zig Art & Graphic Twin markers)


Congratulations to this week's Featured Stamper, Trudy (daisystampinator)

I chose this card as my inspiration:


I focused on Trudy's:
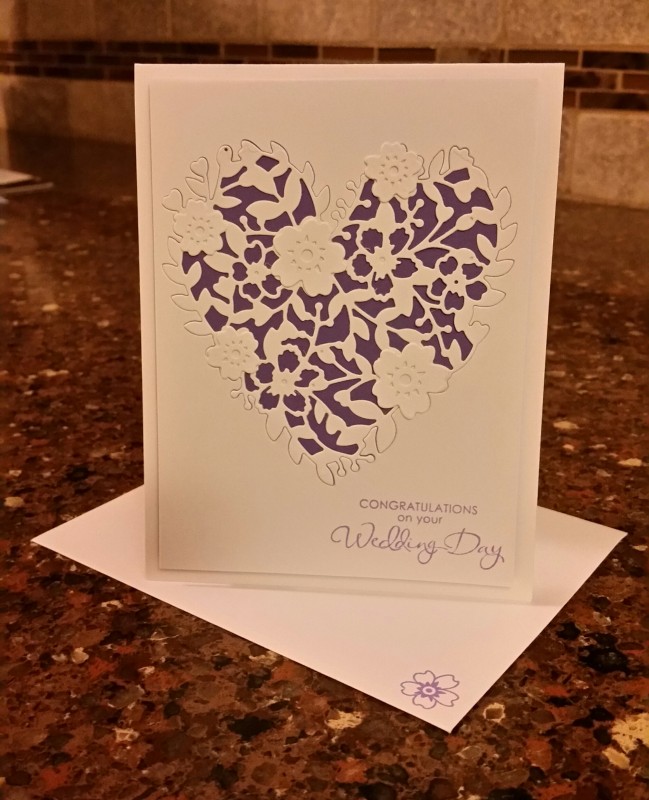
-heart/flower combination
-layout

I changed:
-added colour (although I kept some purple)
-masked stamping instead of inlaid die cut
- size and occasion

Any gardeners out there? This stamp is from the Essentials by Ellen In the Weeds set, but I think maybe that name is a little mean. Can flowers this pretty really be considered weeds? lol!

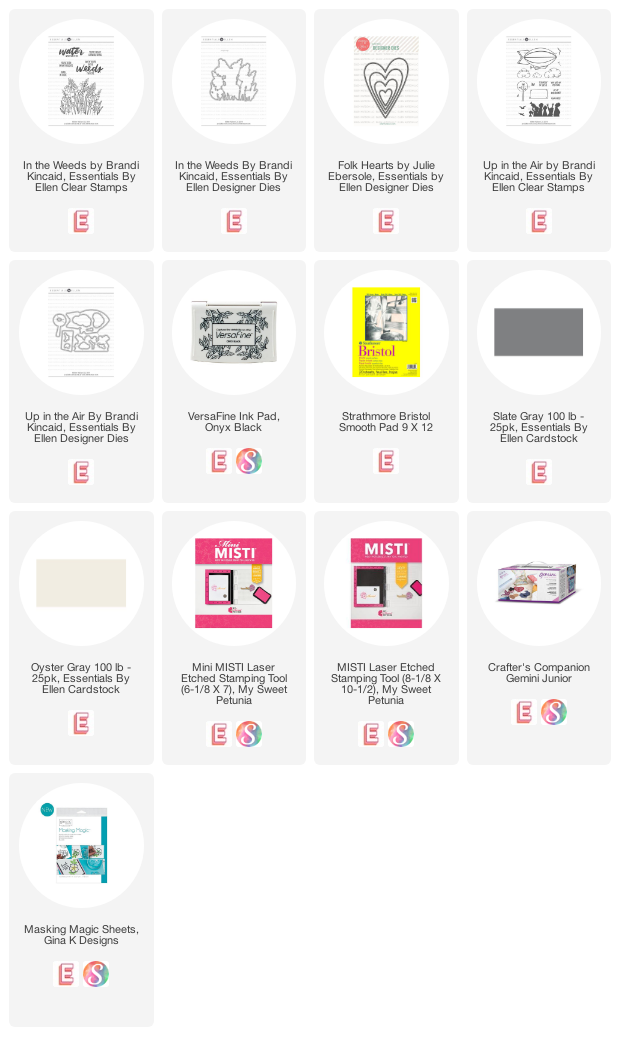
I started by using EBE Folk Hearts dies to create a mask. Then I stamped the flowers onto Bristol Smooth cardstock using Versafine Onyx ink. 

When I removed the mask, the bottom of the heart shape was very well defined because of where the stamping ended, but the top portion wasn't. I softly blended some blue ink through the mask to complete the shape.

Then I used some Karin BrushPro markers to watercolour my flowers. This was my first time using these markers and I tried first on the smooth side of Ranger Watercolour cardstock, but I found it too difficult to move the colours. Changing to Bristol made a big difference in my experience with these markers. I loved the big firm nibs on these markers, and the vibrancy of the colour. They reminded me of my Zig Art & Graphic Twin Tip markers and I ended up doing a comparison (see below).

When I finished the watercolouring, I will admit that though I wanted to add some splatter or sparkle or embellishments, I was really just too nervous about ruining all that colouring! lol! So I finished with a simple sentiment from EBE Up in the Air.

I backed the Bristol panel on a Slate mat and then put it on an Oyster cardbase (the one thing I really don't love about Bristol is how creamy it is and I can't seem to put it on a white cardbase! lol!)


Here's a similar card, this time coloured with the Zig markers. Similar experience and colours (although I have the full set of these markers and only 26 of the Karin, so I guess I have more options).

I would say that working with them is similar and the results are similar enough that you probably don't need both types of markers. If you have both, they work well together, so that's good too!

Note: I've only compared them on Bristol Smooth at this point - I still need to try other watercolour cardstocks to see what I think. I've seen other crafters use them successfully on watercolour cardstock. 


Here they are side-by-side:


Sunday, 26 January 2020

Tips for Mass-producing cards (FS677)


Congratulations to this week's Featured Stamper, Angela (ohmypaper!)

I chose this card as my inspiration:


I focused on:
-single winter focal die-cut image over sentiment
-multi-coloured background


I changed:
-heat embossed focal image
-technique for background
-stamped sentiment
-dark card base

I made 30 of these cards for my Church Christmas Card project (see page tab above for more information) and I made a video full of tips for making multiple cards efficiently!


Saturday, 7 December 2019

FS670 - No Line Watercolor Wreath

 Congratulations to this week's Featured Stamper, Nancy (Pansey64)!

I chose this card as my inspiration:


I focused on Nancy's:
-wreath
-square card
-sentiment in the centre
-narrow border

I changed:
-season/occasion
-colours
-technique
-die cut sentiment

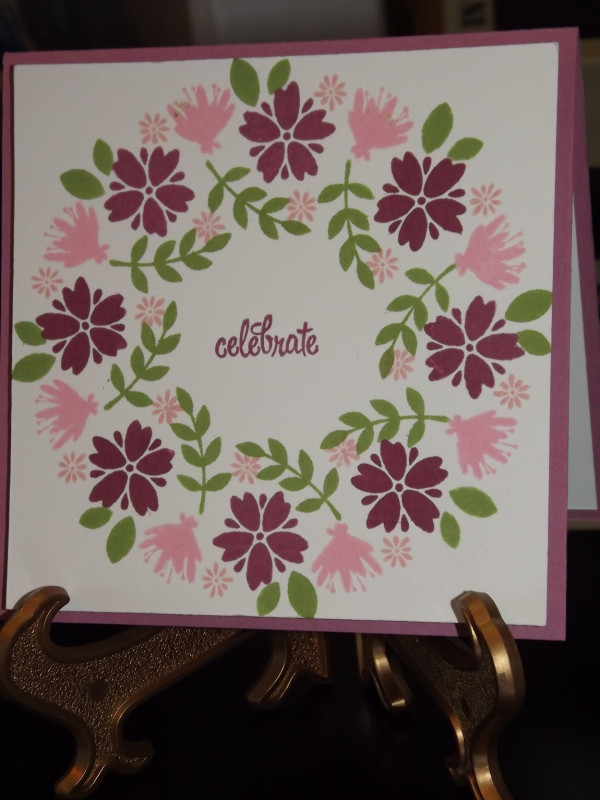
I did some no-line watercolouring with this new Tidings Wreath stamp and my Altenew Watercolors.

Here's a video:


Sunday, 3 November 2019

FS665 - Wonderful


Congratulations to this week's Splitcoaststampers' Featured Stamper, Christy.

I chose this card as my inspiration:


I focused on Christy's:
-rich colours
-bold flowers with white outlines
-wonderful sentiment

I changed:
-technique
-die cuts vs patterend paper

Christy's bold patterned paper reminded me of this outline flower die from Essentials by Ellen Wild Garden, which I haven't used in ages!

I wanted to create some of the fun texture from Christy's card, so I devised a dry brush technique, using Catherine Pooler inks, to create my coloured cardstock for inlaying and my background.

I popped up the flowers over a white strip for my sentiment from Totally Random Sayings Vol 3.

Here's a video showing the watercolour technique:


Tuesday, 3 September 2019

Simple Inlaid Die Cut Technique - A Jillian Vance Design


I'm on the A Jillian Vance Design blog today with this super-simple inlaid die cut card.

Here's a video:


Click here to watch full-size on my YouTube channel.

Saturday, 22 June 2019

Faux Watercolour (Ellen Hutson / Hero Arts Blog Hop)


Good morning! Today I'm excited to be part of a blog hop featuring Hero Arts and Essentials by Ellen products! Details are below.


I created a fun faux-watercolour background with the Color Me Flower cling stamp from Hero Arts and some Zig Art & Graphic Twin Tip markers. These water-based markers are great for colouring stamps and faux-watercolour techniques. The colours stay vibrant, as you can see.

My sentiment is an EBE die cut embossed with Wow embossing powder and stacked up.

Here's a video showing how I created this card:


BLOG HOP DETAILS:

You can win one of three $25 gift certificates to the Ellen Hutson shop! Winners will be drawn from commenters along the blog hop so make sure to comment at each stop before Friday, June 28th at 11:59pm PST. Winners will be notified by email.


Friday, 12 April 2019

Waffle Flower Water Media Mat Instagram Hop


Today I'm part of an Instagram Hop to introduce the new Waffle Flower Water Media Mat.  I created a one minute video so you can see it in action! Be sure to hop and comment for your chance to win!

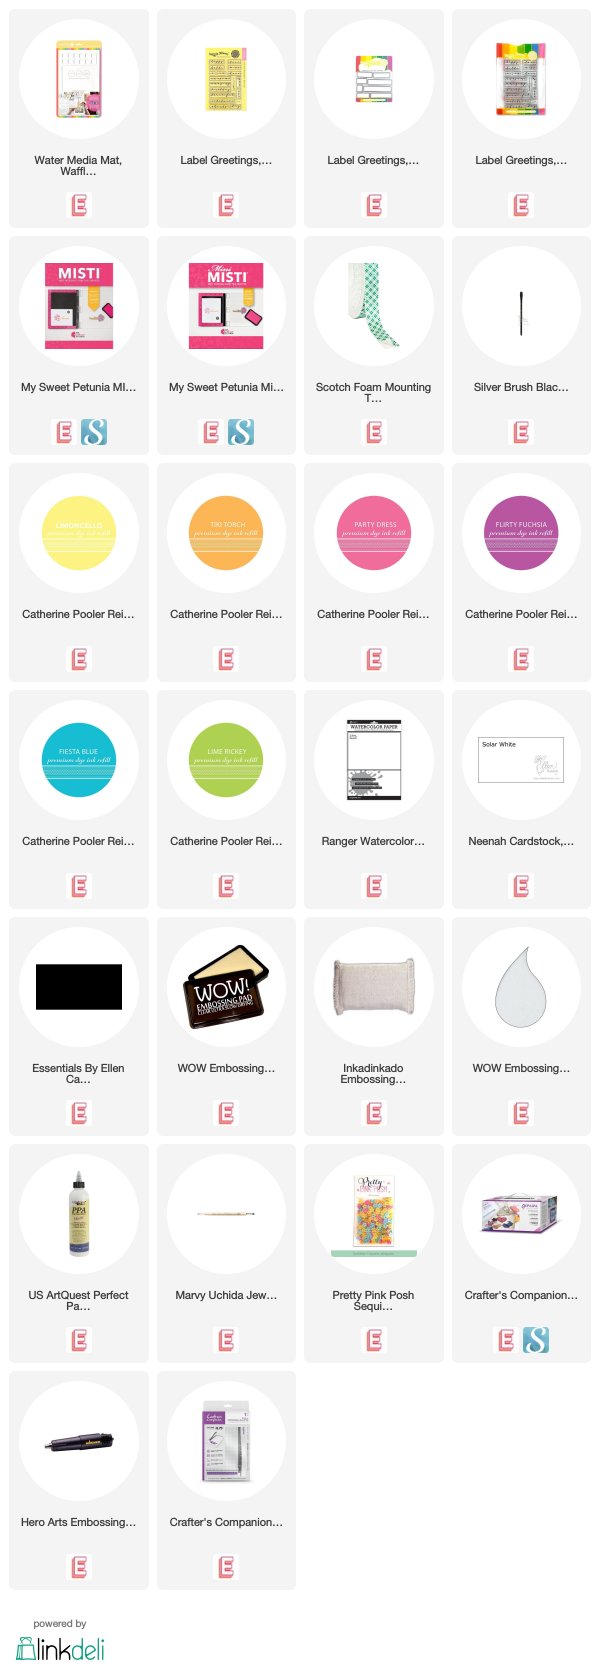
I started by creating a watercolour background using Catherine Pooler Ink Refills. I heat embossed the words from the Label Greetings stamp set and then cut them with the matching dies. I also used one of the dies to cut 6 black strips for my background. They were not long enough to cover the whole card, so I just made sure that the word 'awesome' covered the split.

I popped the words up with foam tape and then added some flower sequins from Pretty Pink Posh.


Friday, 5 April 2019

Essentials by Ellen April 2019 Release - Best Day Ever


It's release day at Ellen Hutson.com! All the latest goodies are now available! So this card is perfectly appropriate, right? It's at least the best day of the month! LOL!

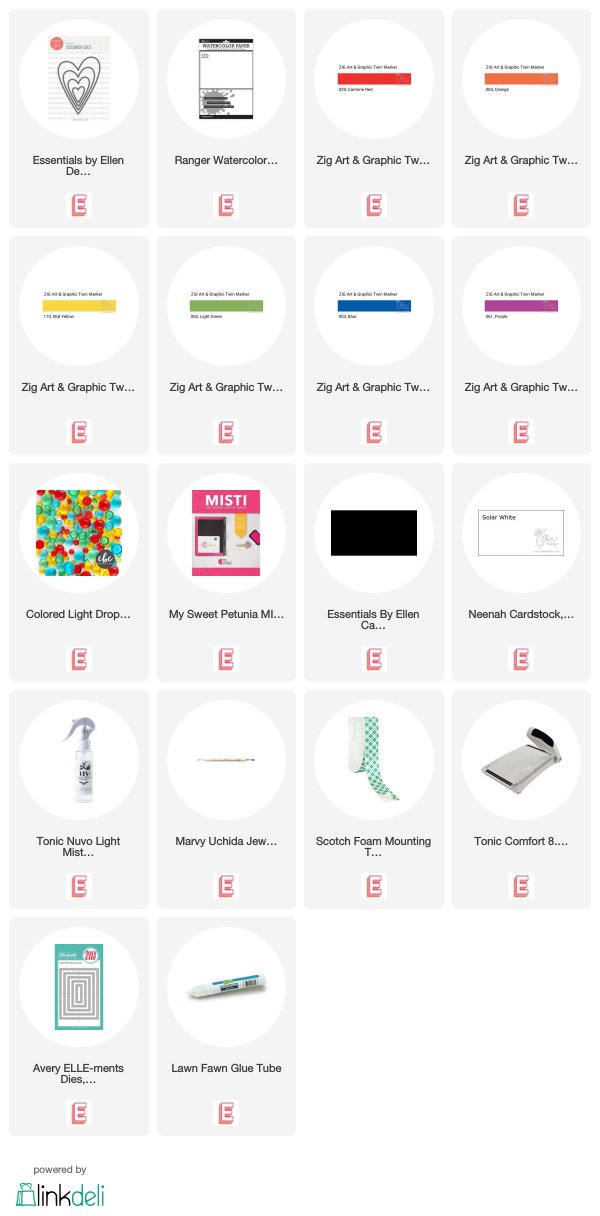
I started with a panel of Ranger Watercolor cardstock in my MISTI. I used the largest stripe stamp from the new Painted Stripes set and a bright rainbow of Art & Graphic Twin Tip markers and a water spritzer to get a faux-watercolour look.

Once it was dry, I used the Best Day Ever die from the new Photo Frames set and cut it out of the panel. Then I used the largest Folk Heart die to cut the panel. I offset the rainbow stripe a bit so that I could maximize the colours on the heart.


Thursday, 10 January 2019

Fusion Card Challenge - Hi!


Good morning! I'm excited to be a Guest at the Fusion Card Challenge Anniversary challenge today! Thanks so much to Michelle Lupton for inviting me!

I used some brand new stamps and gems from the January release from Pretty Pink Posh, along with some older dies I had in my stash.

I started by creating my soft watercolour background with some Catherine Pooler inks and lots of water. 

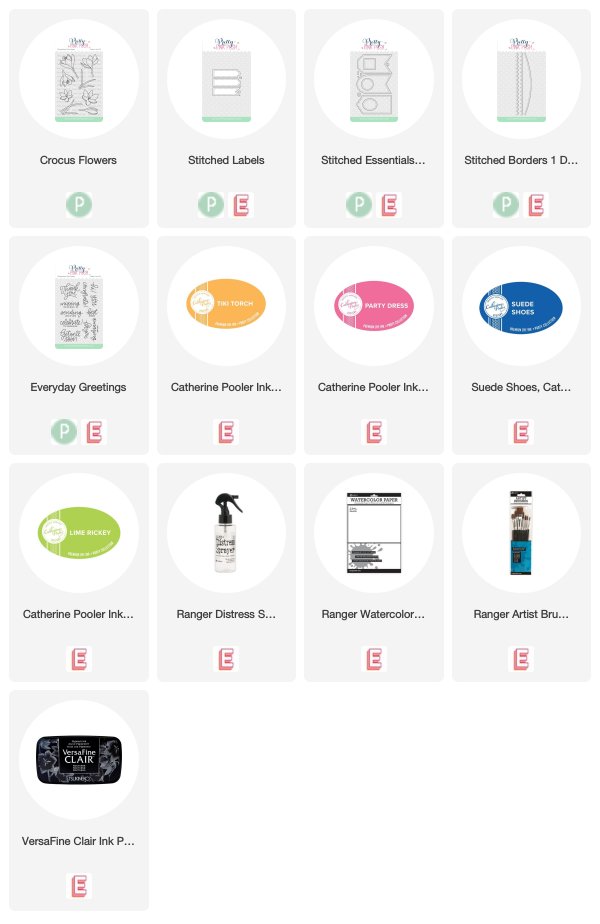
Then I used Versafine Clair Nocturne ink to stamp the Crocus Flowers across the panel before adding more watercolour to them, to make them stand out from the background.

To assemble the card, I rotated the sketch and changed some proportions - making that dark strip very narrow (but so pretty with that scalloped edge from Stitched Borders 1!). My sentiment is from Everyday Greetings, stamped on a stitched circle from Stitched Essentials 1 and layered onto a label from Stitched Labels 1. I added a couple of small gems from Party Mix for sparkle.

Here's a quick video:


I used:

Friday, 27 July 2018

Muse 276 - Happy Anniversary


I had fun making my card for this week's Muse Challenge, where Guest Muse Bharati gave us this sweet inspiration:


I focused on Bharati's:
-rainbow, geometric background
-focal image with two 'bumps'
-strip sentiment with white embossing

I created my background with an MFT background stamp embossed in white on watercolour cardstock. I slopped (sounds messy, but it's true!) Catherine Pooler inks all over it in several layers so that in some areas with was blended and in others it was layered.

The heads of the hedgehogs made me think of a tilted heart so I kept it clean and simple with a white Heart Stax (these appear to be discontinued, so I linked to the Pierced Heart Stax below). I finished with a simple sentiment embossed in white on a black strip.

I used:


Wednesday, 11 July 2018

*NEW* Craft Stash Blog Hop


Good morning! I am so excited today to be hopping on Day 3 the New Craft Stash Blog Hop (full blog list below)! This is a 'just for fun' Blog Hop where participants are using something new--"New" meaning - new to the papercrafting market, new to the participants, or newly discovered in our Craft Stash - you know the stuff you bought, tucked away and forgot about! 


The Blog Hop is split over three days, so if you missed Day 1 or 2 you can go to Ingrid Blackburn's blog to get a list of links for the participants. By following the hop and commenting on each stop, you have a chance to win one of 6 prizes plus there are a few other prizes along the stops of the hop.

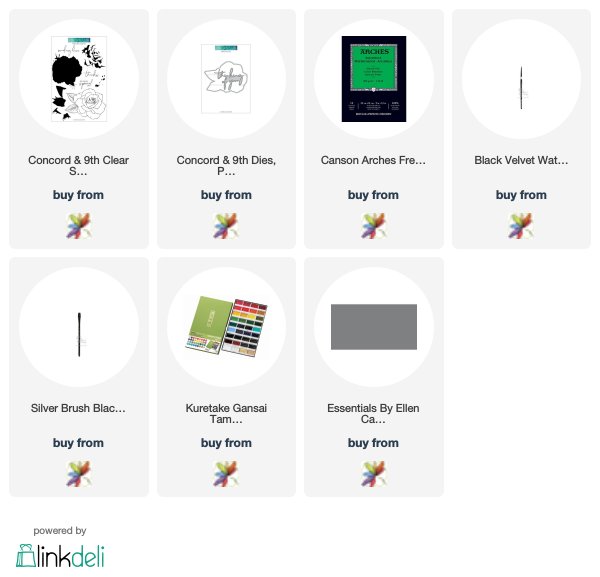
I used a new Concord & 9th stamp set and matching dies, along with new-to-me Arches Cold Press watercolour paper. 

I started by embossing the rose with WOW! Opaque White embossing powder.

I used Kuretake Gansai Tambi and started with a watery wash over the whole panel in soft yellow. I used the same colour with a little less water in the rose, to intensify the colour. Then I used a darker yellow to add depth in the shadows and finally some dark pink to blend and bring it to life. This rose is so big that you get a lot of variation in colour and it's so fun to experiment and see how the colours blend. I used the same process with the leaves, but they are much smaller so I only used two colours.

Once the panel was dry, I used a grey Copic marker to add a shadow along the bottom of the rose. Next,  I used the matching die to partially cut out the leaf on one edge before trimming my panel to 3.75x5. I cut the sentiment in Essentials by Ellen Slate cardstock and inlaid it into the watercolour panel. I added a narrow white mat before adhering it all to a Slate card base.

Here's a quick video:


We have some amazing sponsors & Prizes:


Stampscapes – 2 prizes – choice of Nature Sheet Stamp Set ($26.50 value)
CAS-ual Fridays Stamps – $25 gift certificate
Catherine Pooler Designs – $25 gift certificate
Right at Home – $20 gift certificate
Stamplorations – $20 gift certificate

Prizes will be drawn on Monday, July 23, so be sure to hop along for your chance to win!

Ardyth Percy-Robb  <<You are here