Pages

Showing posts with label encouragement. Show all posts

Saturday, 12 September 2020

Look for the Light


Congratulations to this week's Featured Stamper, MaryJo (Icela52)!

I chose this card as my inspiration:


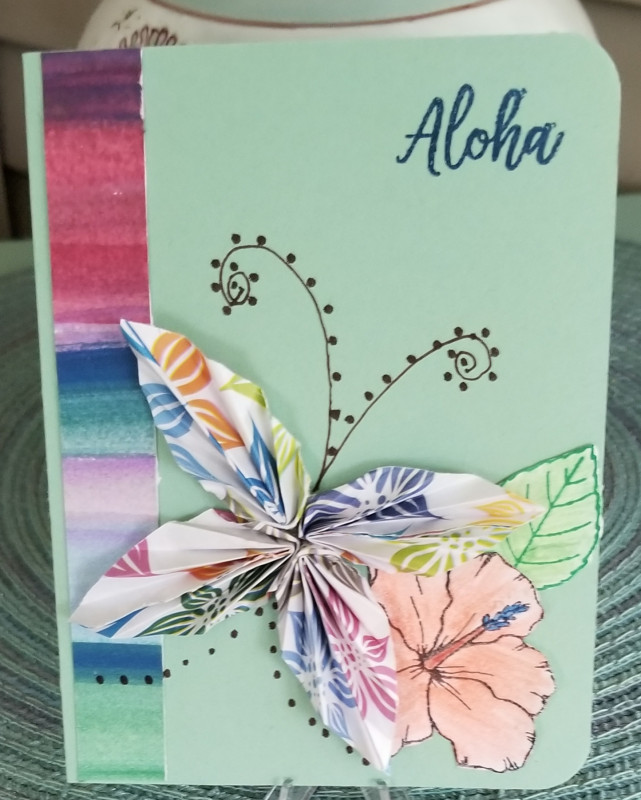
I focused on MaryJo's:
-butterfly
-striped strip


I changed:
-colours
-orientation of the stripes (from horizontal to vertical) and the strip (from vertical to horizontal)
-no flowers/leaves
-no origami

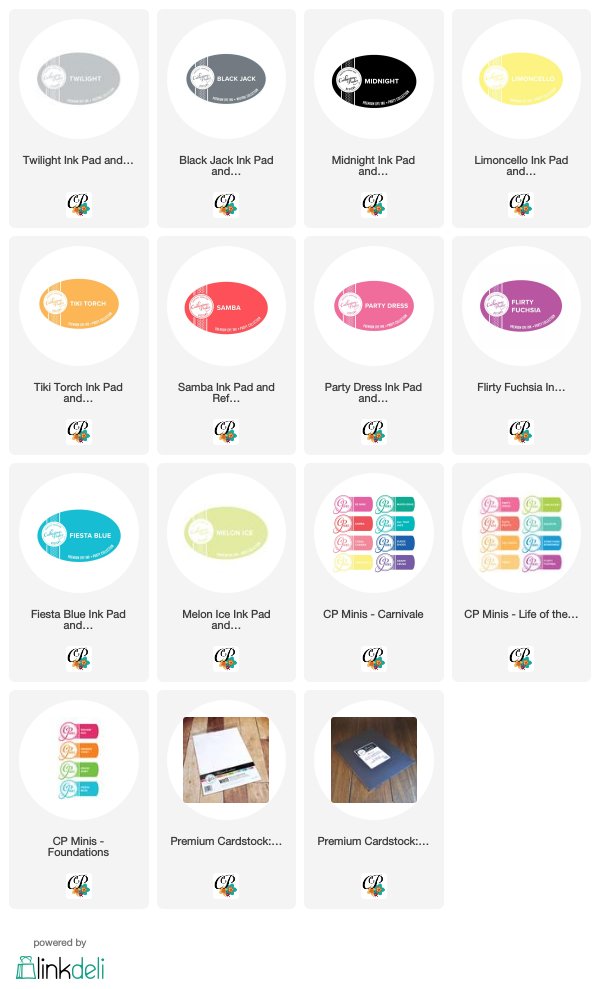
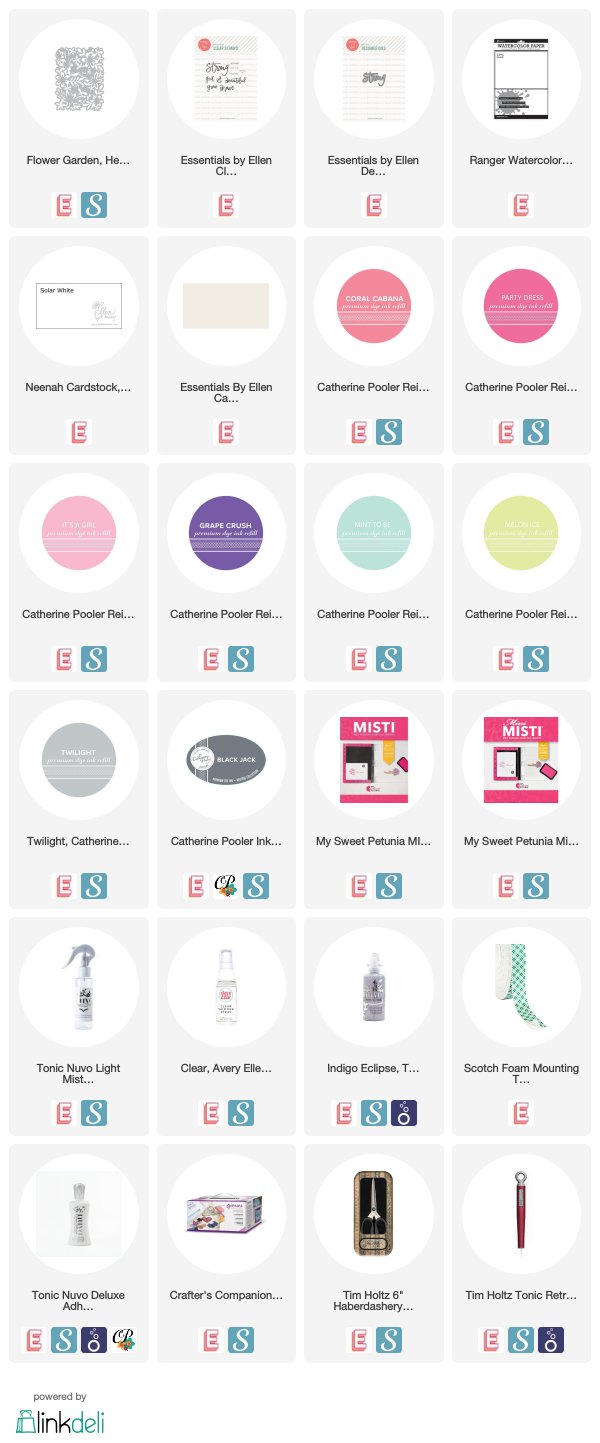
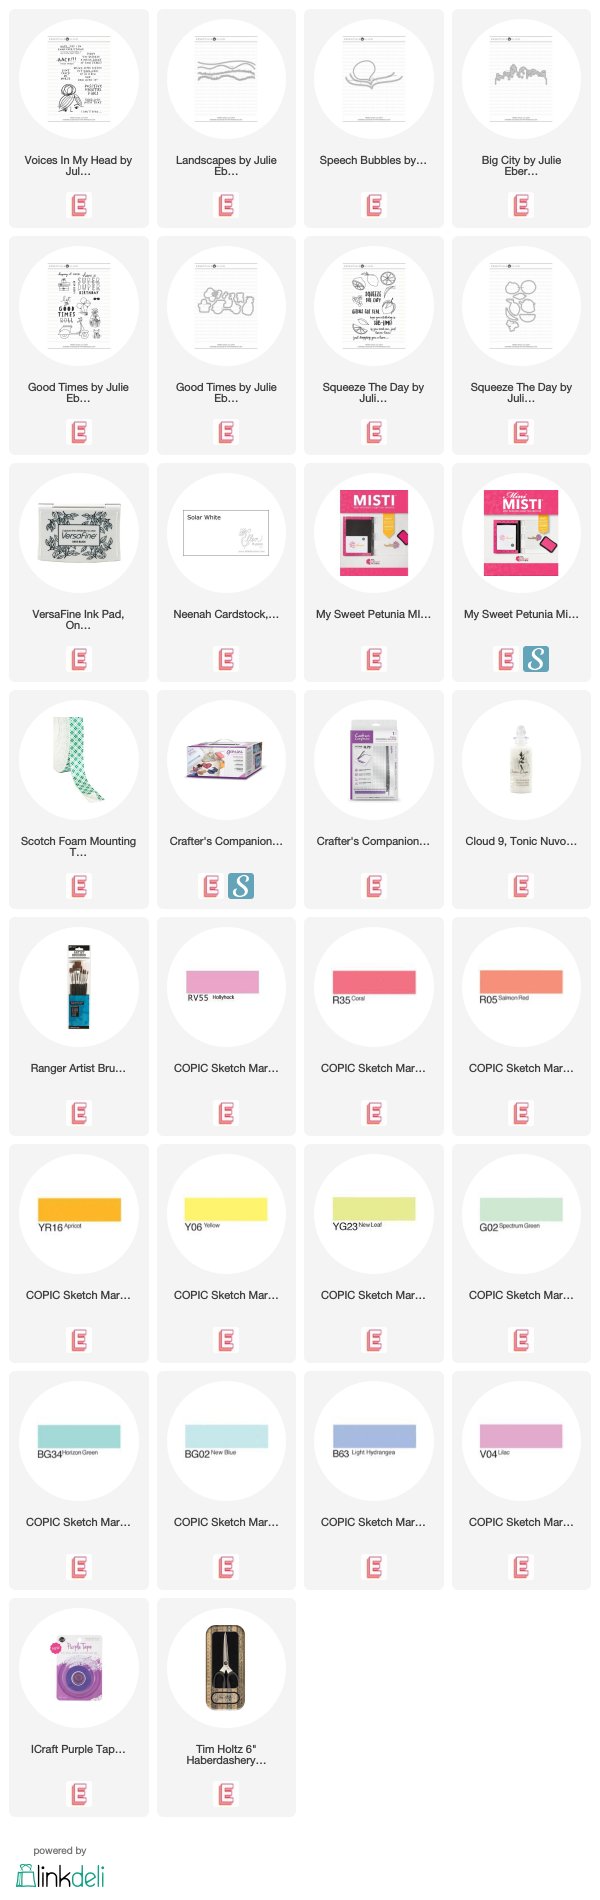
To create the rainbow strip, I chose 10 of my Copic markers and used the chisel tip to add stripes. I trimmed it to about 2 inches wide.

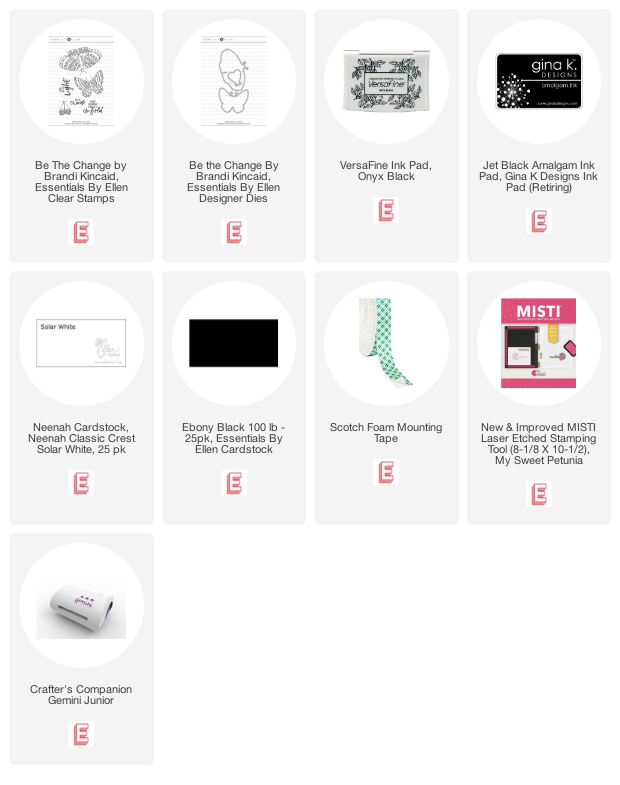
I stamped the butterfly from Essentials by Ellen Be the Change, die cut it and then fussy cut the wings so there would be no white 'halo'. I shaded it with some cool gray Copic markers and added some Star Dust Stickles for sparkle.

I cut a white circle with Essential Circles dies and stamped the sentiment from the same set. I placed the butterfly on the strip, over the white circle sentiment to determine where to cut out a triangle portion from the rainbow strip to enlarge the sentiment area.

I popped up the rainbow strip and then popped up the butterfly with foam tape just under the body, so I could 'fluff' the wings a bit for more dimension.


Thursday, 7 November 2019

AJVD Mini-Release - Perk Up!


I'm on the A Jillian Vance Design blog today with this fun card for a Mini-Release of 3 new stamp sets. Head over for more information and to see how you can win!

Monday, 17 June 2019

Stretch Your Stamps - You Can Do It!


Today I have a easy card where I created a flying bird out of a sitting bird.

I stamped and the bird from Tropical Birds twice onto white cardstock. I used Copic markers and coloured one of the birds fully and for the second one, I just coloured the wing.

I used a co-ordinating die to cut the bird, but for the wing, I used my scissors and fussy cut it. The wing has nice smooth curves so it was really easy.

Then I played around a bit to position the wing behind the bird to make him look like he's in flight.

For the background, I stamped the branch and tiny flower from Tropical Toucans a few times down oneside of the panel, and around the edge of a white 4.25x4.25 card base.

I stamped the sentiment from Tropical Toucans, leaving space for my bird above it.

I backed the panel with a narrow black mat and then glued it to the card base. I popped the bird up with foam tape and added a few jewels from the Luau mix to the flowers.

Friday, 7 June 2019

Tall Card with Extended Die Cut (Scrap 'n Stamp Stamp out Cancer Blog Hop)


I'm excited to be part of the Scrap 'n Stap Stamp Out Cancer blog hop today! My friend, Nancy, is a member of the DT and invited me to participate. Please visit her blog to read about her experience. And stay to check out her cards - she has a beautiful clean and simple style!


I decided to go to my Pinterest board for some inspiration. Are you like me? I pin and pin and then forget to go back when I need inspiration! LOL!

When I got there, I found this:
I was inspired by the pretty florals in bright colours, the subtle sentiment on a white panel, and I thought a tall card would be a perfect way to try something new.

I started by watercolouring the Hero Arts Flower Garden coverplate die cut from watercolour cardstock, using Catherine Pooler re-inkers. Re-inkers give a more vibrant result than the ink pads.

I spritzed the panel with the new Avery Elle Clear Shimmer Spray and then I cut it with my trimmer.

My Oyster cardbase was 4.25 x 8.5, and I cut a white panel that was 4 x 8.25 for the flowers and sentiment,

I created a panel for my sentiment that would hide the gap between the two pieces of the die cut and then added a stamped and die cut sentiment using Essentials by Ellen products.

For a finishing touch, I added some Nuvo Dream Drops in the flower centres and as embellishments on the sentiment panel. I used the same colour on all areas, but I love how they took on the colours of the flowers underneath!

Blog roll:
Ardyth <<You are here

Here's a video:


Shimmery Rainbow Card - Essentials by Ellen June Release


It's release day for the newest Essentials by Ellen products! Direct links are below.

I absolutely love all the stamps and dies in this release and I have quite a few projects coming your way this month.

Today I have a clean and simple, shimmery rainbow card using some of the new Landscapes dies and a sentiment from Voices in My Head. The shimmer was created by 'painting' over a Copic-coloured panel with Nuvo Dream Drops!

Here's a video:

I used:

Wednesday, 18 July 2018

Now Available! Tropically Yours Stamp of Approval Collection


The Tropically Yours Stamp of Approval Collection is now available to the public! Click here to purchase. And don't forget the add-ons (including Coral Cabana ink!)

Stamps: Stand Tall
Inks: Juniper Mist, Something Borrowed, Coral Cabanta, Tiki Torch, Limoncello, Aquatini, Shea Butter, Over Coffee, Midnight
Paper: White
Accessories: Stand Tall Matching dies


Sunday, 10 June 2018

Essentials by Ellen June Release, 30Day Day 10 - Bright Side


The new Essentials by Ellen release is live! And we're using Beach Lady as our 30 Day colouring today. I started with this sentiment from City Lady, and put Beach Lady's hat at a jaunty angle, to shield her from the sun!

I did some Copic colouring, using deep colours on the left side to create shadows.Once she was all coloured, I created my sunbeam by masking the panel and blending Catherine Pooler Limoncello ink on it.


Friday, 8 June 2018

30Day Day8, TFC21 - Time to Bloom


One of the fun things about Kathy Racoosin's #thedailymarker30day colouring challenge is the opportunity to try something different.

Today we are colouring Essentials by Ellen's Mondo Sakura, a beautiful set. I've coloured it all soft and pretty (here), so I decided to try a bold rainbow for today's colouring.

I used my Zig Art & Graphic Twin Tip markers - I'm really liking them for watercolouring techniques. They are juicy and vivid and I seem to have better luck with them than with my Zig Clean Color Real Brush markers.

So there are some things I like about this, and some things I like less. I love the blend on the big yellow flower. The pink and orange ones are ok. I like the purple (too much water) and blue ones less, and I'm least comfortable with the green around it. Not sure if it's the colours I used, or the technique (maybe I should have taken it right to the edge of the panel?)

It's vibrant and fun and I learned a few things, so I'll call it a success.

I'm also linking up to The Flower Challenge. I chose challenge #10, Embossing


I used:


Monday, 23 April 2018

Celebrate Friends Stamp of Approval Blog Hop


Welcome to Day 3 of the Celebrate Friends Stamp of Approval Blog Hop! This Collection from Catherine Pooler Designs is full of products that you can use to make cards that celebrate friendship and lots of happy occasions throughout the year! And included in this collection is a NEW Mystery Ink.


There are actually 3 options this time - you can choose the Tea Collection, the Coffee Collection OR the combined collection! There are some add-ons as well that will coordinate perfectly with your new goodies!

You should have come from  Laurel's blog (full blog list below with details about how to win).
If you’re new to Stamp of Approval – click here to check out everything you need to know about this exclusive collection of stamps, dies and other goodies. All these products were designed specifically for this collection; they are brand new, and while they will be made available at Catherine's store in the future, they won't be available there for many months.
If you are a StampNation member, you get access to order starting on Monday, April 23rd at 10 pm. Not a StampNation member? Make sure you are on the wait list so you get access to the collection at 9 am Tuesday, April 24th before the public (at 6 pm). These collections always sell quickly (and often sell out!), so if you're liking what you're seeing on the blog hop, you'll want to ensure that you have an opportunity to get your hands on this collection!
Now, let's get on with my projects!

Stacking Cups:

SUPPLIES
Stamps: Cuppa Tea
Ink: Lime Rickey, Tiki Torch, Party Dress, Flirty Fuschia, Black Jack, Midnight
Paper: White

If one cup of tea can solve everything, imagine what 4 cups can do! I had some fun with colour and masking to create this stack of tea cups. I created the 'ground' for the cups by simply masking and blending some Black Jack ink above the mask.
Scattered Circles (X2)

SUPPLIES
Stamps: Punctuated Party
Ink: Tiki Torch, Orange Twist, Tutti Frutti, Midnight
Paper: White
Accessories: Celebrate Die, Scattered Circles Stencil

I discovered (maybe by accident!) that I could make two card fronts at once using the new Scattered Circles
stencil (it works well as a turnabout, too!)

Here's a quick video:


Be sure to hop along and comment for your chance to win one of 3 $97 Gift Certificates, which will be chosen randomly from commenters and announced on Catherine's blog tonight at 6 pm.


Wednesday, 18 April 2018

Muse 262 - Best Version


This is my card for this week's Muse challenge, where Kim gave us a lovely spring inspiration:


I focused on Kim's:
-blue bird
-green leaves
-black sentiment

I used Perfect Vines dies to create a negative mask, and then blended Melon Ice and Lime Ricky for my background.

To create the multi-colour peacock, I used my MISTI and inked up a portion of my stamps with Aquatini, Something Borrowed and Flirty Fuschia. I added tiny gems to the tail for sparkle.

I used:


Sunday, 15 April 2018

FS584 - You Are Strong


Congratulations to this week's Splitcoaststampers Featured Stamper, Susy (aka Tootsy). I chose this card as my inspiration:


I focused on Susy's:
-pink colours
-ribbon
-small flowers
-subtle background

I changed:
-die cut sentiment
-die cut ribbon
-stamped background

I started by cutting the ribbon from Courage out of my panel. I inked it directly with my Party Dress ink pad to get a deep rich pink colour.  Before I inlaid it back into the panel, I stamped the background using sentiments from Strong in a pale grey Altenew ink shade. 

I inlaid the ribbon back into the panel and stamped 'you are' to overlap the ribbon (because the ribbon is inlaid, the panel is flat and easy to stamp on both pieces). I die cut and glued the 'strong'.

I stamped one of the Courage flowers with It's a Girl and Party Dress, then cut it out with the matching die and popped it up for some dimension.

I used:

Tuesday, 10 April 2018

Essentials by Ellen April Release - FLAWESOME!

scroll down for my MFT & Friends post


Whoever paired the latest Essentials by Ellen Hot Mess Lady with the Everyday Hero Lady is a GENIUS! Seriously - these two ladies really speak to me. I know many of us have days where feel like we are a 'hot mess' when others see us being an 'everyday hero' by doing all the things we do for all the people around us! I love that these ladies celebrate the duality-reality of life in this way!

I knew right away I had to make a card with both of them. These ladies are both the perfect size to fill a card front on their own, so I had to be creative with my layout.

I stamped Hot Mess off to the side, keeping the dreamy-looking chin-in-hand side of her. Then I coloured her with Copics and used the matching die to cut a mask for her. I used a large circle die to cut another mask and blended blue Distress Ink over the remainder of the panel, fading to white at the top.

On a scrap piece of white, I stamped Everyday Hero and coloured her. I cut her out with her matching die, and then used the same large circle to crop her to fit inside the dream-bubble.

In the dream-bubble itself, I used the 'burst' die to create a stencil and blended yellow ink for some colour and interest in the background. I popped her up on the panel and then added some sparkle to her crown with Wink of Stella and a small Pretty Pink Posh Confetti sequin.

I kept elements (hair and shirt colours) the same so that you know it's the same lady in both her forms.

Sunday, 8 April 2018

Essentials by Ellen April Release


Yay! This month's Essentials By Ellen release is now available! These two new Leading Ladies by Brandi Kincaid are fun and fabulous!


I did some quick Copic colouring of this Everyday Hero lady, and paper-pieced her top with some LawnFawn patterned paper.

Here's a quick video of how I coloured her hair and cape (these two areas are the most interesting, I think.)


I made another card with Everyday Hero Lady, but this time put the colour in the background, which I made with the new Strong stamp set.


I created my panel by stamping the words with Catherine Pooler Party Dress ink. I cut a strip of Neenah and rubbed the inkpad directly onto it to create the solid portion. I then taped them together and cut them down to 4 x 5.25. This method ensures that both portions of the panel match.

I added some shading  with Toner Gray Copics on the lady to give her some dimension, but really left the encouraging words to be the main message.


I used:


Sunday, 25 March 2018

FS581 - Spread Your Wings and Fly


Congratulations to this week's Splitcoaststampers' Featured Stamper, ponygirl2.

I chose this card as my inspiration:


I focused on:
-feather theme
-aspirational sentiment
-fun edge (hers is on the panel, mine is on my inking)

I changed:
-colours
-layout
-no metal embellishment

I started by cutting the feather from a white panel. I temporarily adhered it to a scrap piece of paper and blended ink over the edges, moving from the centre of the feather, to the outside, to create a 'feathery' edge. (haha!)

I then placed the panel over my card base and positioned my feather stamp before stamping it in black. I then stamped my sentiment on the coloured panel.

I popped up the colourful panel over the cardbase and added a few sequins for some sparkle.

Here's a quick video:


I used:


Saturday, 24 March 2018

Muse 258 - You Make Me Smile


Here's my card for this week's Muse challenge, where Kim gave us this really neat inspiration:


I was intrigued by the colours and how well they worked together.

I focused on Kim's:
-green, black and white colour scheme (I added some yellow)
-3 black elements on green

When I got the Love Grows matching dies set, I noticed that the flower centre dies were attached inside the flowers. This gives a really fun possibility of easily cutting them together.

I also took some inspiration from Melissa Miller (another member of the Catherine Pooler Designs Creative Team) and blended ink onto a strip of the new Black Tie Gala Patterned Paper to match the rest of the card.

Here's a quick video:


I used:

Monday, 19 March 2018

Catherine Pooler Designs All That Jazz Release - Make a Wreath


It's Day 2 of the Blog Hops for the new release from Catherine Pooler which will be available tomorrow. I'm not on the hop today, but I've included the list below, so you can hop and comment for your chance to win 2 CP Ink pads!

Seems like everyone's making wreaths these days, doesn't it? There are stamps that turn and there are templates that turn, but I made this just with a square panel and my MISTI.

The stamps I used are from two sets from the Counting Blessings Stamp of Approval Collection that was released last fall, and will be available in the shop tomorrow.  I used pretty pastel colours, and voila, my wreath has a fresh, spring feeling! That little spiral really goes with the pumpkin stamp, but it fits right in here, doesn't it?

It's important to start with a square panel (I used 4.25x4.25 and then cut it with a circle die when I was finished my stamping). And you need to know where the centre of the panel is. I use a circle die and a pencil to draw a guideline, but that step isn't necessary.

Be sure to hop and comment for a chance to win:

Catherine Pooler
Chrissie Tobas
Tracie Pond
Ashlea Cornell  
Jen Carter   
Josefine Fouarge  
Ilina Crouse  
Melissa Miller  


Here's a quick video:


I used:


Sunday, 25 February 2018

Ellen Hutson & Catherine Pooler Designs Blog Hop


I'm so excited to be part of a blog hop celebrating the fact that two of my favourites (Ellen Hutson and Catherine Pooler) have gotten together! That's right, you can now get all of Catherine's inks and the Zen Garden stamps and dies at Ellen Hutson! (full list of blogs is below).


I created 3 mostly-white cards. The first one combines this solid flower from Love Grows with my favourite Party Collection colour combination. I admit that the Party Collection is my first love, although the muted colours of the Spa collection are gorgeous as well,as my next  cards show.

My next card uses just a portion of the Split Chevron Stencil. I masked it off and blended a partial rainbow, then moved the stencil to fill in the 'blank' spots and blended another partial rainbow, starting at a different colour. I inlaide the thanks die and cut the edge of the panel on the same angle, before smearing Stickles on it for some sparkle. Here's a quick video of how I did it:


Finally, I used the stencil again with Juniper Mist and Stone Blue, varying my pressure to get different shades. When I lifted the stencil, I misted the panel with water. I love that it looks like a forest in a snowstorm (it does to me, anyway! LOL!) Once it was all dry, I stamped this encouraging sentiment from Faithful Flutterings in Midnight. I edged the panel with Stickles and popped it up on a white card base.

Here's the blog hop list: