Today I'm sharing 9 quick and easy ideas for using up those backgrounds you have on hand. And if you're a person who doesn't make backgrounds, these ideas work with patterned paper, too!


Today I'm sharing 9 quick and easy ideas for using up those backgrounds you have on hand. And if you're a person who doesn't make backgrounds, these ideas work with patterned paper, too!

My son's valentine was inspired by the art of Alexandra Squire. I love the use of simple shapes and colour!
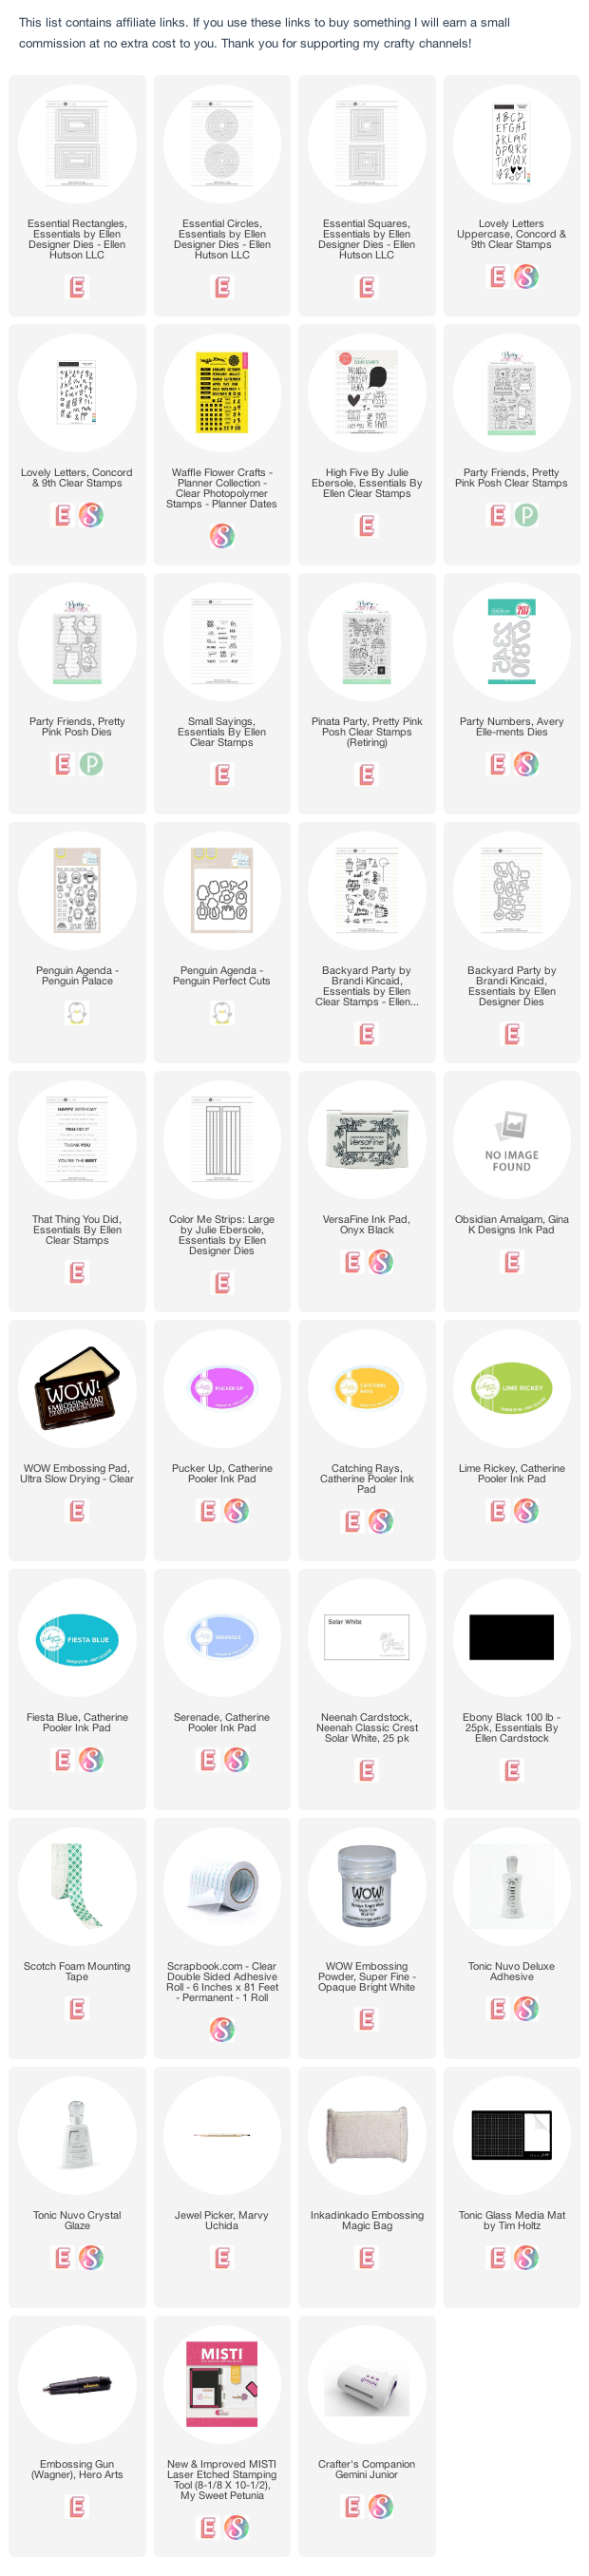
And for a clever little trick, I used the frames that my Essential Squares dies cut to create the heat embossed gold stripes on each shape!

A number of you asked me to make a full tutorial for this card, and today's the day! (Today's also the day to be able to sign up for the next Card Maker Success Summit - get your free ticket here!)


After a short hiatus, Mary is returning to Craft Roulette this week and we're so happy - we missed her! If you want to join in the fun, share a card, using 4 wheel parameters of your choice and upload to the Facebook group!
I chose
Project #5: z-fold card
Colours #24: pink plus 2 (green and blue)
Element #12: bouquet (EH tulips)
Random #8: old product (EH tulips)

I chose this card as my inspiration:


Congratulations to this week's Featured Stamper, berlycece.
I chose this card as my inspiration:

LIST: Colours (rainbow, black, white), Techniques (watercolor, stamping), Elements (rainbow panel, black sentiment, encouragement theme)
INCLUDE: rainbow colours spread on panel,
MODIFY: inlaid die cut technique with ink blending, die cut sentiment
EXCLUDE: black/stamping, white frame
SPIN: added circles
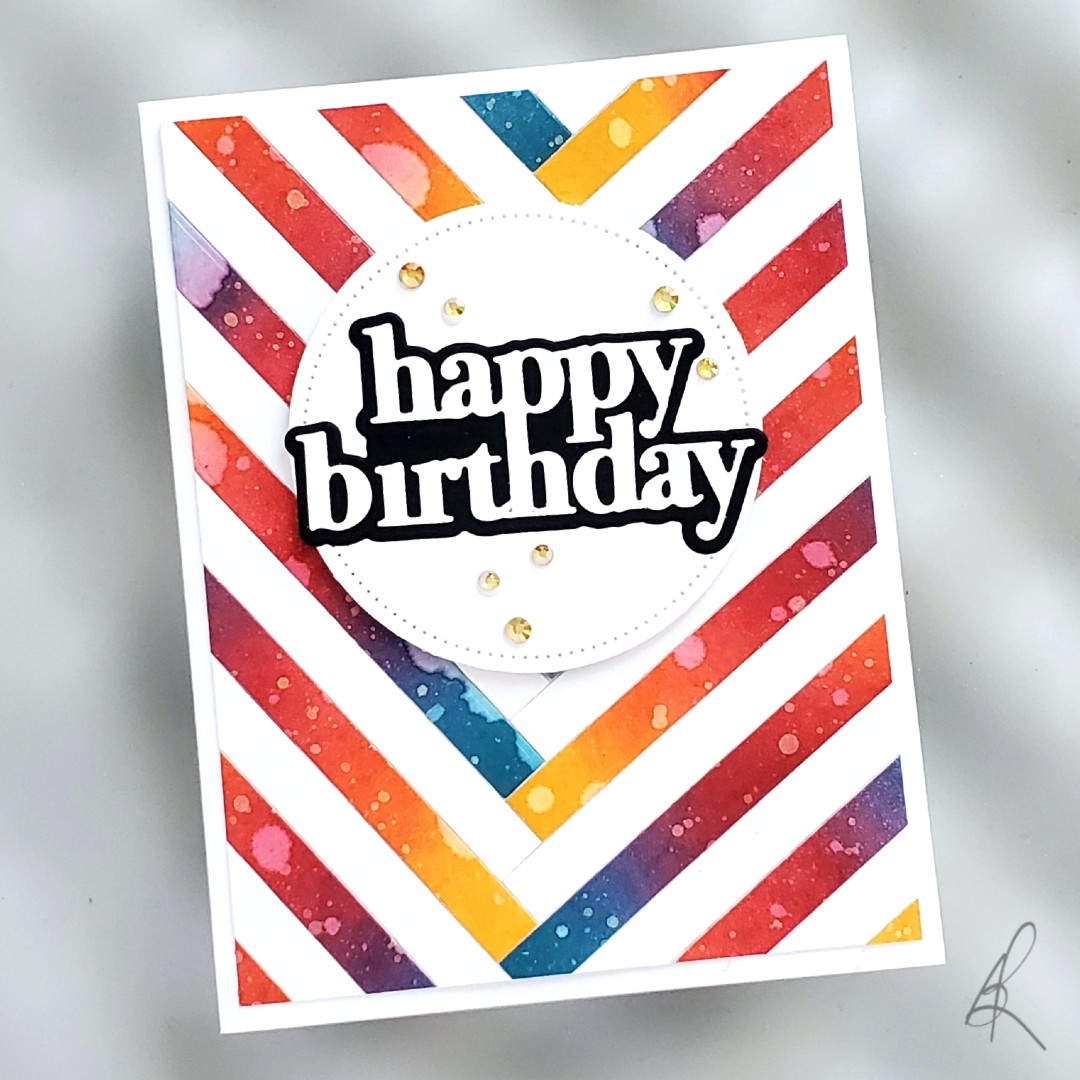
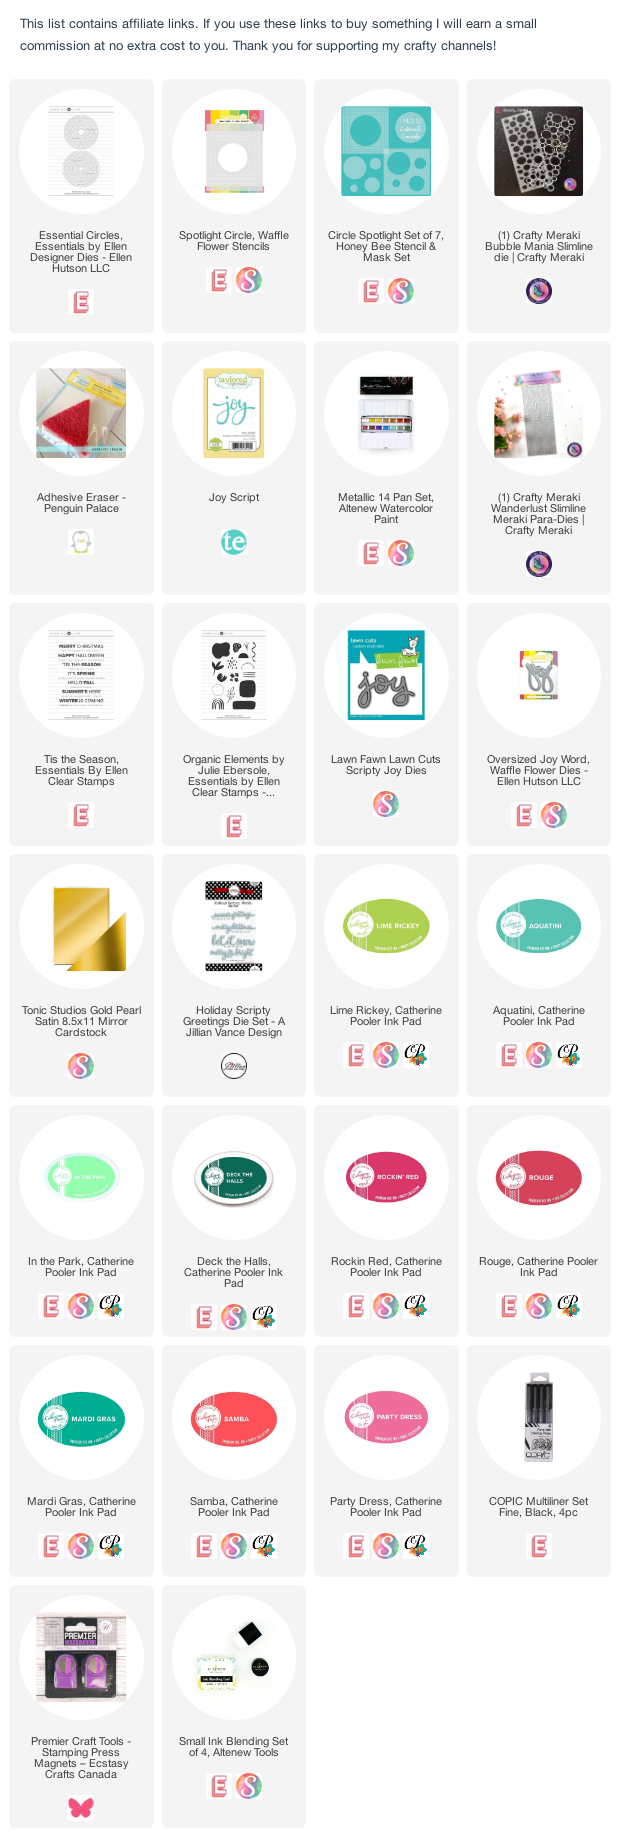
I cut the coverplate die from chrome mirror cardstock and also from white, and blended rainbow colours onto all the triangles. I inlaid the triangles into the chrome frame, and then used circle dies with frames to cut circles from the panel, and from the chrome cardstock and again from white. I inlaid ink-blended circles inside their chrome frames to get this fun look.
I stacked up my sentiment with 2 layers of white cardstock behind the chrome cardstock.

I've been on 'video-vacation' for about a week now, and have really enjoyed having a chance to just play with the new goodies that I've purchased over the summer.
EBE Organic Elements was one of the sets - the simple shapes and lines make it easy to create organic, geometric abstract designs! And these big solid stamps reminded me of one of the reasons I love Catherine Pooler's inks so much - perfect first-time coverage (and vibrant fun summer colours are just another reason...)
I stamped a little off-centre grid, leaving one place empty for my sentiment, which came from Mondo Tulip.
I finished my simply-stamped card with 3 little silver pearls.


Today my video combines two of my favourite things - LIMES and rainbows!

I've been invited to celebrate with Erica and Maria as part of a video hop so be sure to watch how I was inspired by each of them and how I used two of my favourite direct-to-paper ink techniques.
Then hop and comment for a chance to win! (details below)
Hop Details:

Comments must be left (on YouTube, not here) by June 23rd at 11:59 PM Pacific time. Winners will be announced on June 25th on both Erica’s and Maria’s YouTube channels.
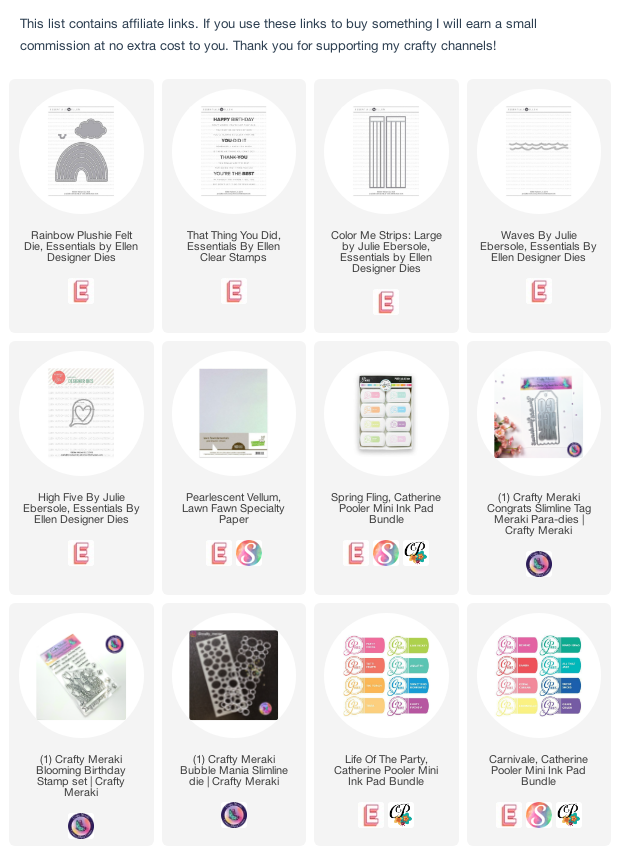


Congratulations to this week's Featured Stamper, Elizabeth (beadsonthebrain).
I chose this project as my inspiration:

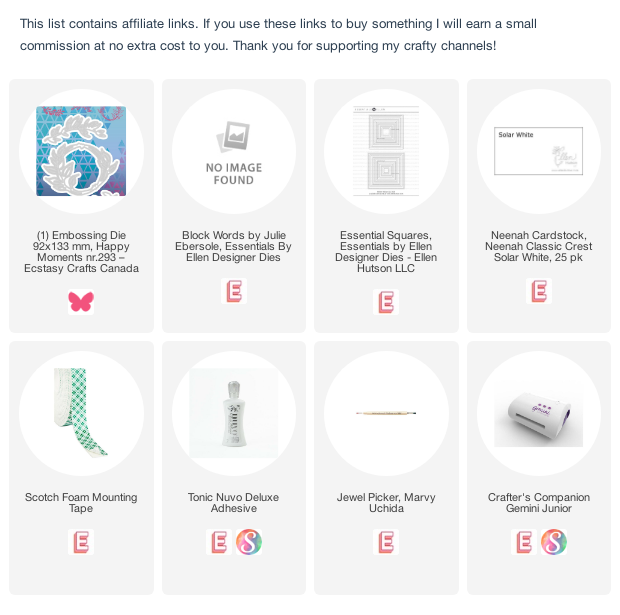

It's Throwback Thursday and I'm looking back on one of my all-time favourite floral stamp sets, from Ellen Hutson - You Should Know.
These flowers are big, happy and easy to colour with your medium of choice, or you can leave them black and white and add a pop of colour with a sentiment.
For more details, click on the links below:


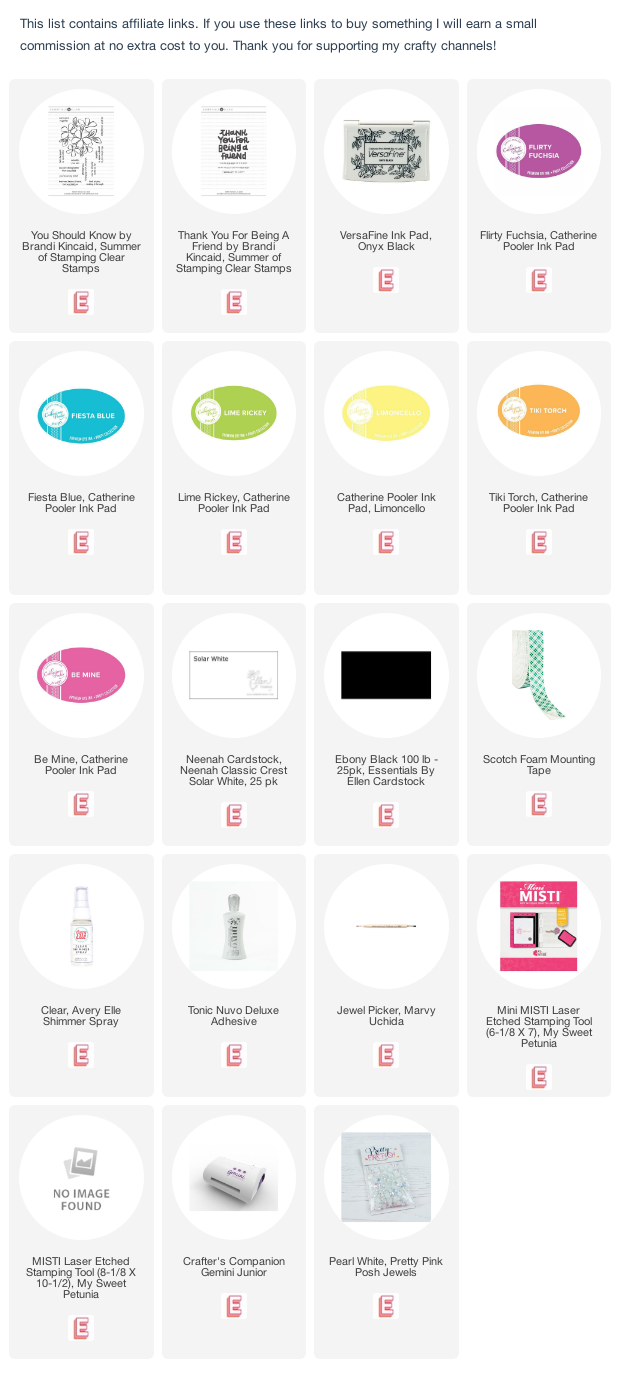


You know I love to get more out of my stamps and one way to do this is to find a pattern within a pattern. This Peacock Patter background from MFT Stamps is classic and beautiful, and I found tulips!
I started by stamping the background with copic-friendly ink onto a white panel. I used a MISTI and left the stamp on the door.
I isolated and coloured the row of tulips with Copic markers and then cut masks before blending ink over the rest of the panel.
Finally, I put the panel back into the MISTI and restamped with embossing ink before heat embossing with gold powder.
I trimmed the panel with two Essential Squares dies which cut frames around them - I popped the two squares up on a black panel and then added a heat embossed sentiment.