I chose this card as my inspiration from the gallery of this week's Splitcoaststampers' Featured Stamper!

Welcome to this week's LIMES inspiration post!
I chose this card as my inspiration from the gallery of this week's Splitcoaststampers' Featured Stamper!
LIST: Colours (yellow, orange, pink, white, black), Techniques (ink blending, die cutting), Elements (square cards, daisy die cut, greenery die cut, die cut sentiment, white border)OK, I admit that I was inspired by these cards because they already contain so many of my favourite things - great summer colours, lots of die cuts, square card, pops of black and white borders.
But I changed it up. I wanted to show that inkblending a background with a gel plate, brayer and inks you already have is WAY easier than using blending brushes.

After a short hiatus, Mary is returning to Craft Roulette this week and we're so happy - we missed her! If you want to join in the fun, share a card, using 4 wheel parameters of your choice and upload to the Facebook group!
I chose
Project #5: z-fold card
Colours #24: pink plus 2 (green and blue)
Element #12: bouquet (EH tulips)
Random #8: old product (EH tulips)
I love the look of Clean and Simple cards. But I also love to try techniques, and some of them can get pretty messy.
Today's video shows 4 ways to use watercolour powders and then how I used the panels I created with these messy techniques to make clean and simple cards.
This video is part of a video hop to celebrate the latest Crafty Meraki release, and they are giving away a Spellbinders Glimmer hot foil machine to ONE randomly chosen lucky winner! Head to my video here and then hop and comment for a chance to win!
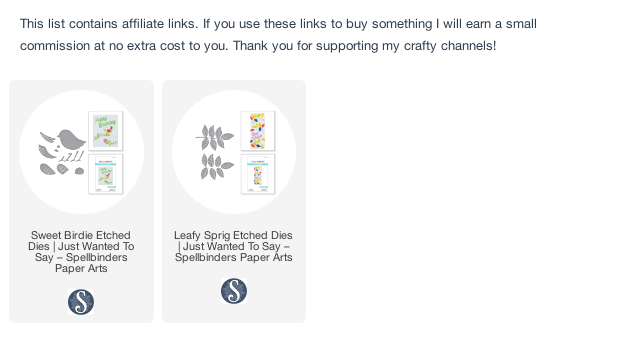
Leafy Sprig has a sprig, of course, but also includes 7 individual leaves that make cutting multiples quick and easy!
For the first one, I actually paired up the bird with one of the Color Block Balloon dies from yesterday's Birthday release. I cut the striped balloon from four pieces of cardstock coloured with my ink pads, then assembled them, mixing the colours. I cut the bird from the centre of the balloons, and then grounded them on black balloons cut with the same die.
For this bird, I used all the die cut bits in pretty, fresh colours. I like to cut all the pieces from white cardstock then colour them either with markers or ink pads. This means I don't have to try and store lots of coloured cardstock and scraps. I grounded this bird with a black scallop cut from Colorblock Slimline edges and a hello die cut from Paper Rose.
By changing the colours, I made the Sweet Birdie into a cardinal, perfect for a classic feeling Christmas card. I blended a circle as my background, and added the Leafy Sprig die cut and my cardinal, along with a Waffle Flower sentiment.
This time, I went for a more mid-century modern look, and left a lot of the details off the birds. I used some 'backwards' so that they could face each other, and I added a wing to the back of each bird to make them look like they are flying.
Finally, I used the 7 individual leaves to cut a lot of leaves before colouring and arranging them onto my background. I splattered gold watercolour over top and added a white thanks die cut to brighten it up a bit.

I'm excited to be part of an Instagram hop to celebrate Crafty Meraki's 2nd birthday. Today, they are releasing some new stencils and stamps.
I made this card with the new Butterfly Garden stencil. I love that I could use small blending tools to add multiple colours without any masking, and then to take it to the next level, I added a thin coat of Enchanted Gold Gilding Polish which not only softened the colours, but added subtle shimmer and texture!
I added a stacked up hello sentiment and lots of the newest colours of Meraki Sparkle gems!
Congratulations to this week's Featured Stamper, Kristine!
I chose this card as my inspiration:
LIST: Colours (blue, purples, green, yellow), Techniques (pop up card) Elements (tulips patterned paper, stamped lamb on oval die cut with yellow frame, die cut flowers on steps, purple mats)INCLUDE: Colours, tulips, frames,
MODIFY: focus on left panel of step-up card only, modify oval die cut to circle, white negative frame rather than purple layered mats, Easter to friend theme
EXCLUDE: lamb, step-up, die cut flowers
SPIN: square card
It's been a while since I did some Copic colouring! I started by stamping the tulip image from the new Spring Blooms set from Crafty Meraki, then masking and stamping it again on either side.
I chose two combinations of purple markers for my tulips, added yellow to the centres and finished with a rich blue sky.
So I took another shot at it, added more stamping to the design and still didn't love it.
I love to try new techniques, but sometimes I feel like I only try them once then move on without fully exploring them.
So in today's video, I'm revisiting two of my favourite alcohol ink techniques from 2021 - alcohol inks with stencils and the salad spinner technique.
I finished all the cards with Oversized Hi, Hey, Hello and Oversized Thank You dies from Waffle Flower for quick and easy cards that let the backgrounds really shine!
Congratulations to this week's Featured Stamper, mickeyinpsj.
I chose this card as my inspiration:
LIST: Colours (pink, purple, yellow, white, black) Techniques (stamping, die cutting), Elements (patterned paper, black dots, flowers, ribbon, bow, layered die cut sentiment)INCLUDE Colours,
MODIFY alcohol ink background instead of paper, coloured dots instead of flowers, flower created my scalloped frame, black pearls as dots
EXCLUDE ribbon,
SPIN square card,
I started by creating a background on Yupo paper with alcohol inks and bubble wrap. The purple, yellow and pink blended to create lots of different tones.
I cut a circle from the centre and doubled-up daisy die cuts to create a scalloped circle.
So this card is one that didn't make it into my video about making 'masculine' cards - we often think that sporty cards work well for men, and they do! But my friend loves to cycle and I know she will love this card (and the one below). She just moved into a new home, so this Christmas sentiment from Ellen Hutson is perfect, even if it doesn't tie perfectly with the bike motif!
I think Gerry summed it up best in her video - instead of making cards for men, let's just make cards for people - we're already very good at that!
For this card I cut the Penny Black bicycle die 15 times from black cardstock and 15 times from white. I glued the black outlines onto a white panel, then added in the coloured 'inner wheels' from the white die cuts.
For the second card, I took one of the leftover white die cuts, coloured it with a rainbow of Copic markers and stacked it up with a few of the other white die cuts.
This sentiment is a very old wooden stamp from Stampin' Up, but again, it's perfect for a cycling card.
To kick off this new season, I am sharing this floral card, using products from Crafty Meraki. I have combined the brand new FrameWorthy Mini-Slim die set with the Hello, Love stamp set, coloured in muted, autumn colours.
I stamped the image onto white cardstock and coloured it with Copic markers. Then I cut the white cardstock with all 3 nested frames. I also cut the frames from black cardstock, to give me the 'in between' bits for inlaying onto my 3.5 x 6.25" card base. (click here to see a video showing my inlaying method and other tips for mini-slim cards).
Once it was all inlaid, I trimmed down the stamped gorgeous (also from Hello, Love), adhered it to the card, and added Nuvo Crystal Glaze to the letters, flower centres and berries,
I've been on 'video-vacation' for about a week now, and have really enjoyed having a chance to just play with the new goodies that I've purchased over the summer.
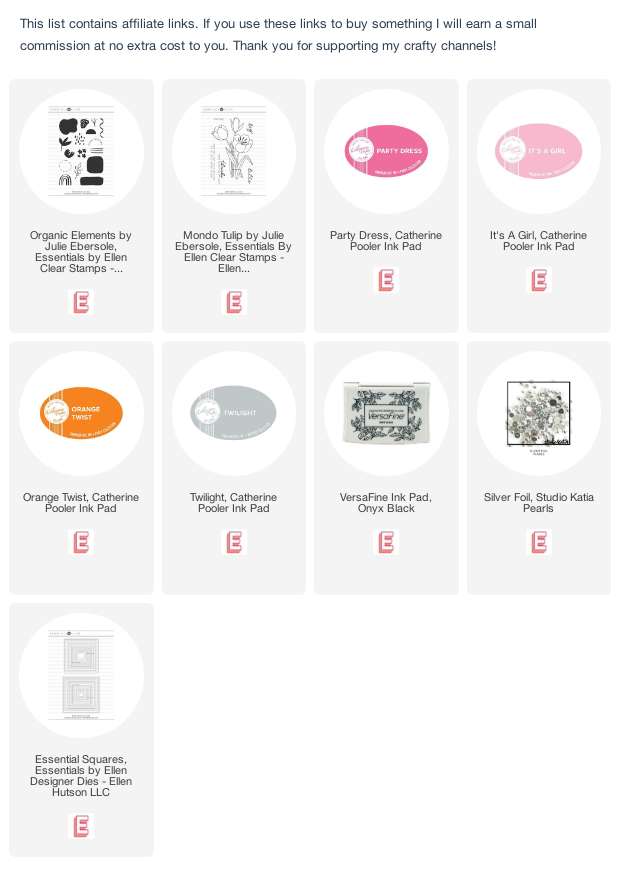
EBE Organic Elements was one of the sets - the simple shapes and lines make it easy to create organic, geometric abstract designs! And these big solid stamps reminded me of one of the reasons I love Catherine Pooler's inks so much - perfect first-time coverage (and vibrant fun summer colours are just another reason...)
I stamped a little off-centre grid, leaving one place empty for my sentiment, which came from Mondo Tulip.
I finished my simply-stamped card with 3 little silver pearls.
Tulips are my favourite flower and my favourite sign of spring! I love the simple shapes and the bright colours.
And getting more out of a stamp is one of my favourite crafty things to do. I used the Blooming Birthday set from Crafty Meraki, but I stamped it twice, off the edge, to get a different look than using the whole stamp.
I coloured it with Copics and added an inkblended sky, some stickles and Dew Drops.
And check out the gorgeous enamel pin that's available in the shop!
AND, I have a discount code: ARDYTH10 for 10% off your order!
Congratulations to this week's Featured Stamper, Elizabeth (beadsonthebrain).
I chose this project as my inspiration:
LIST: Colours (dark brown, pinks, green), circle, dry embossing, 'pie' shape,