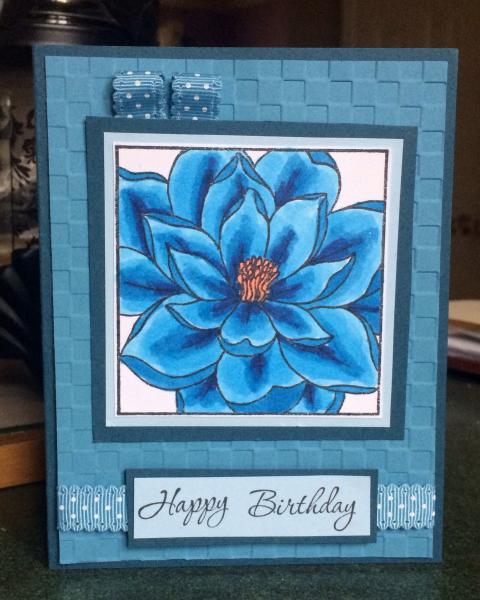
Welcome to this week's LIMES inspiration post!

I chose this card as my inspiration from the gallery of this week's Splitcoaststampers' Featured Stamper!

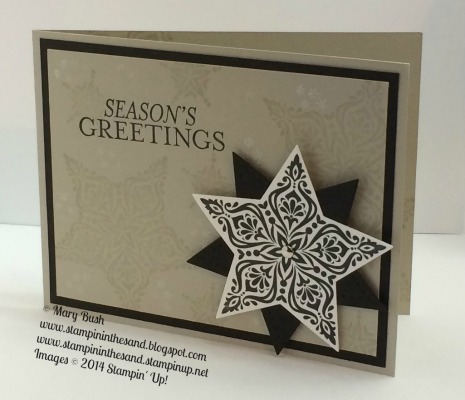
INCLUDE: teal, yellow, gray
MODIFY: petals run vertically, have extra die cut inlays to mix colours, sentiment is circle with dark mat, 3 gems instead of pearls, dark gray background
EXCLUDE: heat embossing, flowers, brown
SPIN: square card
I love when geometric shapes fit together like this to create a pattern. I created strips of coloured paper with 3 colours of ink, and then die cut all my petals. I mixed up my colours a bit more than Giovana did because of the way my petal die cuts nesting shapes all at once. If you don't have these little nesting dies, you could get a similar look with larger nesting dies in simple shapes.
I finished with a very simple sentiment in a matted circle.