Pages

Showing posts with label Lawn Fawn. Show all posts

Friday, 8 September 2023

Super Smooth Gel Blending


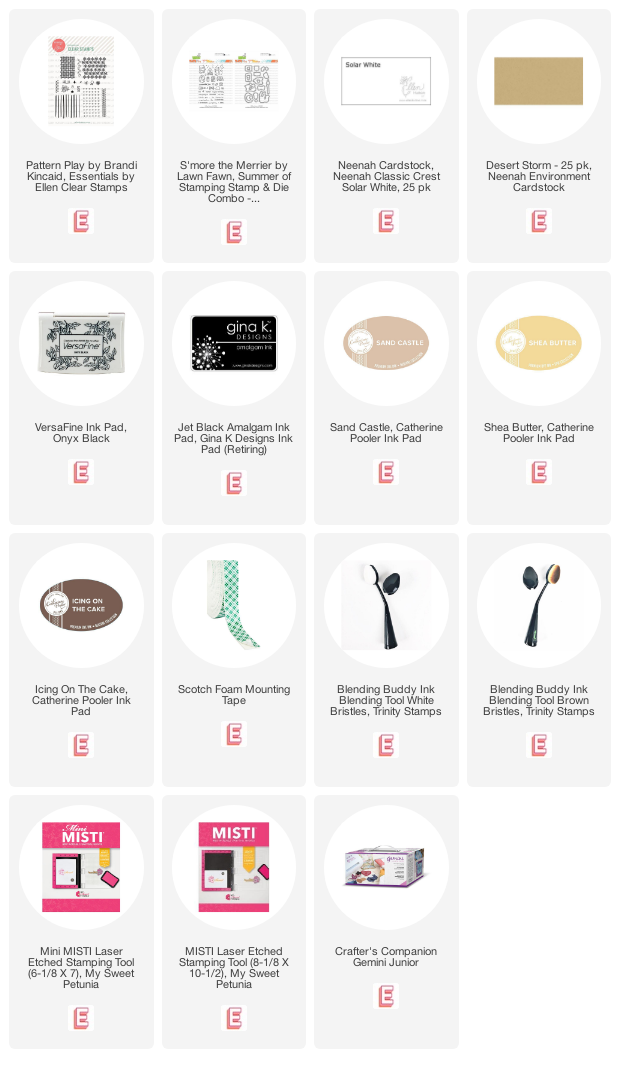
I found a faster way to ink blend perfectly smooth panels - only one of these panels was ink blended - the other two were 'gel-blended' - can you tell which is which? 


Saturday, 17 June 2023

Congratulations!

Welcome to this week's LIMES inspiration post!

I chose this card as my inspiration from the gallery of this week's Splitcoaststampers' Featured Stamper!

LIST: Colours (white, black, orange, pink, green), Techniques (stamping), Elements (3 strips of coloured flowers, black horizontal strip, 3 embellishments, thinking of you sentiment top left, square card)

INCLUDE: colours, horizontal stripes of 'flowers', black horizontal strip

MODIFY: combined stamped sentiment with black strip, die cut instead of stamped, and 2 stripes of each colour

EXCLUDE: 

SPIN: die cut inlay, combined embellishments

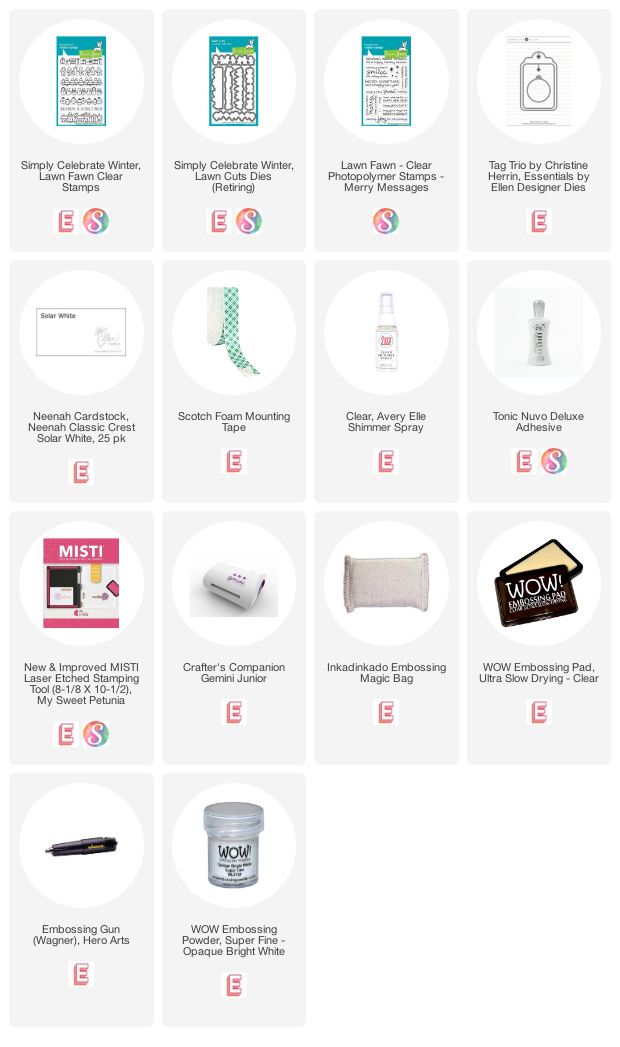
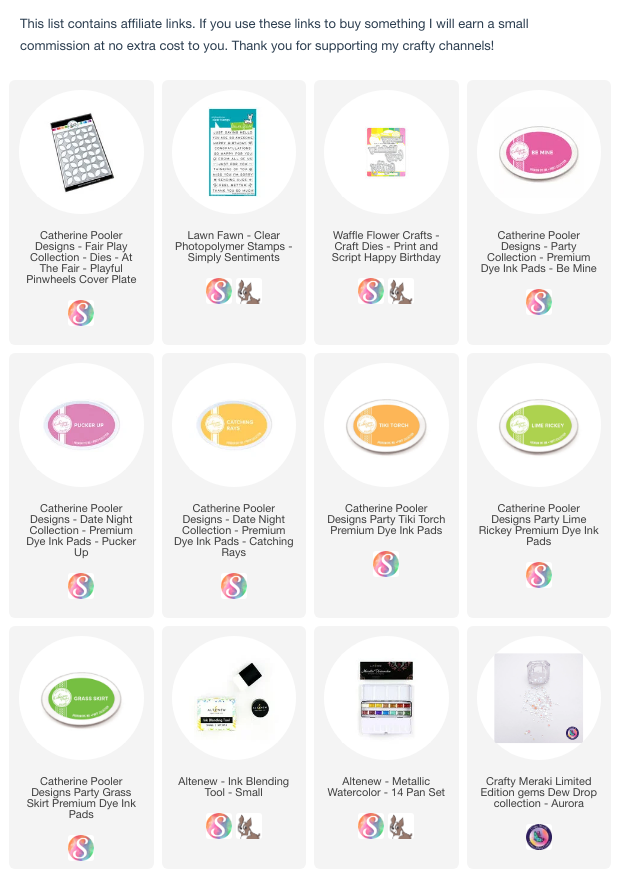
These 3 stripes of flowers made me think immediately of this geometric coverplate from Catherine Pooler. 

I blended a panel with stripes of ink, (2 of each colour), using a lighter tone at the top, and a deeper tone at the bottom for a gradient look. I splattered it with water and gold watercolour and then  I cut it with the cover plate, creating all the little 'petals' to inlay into the white die cut.

I chose a very simple sentiment from Lawn Fawn and heat embossed it onto a black strip of cardstock.


Saturday, 10 June 2023

Happy Magical Birthday


Welcome to this week's LIMES inspiration post!

I chose this layout as my inspiration from the gallery of this week's Splitcoaststampers' Featured Stamper!


LIST: Colours (brown, teal, red, orange), Technique (digital scrapbook page), Elements (geometric background, flower, large text sentiment, strip sentiments, owls, birds, fall theme)

INCLUDE: brown, teal, orange, geometric background, large text sentiment

MODIFY: technique - stencil with watercolour powders, birthday theme

EXCLUDE: red, bird, flowers


I was drawn to the colours of this layout, but needed a more masculine design for this birthday card, so I left off the flowers.

I used some pixie spray to stick my stencil to some cardstock, and sprinkled watercolour powders in blue, gold, and brown over top. 

For the mat and sentiment, I cut them from white cardstock, blended dark teal and dark brown inks over top and spritzed with some iridescent shimmer spray. 


Saturday, 20 May 2023

Merry and Bright


Welcome to this week's LIMES inspiration post!

I chose this card as my inspiration from the gallery of this week's Splitcoaststampers' Featured Stamper! 


LIST: Colours (red, black, pale aqua, yellow, green) Techniques (die cutting, stamping), Elements (3x4 grid of stitched squares, tone on tone stamping, ribbon, black frame)

INCLUDE: red, black, aqua, yellow, green, die cutting, 

MODIFY: 2x2 grid of stitched squares, spaced out, die cut lights instead of stamped images, shifted colours for visibility, added a sentiment,

EXCLUDE: ribbon

SPIN: square card, white border

I love a grid and was fascinated with the colour combination on my inspiration card.  I cut and inkblended squares and some Lawn Fawn Christmas lights, and created dimension by masking the edge of each light and then blending a darker shade (that white 'highlight) is a cut out and shows the base layer of the die cut and also adds dimension).

I put the squares onto a larger stitched square and noted the similarity to a certain tech-related logo...

My original idea was to have tone-on-tone lights on each square, but when it came time to put them on, they just disappeared, so I shifted them along by one square. 

I finished with a stacked up die cut sentiment from Avery Elle.


Friday, 31 March 2023

Mad For Plaid!

 
Today I'm trying out 10 different ways to get the look in your cardmaking from some DIY options to the latest tools. and here's a spoiler alert - some are more successful than others.....


Saturday, 17 December 2022

LIMES: Glowing Peace & Joy


Welcome to this week's LIMES inspiration post!

I chose this card as my inspiration from the gallery of this week's Splitcoaststampers' Featured Stamper!

LIST: Colours (black, white, red/pink. teal/green, blue). Techniques (heat embossing), Elements (colourful ornaments, white heat embossing on black half-circle, pine branches)

INCLUDE: black, white, red, green, blue 

MODIFY: ornaments to lights, black half circle to top half of panel, sentiment black on white, not white on black

EXCLUDE: heat embossing, pine branch

SPIN: used circles to create 'glow' for lights

I love the mid-century feel of these festive ornaments and you know that a big punch of black is right up my alley.

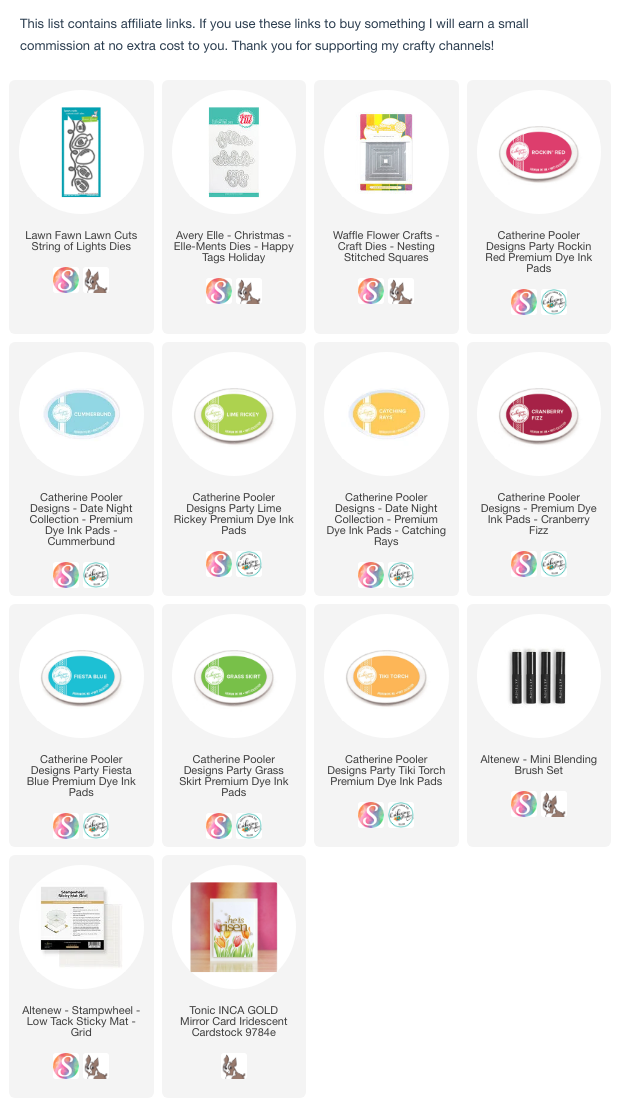
I created my background panel by cutting the light-string from white, black and silver and then inlaying the silver between the black and white portions.

For my lights, I wanted a simple, graphic feel, so I blended ink onto them and then masked and blended a darker shade along the side for 'dimension'. For my 'glow', I used circle die cuts blended with lighter shades of ink. This use of simple shapes also adds to the graphic, almost comic-book feel of this card and calls back to the circular shape of some of the ornaments, and the large black half-circle on my inspiration,

I finished with a very small sentiment stamped in black on white.


Saturday, 7 August 2021

Craft Roulette 73


I played on Craft Roulette last night and for a change, the wheel was extremely kind to me (and the other 2 guests: Crafty Al and Jayme Malme).

  • Matchbook card
  • Any colours
  • Flowers
  • Random item on desk

I made my matchbook card by scoring a 4.25 x 9.25" piece of white cardstock ad 4.25" and 8.5".
For my floral focal point, I used the Sacred Lotus stencil from Penguin Palace Stamp. I trimmed it with a circle die. (GUYS! This tool and stencils are now available at Scrapbook.com!)
The sentiment is a new LawnFawn die - so glad I bought this one!
I ink blended my backgrounds with Catherine Pooler inks.
And I embossed the main panel with an Altenew embossing folder!

Sunday, 30 May 2021

Butterfly Thanks

Congratulations to this week's Featured Stamper, Diane!

I chose this card as my inspiration:

LIST: colours (blue, green, red, orange, yellow), leaves, flowers, layered sentiment strip, dark mat

INCLUDE: stamped background, colours, horizontal sentiment        

MODIFY: flowers to butterflies, butterflies stamped among the leaves, sentiment is individual letters popped up

EXCLUDE: die cut flowers, generational stamping in the background


Friday, 30 April 2021

Beyond Strips - 10 MORE clever ways to use your cardstock scraps! (and great news for Canadian Crafters!)


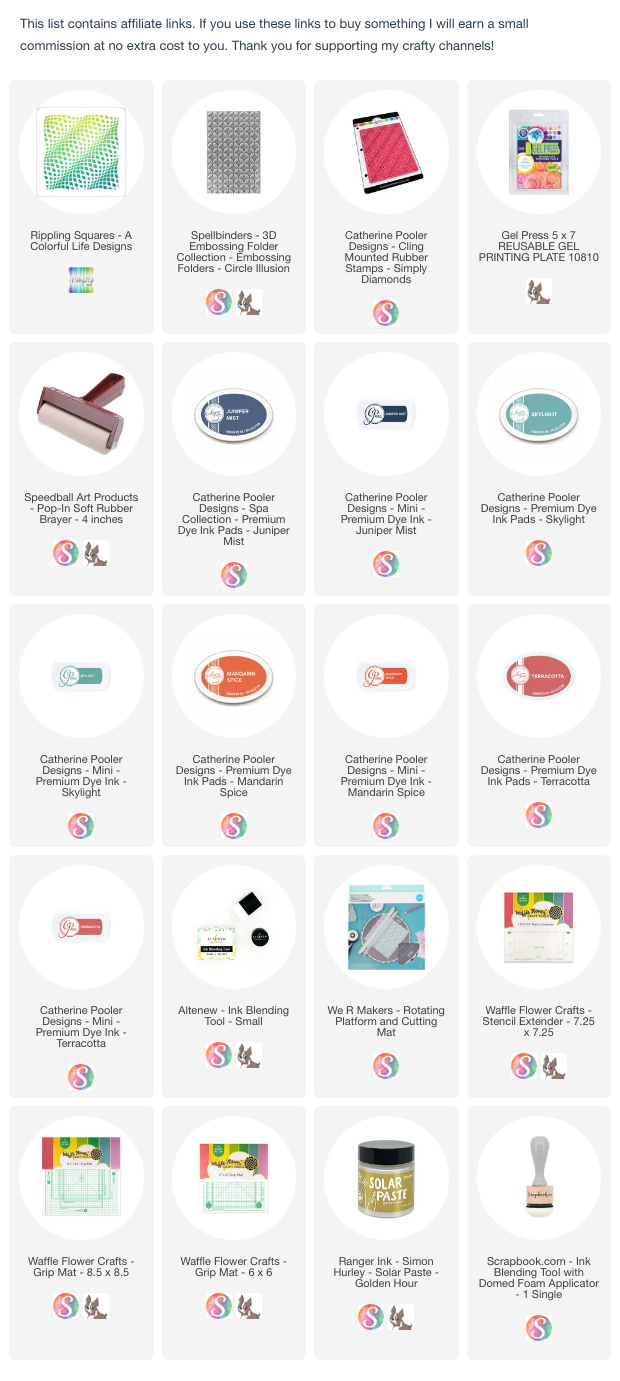
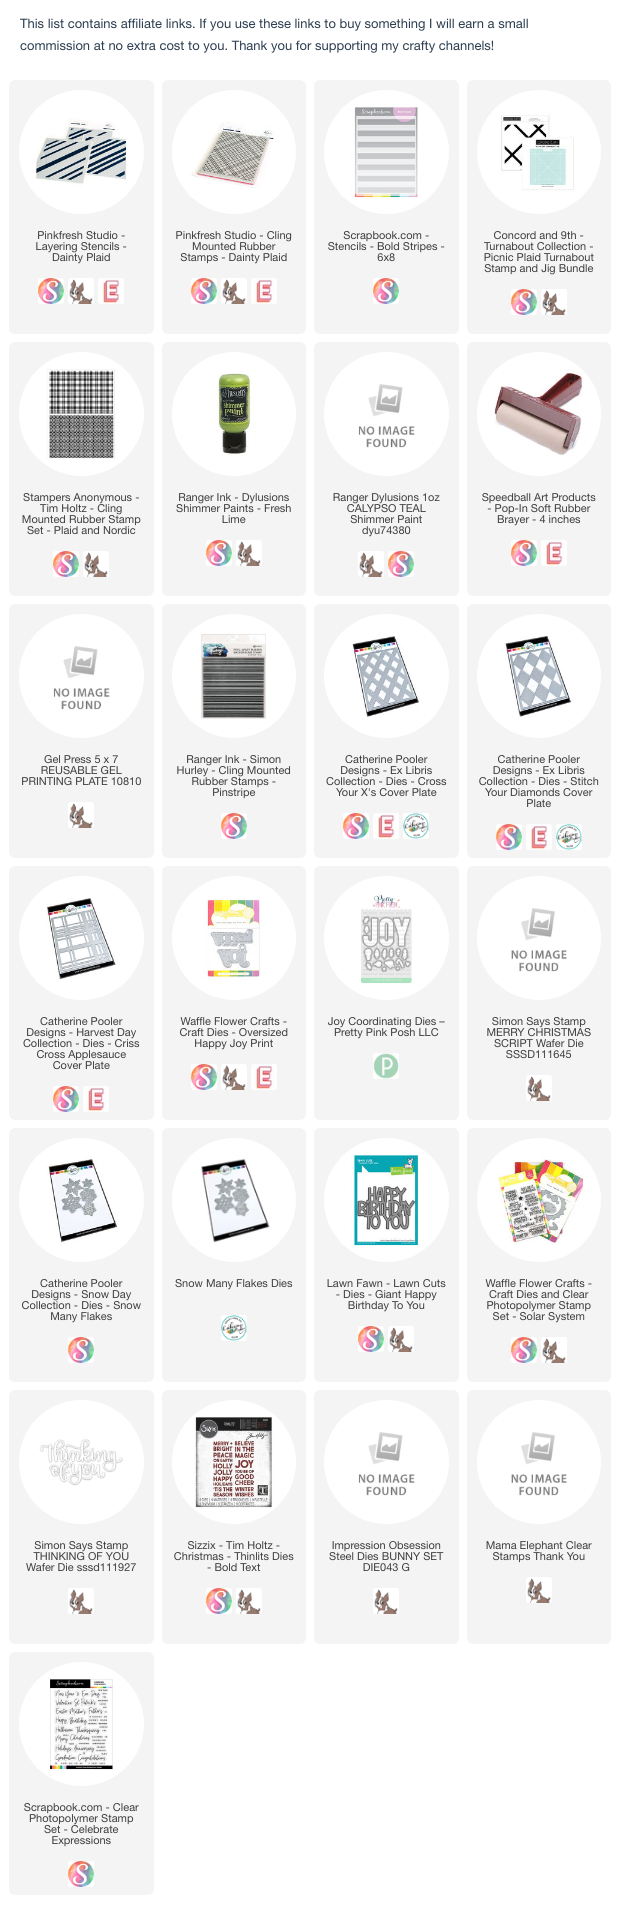
Are you tired of 'stripping'? LOL! In today's video, I'm sharing 10 OTHER ways to use up your cardstock scraps!


And in other news! If you're a Canadian crafter who's sick of waiting forever for goodies to arrive from outside of Canada, and paying taxes at the door, why not check out Ecstasy Crafts. This is the shop where I got the Studio Light triangle die used in the 4th card (see below). 

Sunday, 27 December 2020

Happy, Happy, Happy Birthday


Congratulations to this week's Featured Stamper, Ina (aka yellowrose46)! 

I chose this card as my inspiration:

LIST: 'heathery' colours (green, pink, red, gray, white), white words, dots, 4 square shapes, frame, fancy fold

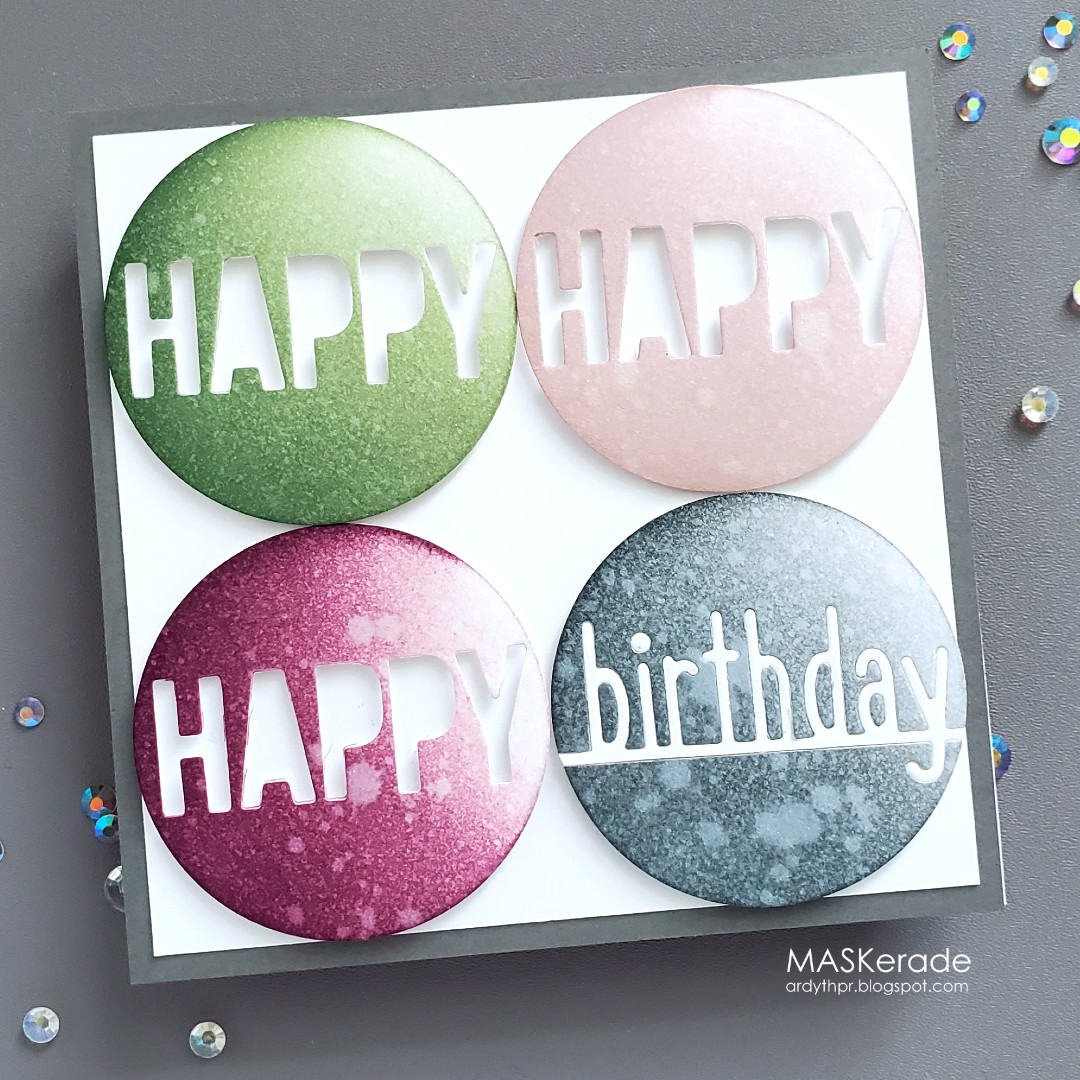
INCLUDE: colours, 4 geometric shapes with white words

MODIFY: squares to circles, background 'dots' become focal points, frame the whole card, rather than each shape,

EXCLUDE: fancy fold

SPIN: negative rather than positive die cut words.

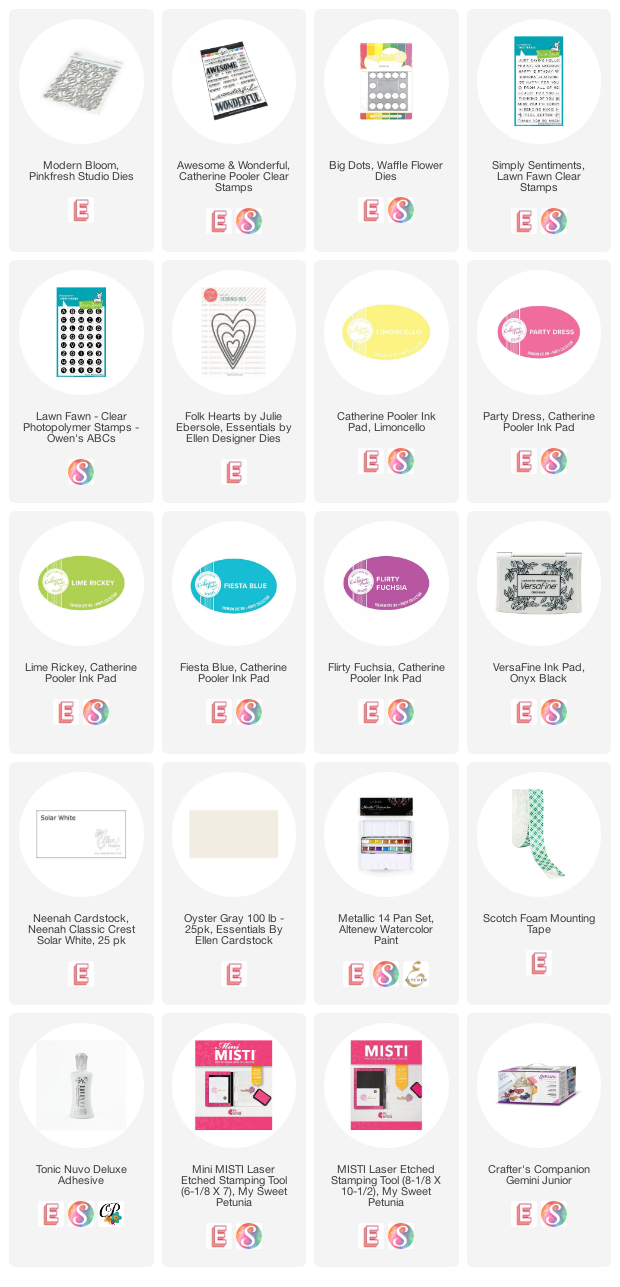
I was initially attracted by the heathery colours of this pretty card, along with the use of words as focal points.

I thought it would be fun to 'combine' the dot element with the focal words by changing the squares to circles.

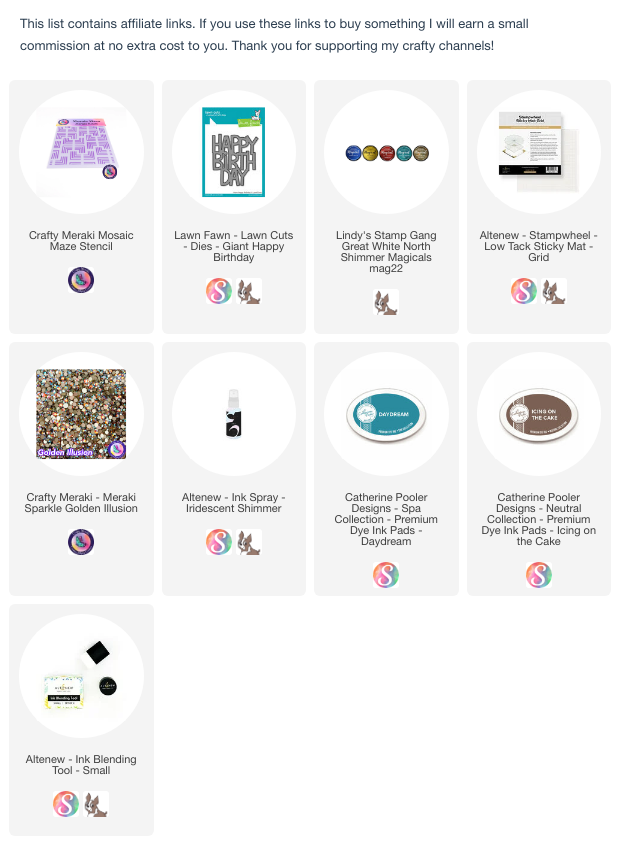
I used Essential Circle dies to cut the circles, and blended Catherine Pooler inks on them. I cut an Essentials by Ellen 'happy' from three of the circles and inlaid a Lawn Fawn 'birthday' into the 4th. I spritzed them with Avery Elle Clear Shimmer spray before popping them up on a white panel backed onto a gray mat.

Saturday, 14 November 2020

25 Days of Christmas Tags 2020 - Day 14


Welcome to Day 14 of this year's 25 Days of Christmas Tags event. All the details can be found here on Tracey's blog.


Today's sponsor is Lawn Fawn.

If you saw my video last week, you know where the inspiration for this tag came from!

I blended ink onto the top and bottom of the tag, and then stamped, embossed and cut two rows of trees from Simply Celebrate Winter.

I embossed the outlines with silver and then pressed the whole row into my embossing ink and covered them with Wanderlust powder for some sparkle.


Monday, 6 July 2020

S'more Shaped Card (Essentials by Ellen Summer of Stamping Release!)


Good morning and welcome to Ellen's Summer of Stamping!


Today is release day for our exclusive Lawn Fawn set, The S'More the Merrier, and we're having a blog hop to celebrate (details below).

I decided to make a fake shaped card. 

I started by creating my s'more. I cut strips of Kraft cardstock for my graham crackers. I stamped them with one of the Pattern Play stamps for a little texture.

Then I used the Landscape dies and more Kraft cardstock, to cut my melty chocolate. I inked it with Icing on the Cake ink to get my chocolate colour.

Finally, I cut a rectangle for my marshmallow, and I rounded the corners with an old punch. I blended Sand Castle and Shea Butter ink on the edges to give it some toasty colour and dimension.

When I put it on a 4.25 square card, you could still see the card base where the marshmallow corners were rounded, and I didn't really like that look. So I just cut the cardbase to 4 inches wide (I left the height at 4.25). 

Here's a view from the back so you can see what I mean:


Blog Hop Details: 

We’ve got a super fun prize!!! One random & lucky commenter will win $25 to the EH shop!!! To enter for a chance to win, make sure to leave comments at each stop along the hop! And don’t forget to comment here too for a bonus entry! Comment before Saturday, July 11th at 11:59pm PDT. The winner will be notified by email.


Ardyth Percy-Robb  <<You are here

Tuesday, 12 May 2020

Tips for Making Multiples with Stencils!


Over the past couple of weeks, I have been working hard creating cards for the residents of a local nursing home. Our church women's group delivered them on Mother's Day. I had made Mother's Day and thinking of you cards for all the residents and thank you cards for the staff. 

Many of the cards were one-offs that I already had in my 'sell/donate' bin, but I needed to whip up about 150 of them really quick! This was a design that turned out to be very simple, despite the use of an intricate (and very beautiful) PinkFresh Studios cover plate.


  • Cut PinkFresh Studios Modern Blooms coverplate from Neenah 80 lb white cardstock.
  • Used grid on worksurface to position purple tape about 1/2 inch over each edge of the stencil


  • Taped over a 4 x 5.25 inch panel of cardstock


  • Blended small areas with a dauber and Limoncello ink


  • Blended roses with blender brush and Party Dress ink


  • Blended remainder with blender brush and Lime Rickey ink


  • Rolled back the stencil, leaving the purple tape attached to the work surface on one side. 
  • Positioned next piece of white cardstock and repeated


12 panels in about 20 minutes.


The stencil held up but the blending started to get a little muddy so maybe use it only 8-10 times max unless you choose non-complementary colours.


Finished cards with Catherine Pooler Sentiment and green card base.

Here are a couple of additional cards I made with the same method:


For this card I used the new WaffleFlower Big Dots coverplate. I blended Party Dress, Limoncello and Fiesta Blue inks through. My sentiment was created with Lawn Fawn Simple Sentiments and Owen's ABCs.


For this card I used Essentials by Ellen Folk Hearts. I blended Party Dress and Flirty Fuschia ink through the stencil and then splattered Altenew Metallic watercolours over top before removing the stencil. I stamped the sentiment from Essentials by Ellen Totally Random Sayings with Versafine Onyx ink.