If you want to know more about my reorganization as well as why (and how!) I changed from Evernote to Air Table, join us at the FREE Paper Crafters Get Organized Summit next weekend!


Welcome to this week's LIMES inspiration post!

I chose this card as my inspiration from the gallery of this week's Splitcoaststampers' Featured Stamper!

LIST: Colours (red, white, black, green, blue, yellow), Techniques (stamping, masking, layering), Elements (stamped bird on white panel with stamped sentiment, script background with overlaid 4 panels with flowers)
INCLUDE: red, white, black, green, blue, yellow, stamping,
MODIFY: die cut bird and sentiment instead of stamped, script background is stenciled,
EXCLUDE: flowers
SPIN: eyelet frame
The red bird on my inspiration called out for a cardinal, I thought. I created my background with a text stencil, masking it once to add ink through the stencil, then removing the stencil, replacing the masks and blending in lighter colours to create my bright quadrants.

Welcome to the Pretty Pink Posh new release Blog Hop (Day 1) See all the new arrivals at Pretty Pink Posh!!

Here's a list of today's participants, and for the next three days, you can start at the Pretty Pink Posh blog and hop and comment for more chances to win! There are 4 $30 gift certificates up for grabs (one winner each day). Winners will be picked randomly along the blog hop. Comments must be left by 11:59 PM PST on 10/19/2023. Winners will be announced on the PPP blog.

Today I'm trying out 10 different ways to get the look in your cardmaking from some DIY options to the latest tools. and here's a spoiler alert - some are more successful than others.....

Today, I'm putting myself to the test. When I saw this card that Jessica made, I felt like I just had to have the Honey Bee Stamps Coneflower dies.

I used my LIMES method to get the look of Jess' card before deciding whether or not I really need them. Sometimes, I really just like the look of the card, and making one similar, with products I already own satisfies that itch. Not always, though!
Today's video shows my in-depth analysis of Jess' card, and focuses on different ways of modifying the inspiration, to make your card truly your own. Plus I used 3 super-fun techniques!
The Card Maker Success Summit is less than a week away! If you want to get a jump start on your holiday crafting, plus inspiration from 25 expert speakers (including me!) PLUS live access to many of the speakers, to ask your questions and share experiences,
click here to get your FREE TICKET!
The summit will run from July 15th through July 18th.
Each day will be packed with amazing speakers who are ready to help you create a card making plan that will minimize stress, let you get your cards done early and create beautiful professional hand crafted cards that will WOW your friends and family.
We’ve got a pop-up Facebook group where you’ll find crafting friends, connect with other card makers, ask the speakers questions, and whatever else we come up with!
You can attend the summit absolutely free, but you can choose to grab the VIP All-Access Pass at any time. The VIP All-Access Pass will give you an all inclusive pass to the summit PLUS:
Ongoing access to 30+ presentations
60+ page workbook
Virtual Card Making Crop over Zoom
Chance to win an exclusive giveaway
Premium bonus content from our speakers including svg files, courses, free memberships, exclusive discounts and more
The VIP All-Access Pass is currently being offered at a special price, and it will disappear for good once the summit is over, so start thinking about it now!




Congratulations to this week's Featured Stamper, Jaque (jeddibamps).
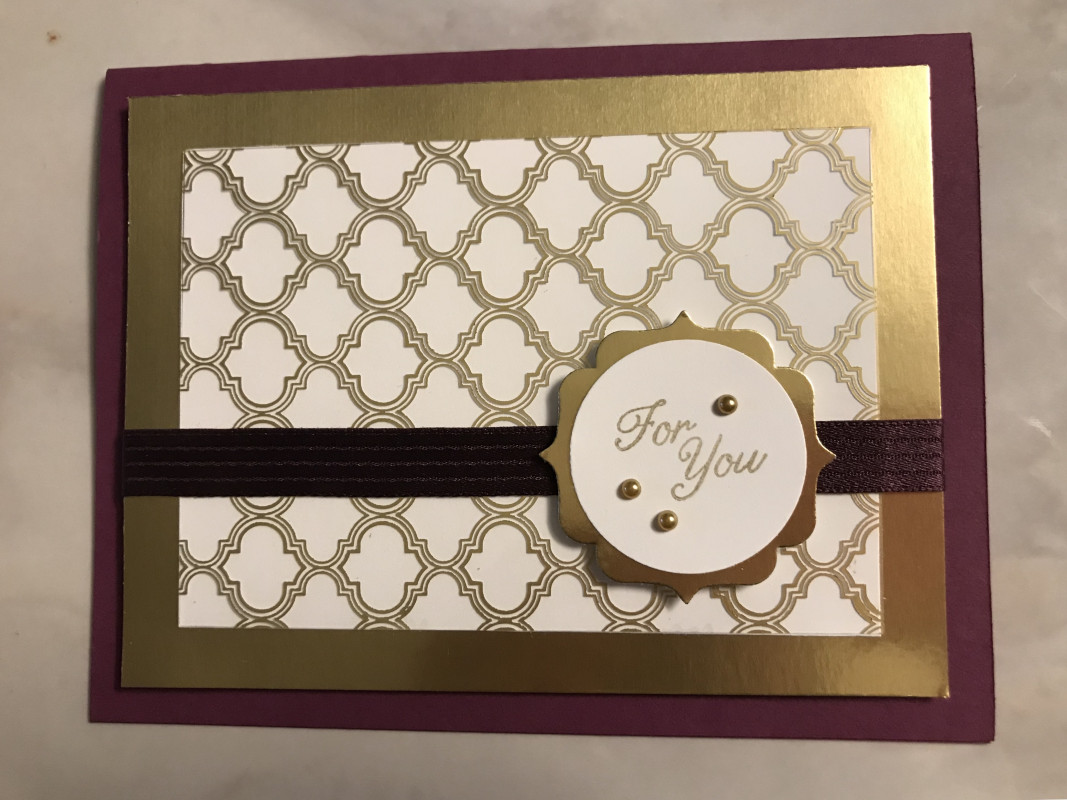
I chose this card as my inspiration:

INCLUDE: white frame, pink and gold, white outline images,
MODIFY: masked frame and sentiment strip, changed technique to stencil/blended ink, gold splatter,
EXCLUDE: bee, ribbon/yarn
SPIN: Square card
I started by masking off a border and an area for my sentiment on a square piece of white cardstock. I laid the Butterfly Background stencil down and blended Tiki Torch, Pucker Up and Flirty Fuchsia through. Before I removed the stencil and the masking tape, I splattered Altenew gold watercolour over top.
When I removed the stencil, I stamped and heat embossed my sentiment, and then used Ellen Hutson Essential Square dies to cut a negative frame from the panel. I popped the frame and square up with foam tape and added some gold gems.


And bonus! Justine and Laurel have joined me for a little mini-video hop to share their thoughts on using white in cardmaking as well!
Start with my video here:

Good morning! I'm excited to be part of a Pretty Pink Posh blog hop today (details below).


Congratulations to this week's Featured Stamper, Dawn Mercedes!
I chose this card as my inspiration:

INCLUDE: colours, black elements, chevrons,
MODIFY: each chevron has all the colours, sentiment stamped and embossed on black
EXCLUDE: elephant, leaves,
SPIN: added jewels as white dots
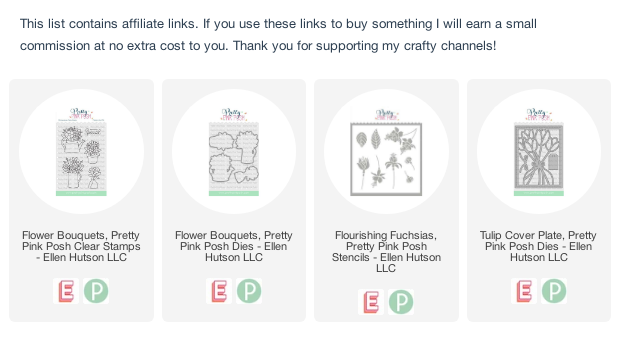
I started by die cutting 3 Pretty Pink Posh chevrons. I masked sections and blended various colours of Catherine Pooler ink onto them - I love the dimension that you get when you put the 3 together.
I put my black circle behind the 3 chevrons, and glued the whole thing to a grey panel on a white cardbase.
I used a heart die from Pinata Party and a sentiment from Thoughtful Greetings, embossed with white WOW! Embossing powder.
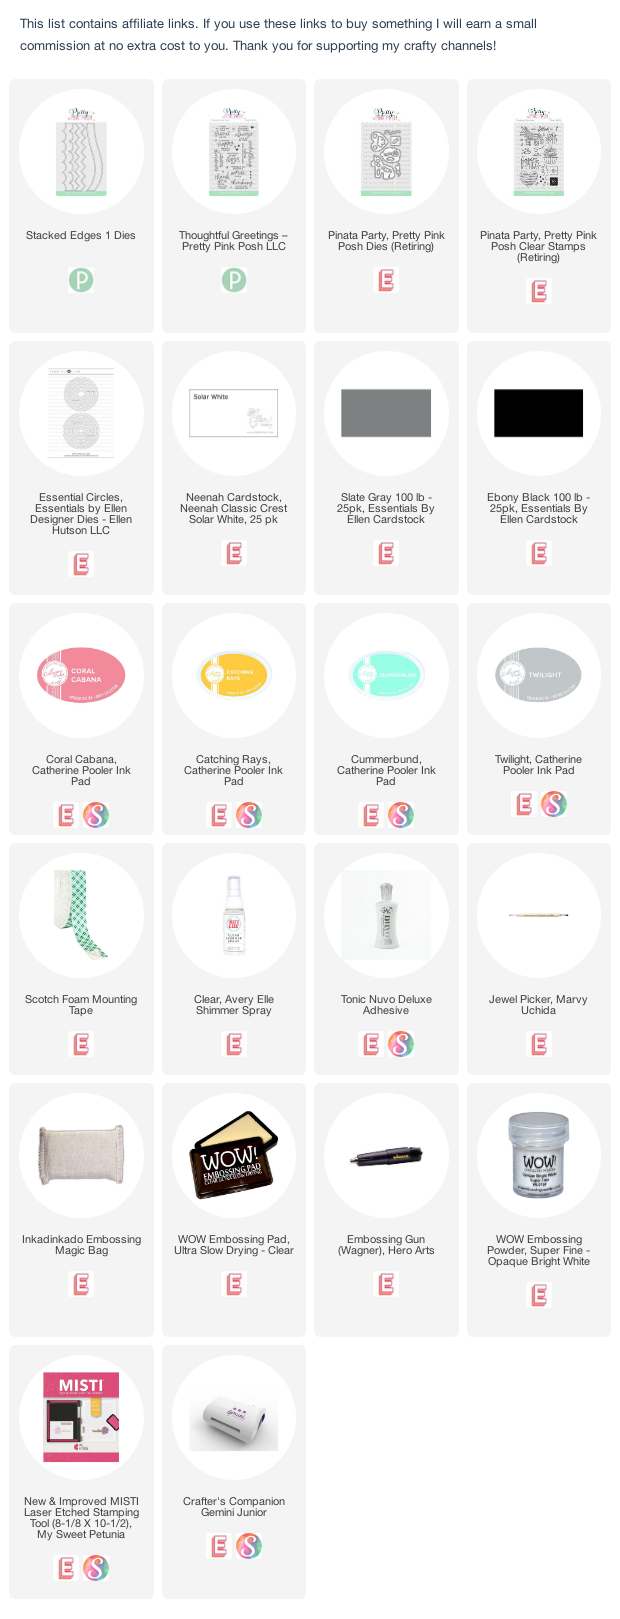

So, I did the obvious thing and combined them to make this card with a simple gift stamp from Let's Party) and a sentiment from an older set (Pinata Party).
The background was created with an old Altenew Stencil (Feeling Dotty) that I had blended the new inks through for another project. There was a lot of leftover ink on it, so I spritzed it with water and pressed it into a panel of white cardstock for a 2-for-1 technique that works perfectly for this card.

Good morning!
I'm excited to be part of the the Pretty Pink Posh Birthday Blog Hops this week! (See below for hop details).

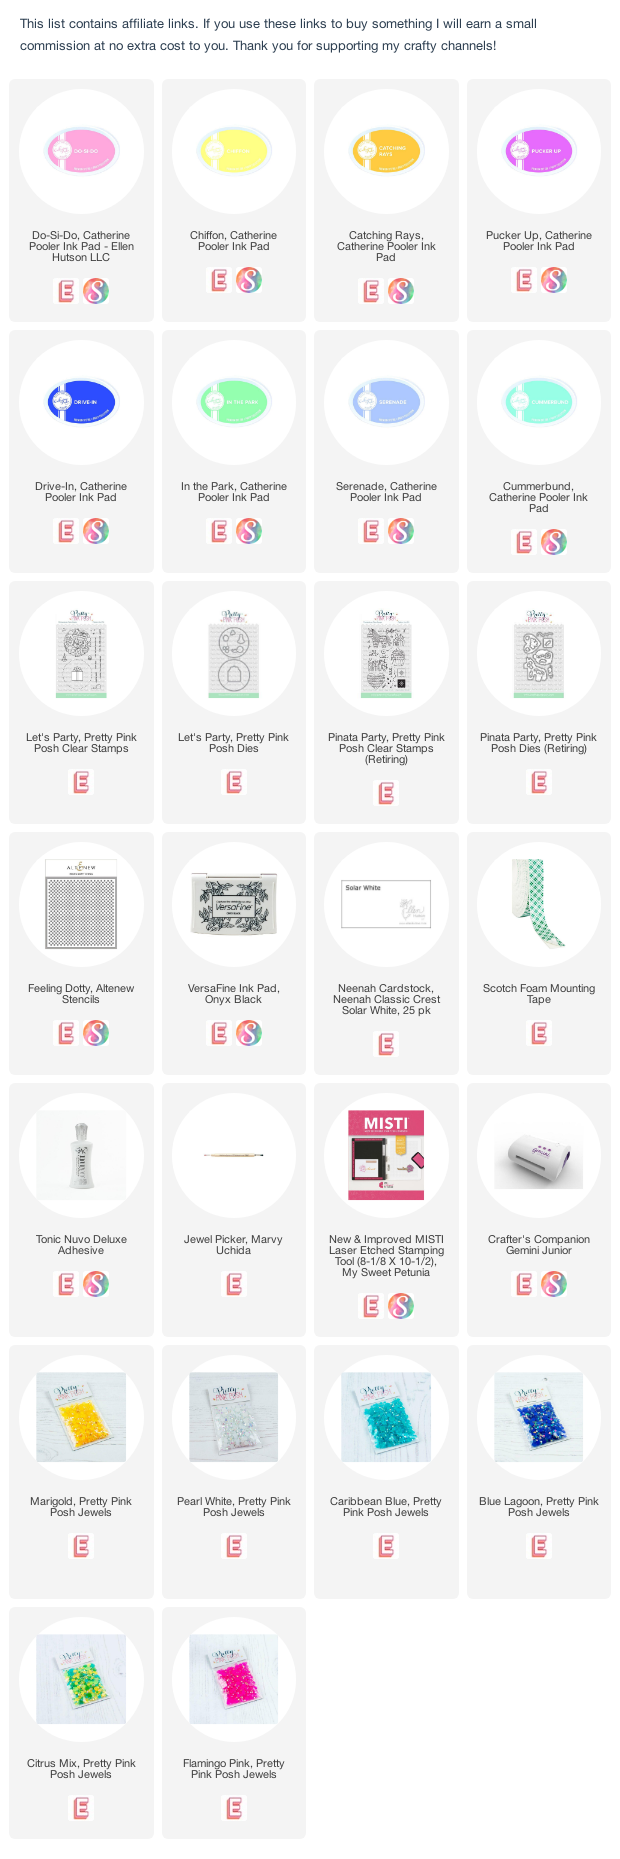
I chose to work with the new Birthday Cake coverplate die (and a few other new goodies!) and show you how versatile it can be! Here's my video:
Hop Details:
Please comment on each stop on the hop. Pretty Pink Posh will be giving away 6 $25 gift certificates total during the three day blog hop celebration. Comments must be left by 11:50pm January 15, 2021 and the winners will be announced on the Pretty Pink Posh blog.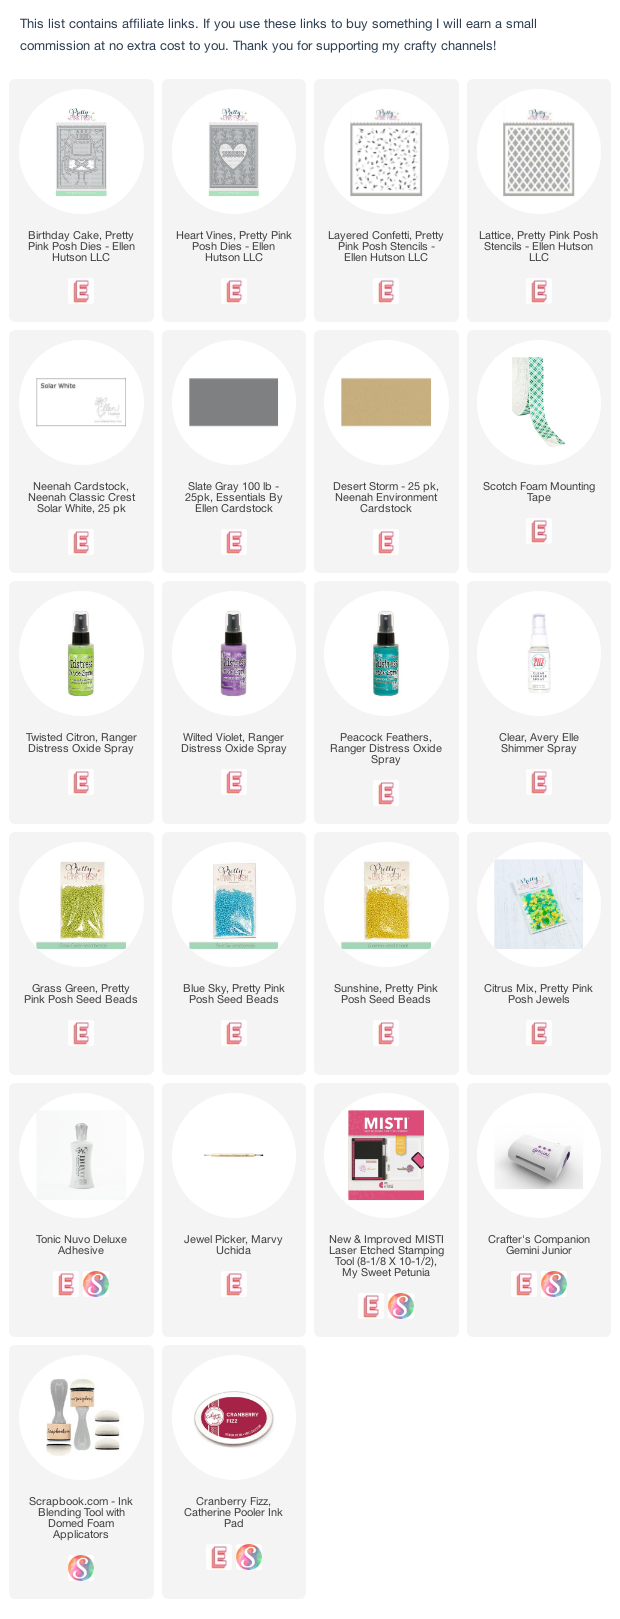

Welcome to Day 25 of this year's 25 Days of Christmas Tags event. All the details can be found here on Tracey's blog.