Pages

Showing posts with label honey bee stamps. Show all posts

Saturday, 4 March 2023

Blue Coneflowers


 Welcome to this week's LIMES inspiration post!

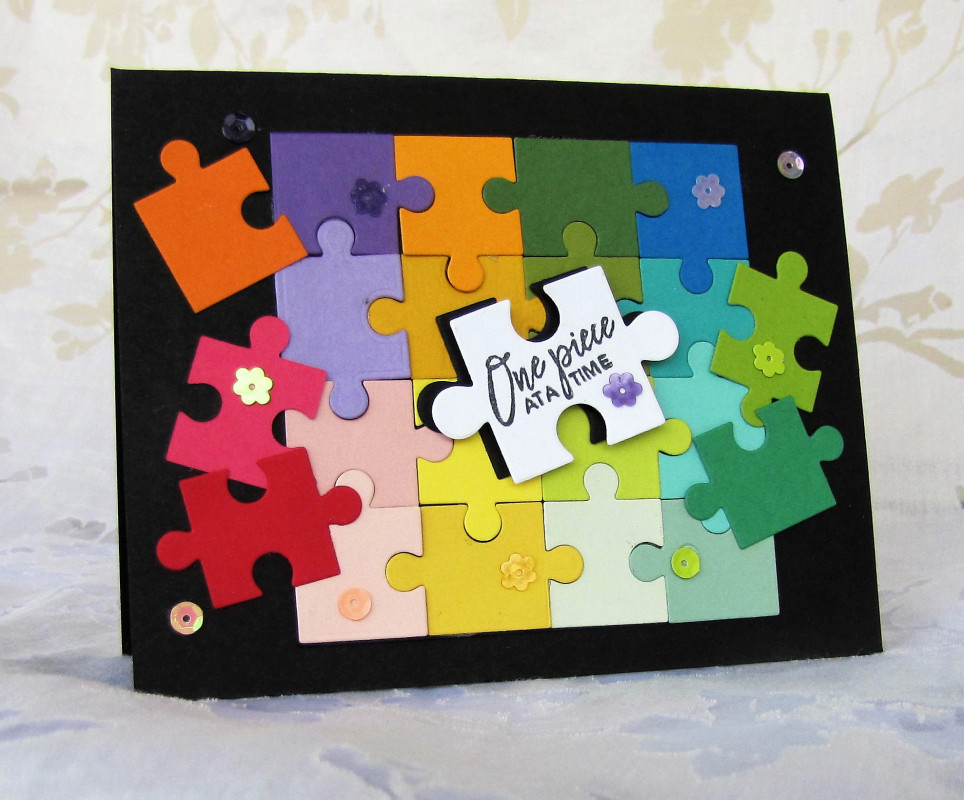
I chose this card as my inspiration from the gallery of this week's Splitcoaststampers' Featured Stamper!

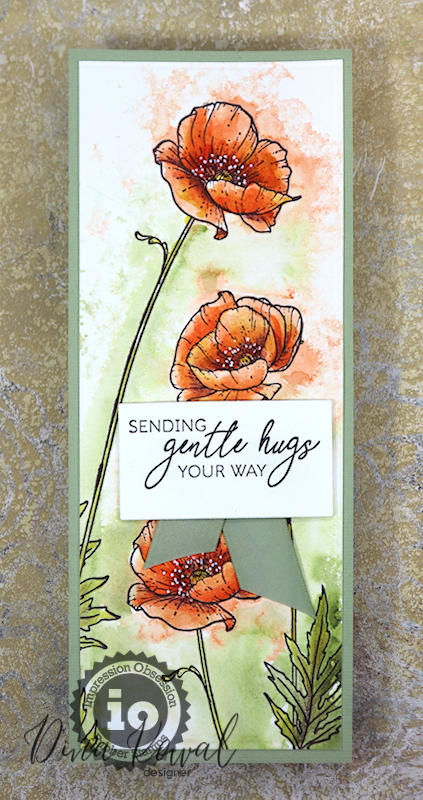
LIST: Colours (red, green, white), Techniques (misted watercolour), Elements (3 flowers, leaves, slimline, hugs sentiment)

INCLUDE: flowers

MODIFY: blue instead of red, die cut instead of stamping, inkblending instead of watercolour, white splatter instead of white gel pen highlights

EXCLUDE: sentiment

SPIN:


I love the loose watercolour look of Dina's flowers! The soft bleed of the colours onto the background is so pretty! 

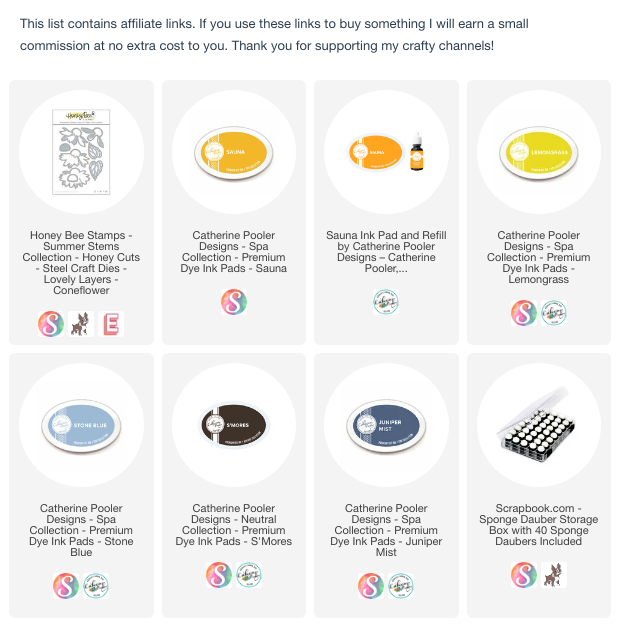
I have this coneflower die set from Honey Bee Stamps - it was one of those 'I MUST HAVE THIS' items at the time, but I haven't used it much after that initial honeymoon period. lol! I dug it out and blended ink onto just some of the layers. My blending was very patchy, in two colours of yellow for the centres (plus brown) and two colours (plus a yellow-green) for the flowers and leaf. I drew the stems with a black marker.

I spritzed water onto the flowers and leaves, and lifted some of the colour. Then I splattered white acrylic paint, navy ink and gold watercolour on the flowers and also onto a panel of white cardstock and navy cardstock. I cut a narrow frame from the navy cardstock to go around the white panel.


Friday, 3 February 2023

Stencil Mat Comparison


I recently realized that I own pretty much every product designed to hold your stencil while you're ink blending - but which one's best? Watch my video to find out, and get a FREE downloadable comparison chart so you know too!


Friday, 13 January 2023

Glory in the Highest: Tips NOT for Making Multiples


Even if you never make multiples, even if you are not ready to make Christmas cards, you should definitely watch today's video. Why?
  • tips for simplifying elaborate inspiration 
  • tips for die cutting with no warped or damaged plates 
  • tips for intricate die cuts that you probably already know, but if you're like me, you forget until it's too late
  • tips for maximizing your productivity. 
These tips will work at any time of year, and since today I am making multiples and I am making Christmas cards, I'll also be sharing tips for that. 


Sunday, 1 August 2021

Coneflower Thanks


Congratulations to this week's Featured Stamper, Jan!

I chose this card as my inspiration:

LIST: colours (pink, yellow, green and white), decoupage florals, ovals (with frame!), white space, small stamped birthday sentiment

INCLUDE: colours, white space

MODIFY: layered die cut flowers, oval to circle, die cut sentiment

EXCLUDE: stamping

SPIN: square card


I started by cutting a circle from a white panel, and backing it with Lawn Fawn Pearlescent Vellum. I added a narrow frame cut from one of my Essential Circles dies. For my sentiment I stacked up 3 layers of a thanks die cut.

I cut the flower and leaves from some Studio Light paper that is less than 80lb and perfect for layering die cuts like this. I added some inkblending to the flower centre.


Sunday, 15 November 2020

25 Days of Christmas Tags 2020 - Day 15


Welcome to Day 15 of this year's 25 Days of Christmas Tags event. All the details can be found here on Tracey's blog.


Today's sponsor is Honey Bee Stamps.

I created a stained-glass look with a stamp from Christ is Born and my Copic markers. I stamped the image with Twilight ink, coloured it and then restamped (in the MISTI!) with embossing ink and embossed with gold powder.


Saturday, 23 May 2020

3 Rainbow Flower Cards


I have been ordering up a storm of new products during 'quarantine', and slowly (soooo slowly) they are starting to arrive. I recently got the Honey Bee Flower Petals and Flower Centres coverplates and I want to be sure that I use all these new goodies, and they don't end up sitting unloved. 

These 3 cards are the result of one afternoon session.


This card was my original vision - a bright rainbow of flowers popping from a black background. I blended ink over a panel and then cut the panel with the Flower Petals coverplate. I also cut it from black and then I patiently inlaid all the rainbow flowers into the black background.

I finished with a sentiment from Thanks a Bunch.


The second card was a no-brainer - I used the leftover rainbow panel.  I put another layer, cut from the Flower Center coverplate to add some definition to the white flowers, and added a sentiment from Rainbow Wishes. 


Finally, I used some of the many (many!) flower off cuts and I layered them up and put them on a black 'wreath' and added some clear Nuvo Drops to the centres for dimension and shine. The sentiment is from Thanks a Bunch.


Sunday, 15 March 2020

FS684 - Honey Bee Stained Glass Surprise Two for One

click here for my 30 Days Colouring post.


Congratulations to this week's Featured Stamper Pauline (meisu4)

I chose this card as my inspiration:


I focused on Pauline's:
-rainbow colours
-'pieces'
-sentiment on white die cut

I changed:
-shapes of pieces
-ink blending instead of coloured cardstock
-orientation
-no black


So, I have this bin. It's full. It's full of stamps and dies that I just HAD TO HAVE but haven't used yet. Do you have a bin like this?

This Honeybee Stamps Stained Glass coverplate was in my bin for quite a while, and I finally got a chance to play. And I had a nice surprise - I ended up with 2 cards! Here's how:


I started by blending inks onto two white panels.


I trimmed a sheet of Sticky Dots adhesive to fit behind one of the panels and adhered it before running it through my Gemini Jr with the cover plate.


Many of the pieces stayed on the adhesive backer, and I popped out the rest, then I laid the die cut on top of my other blended panel.


I spritzed the layered panels with Avery Elle Clear Shimmer Spray and then I used an Essentials by Ellen Essential Circle die to cut out a circle area for my sentiment (from Honeybee's Thanks a Bunch). I kept the frame, and cut another circle out of white cardstock and stamped my sentiment. I rotated the frame to add a bit more interest.


As I said, most of the little triangles stayed on the release paper of the Sticky Dots sheet, and I started thinking about how to turn them into a card....


I pressed two pieces of 2 inch Post it Tape over top.


Then I carefully removed the backing paper. I didn't worry about any triangles that came up or were missing from the pattern. I figured I could live with a random look, rather than trying to keep track of all the triangles!


Then I pressed the post it tape down onto a white panel. 


And carefully peeled back the post it tape.


I'm happy with it, even though it's missing some bits. I think that adds to the artistic look of it!


I trimmed the panel and added a simple sentiment and some sequins for shine.
Not bad for a card I wasn't expecting to get! lol!

Friday, 31 May 2019

Rainbow Card feat. Honey Bee Stamps - Two Many Cards


Good morning! I'm back with my second project and video for the May Two Many Cards series with Emily Leiphart!


This time, we're working with the Rainbow Wishes stamps and dies from Honey Bee Stamps (direct links below).


I was inspired by the sentiment to make a rainbow into an umbrella.

I created a stormy sky with some on-purpose uneven ink blending and used my MISTI and a rainbow of ink to stamp my sentiment.

And wait until you see what I used to create the umbrella handle!

Be sure to pop over to Emily's blog to see what she created!


Here's my video:


I used: