Pages

Showing posts with label Pink & Main. Show all posts

Tuesday, 21 July 2020

Smile 3 Times


I had time on the weekend to play a bit more with the new Pink & Main Rose Garden layering stencils and their Ergonomic Blending Brushes and I made a few more cards.


For this one, I blended gray ink through the first two layers (I guess I should say the leaf layer and the tiny flower layer - there is no reason to call them 'first' lol!). I faded the ink off to white in a diagonal direction.

Then I laid the rose layer over top, and I masked off the flowers I didn't want ink through. I used the mini brush to put different colours of ink through each rose.

I finished with the big smile sentiment stamped with Versafine Onyx, and created a sentiment strip for the rest of the sentiment.


Same idea of fading the ink, but this time, I let it fade on a straight line, and I used only fuschia ink for the roses.


Finally, I used a rainbow of inks, moving the colours so that the leaves and flowers would be different.
Saturday, 18 July 2020

Smile


Today, I'm lucky enough to be able to share a sneak peek at some new Pink & Main products that will be available on Monday!

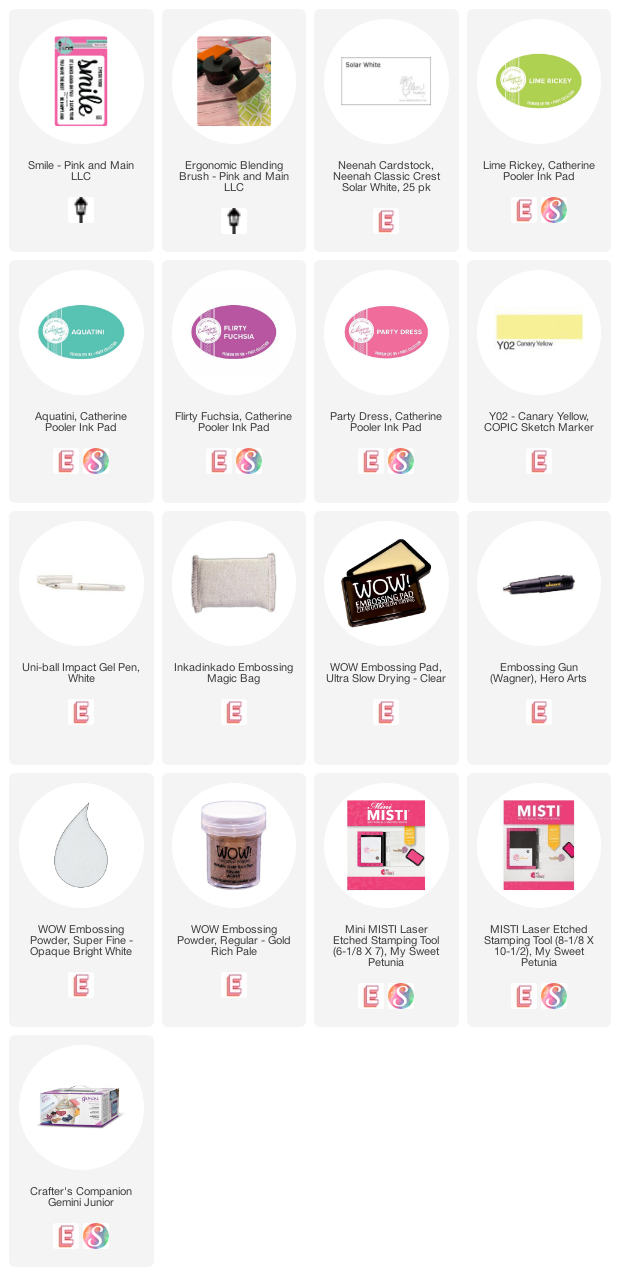
I created this card with the cornder of the new Rose Garden Layering stencil set - I started with the leaves layer and placed the stencil onto the panel before blending green ink through it and over the rest of the panel too.

I used the Pink & Main Ergonomic Blender Brush - it's big and so easy to use to get smooth coverage on large areas quickly!

I added some blue ink just at the bottom, and that gives this card a layered look.

Then I used the positioning notches cut right into all 3 of the stencils to align everything perfectly - such a clever idea! I used the Mini Ergonomic Blender Brush (available Monday) to blend purple and then pink ink through the top two layers.

When I had all 3 layers done, I added some detail with a yellow Copic marker for the roses and a white gel pen for the tiny purple flowers.

I heat embossed a sentiment from the Smile set, using WOW! Embossing ink and Opaque Bright White Embossing Powder.


Friday, 21 June 2019

Fun with Scalloped Circles (3 Cards using Pink & Main Reverse Scallop Circles dies)


I'm excited to be back on the Pink & Main blog today with 3 fun cards using the new Reverse Scallop Circles dies, along with some other products.


Tuesday, 11 June 2019

Outside/Inside Card with Pink & Main


I'm on the Pink & Main blog today with this outside/inside card.

I also have a video on my YouTube channel showing how I made it:


Wednesday, 20 March 2019

Pink & Main 5th Birthday Hop


Good morning! I'm excited to be celebrating Pink & Main's 5th birthday by being part of a celebratory blog hop! See all the blog hop info with links and prize details below!


I made two 'bee-day' cards for the hop.

For the first card, I stamped and masked all 3 of these bees - I couldn't choose just one of these cuties! I kept my colour scheme simple because the scene was already  quite busy, and I wanted some focus for the sentiment.

I used the Happy Birthday die but I trimmed the birthday, to make B day. And then I coloured the letters yellow with Copic markers, and then added a bee-like stripe. After they were glued down, I put Stickles on the letters and on the wings, for some sparkle.


For my second card, I coloured and die cut the hive and then die cut a bunch of the tiny bees. To keep this card more clean and simple, I blended a strip of blue sky but left the rest of the panel white.

BLOG HOP INFO:

There will be FIVE randomly-chosen winners of $50 store credit each.

The winners will be chosen from comments left on posts of the blogs linked below. To qualify, you must comment on all the blogs in the hop.


Ardyth <<You are here