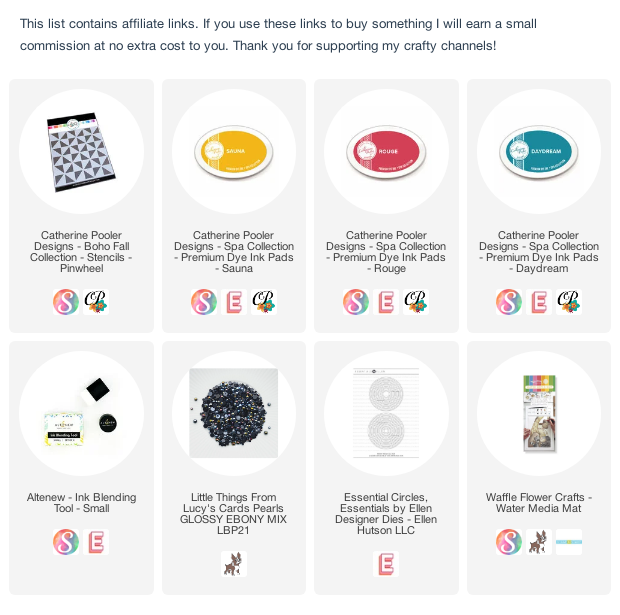
I am in love with these colours! I created these cards with the same 3 primary colours (Sauna, Rouge and Daydream) as this card, and a simple stencil shift with the Catherine Pooler Pinwheel stencil.
1. Tape stencil to white cardstock. I'm trying out the 'corner' method with my Waffle Flower Water Media Mat - so far, so good! Blend Sauna ink in a circular motion through 3 of the pinwheels
2. Blend Rouge ink through 3 more pinwheels. The circular motion will ensure a blend between the overlapping pinwheels.
3. Blend Daydream ink through the last 3 pinwheels.
4. Remove stencil
5. Move cardstock to the left by one row. Turn stencil so that a different colour of ink is in the top corner (this saves you having to clean it). Tape it down to the cardstock (note the stencil is still in the corner, but the cardstock is not.)
6. Blend the inks through in the same places, with the same circular motion.
7. Remove stencil. Ooh and ahh at the beautiful blends!
8. Finish cards.
To finish my cards, I created sentiment circles with 2 layers of white cardstock. I blended the same 3 colours on the larger circles to create frames. The sentiments are from a retired C9 set (Many Mandalas). They are placed over the 'smudgy' areas on each panel! lol!
I chose 3 different 'framing' options - one with the 3 colours, one white and one solid black. Do you have a favourite?
I added some iridescent black pearls from Little things by Lucy.


Looks great !!!!
ReplyDeletegroeten Ineke
WOW, What an amazing look!!!
ReplyDeleteWhat amazing use of the stencil Ardyth - and fabulous results
ReplyDeleteStay safe
Blessings
Maxine