Wednesday 28 February 2018

A Million Thanks


You may have seen that I reached 4,000 followers on Instagram this week (there's a giveaway that ends tonight - make sure you check it out!).

Well, the celebration continues - also this week, MASKerade's views hit 1,000,000!

Wow! When I started bloggin way back in 2012, I watched the view numbers, and followers very closely. Some of my first followers are some of my best stamping friends all these years later, and that's what really counts!

To celebrate, I'm having another giveaway right here. (and keep watching, because I'm getting close to 1,000 followers on my YouTube channel - yet another reason to celebrate!)

Comment below and 5 of you (randomly-drawn) will receive 2 Catherine Pooler inks of your choice. I will announce the 5 winners on Monday, March 5.

I used:

Sunday 25 February 2018

Ellen Hutson & Catherine Pooler Designs Blog Hop


I'm so excited to be part of a blog hop celebrating the fact that two of my favourites (Ellen Hutson and Catherine Pooler) have gotten together! That's right, you can now get all of Catherine's inks and the Zen Garden stamps and dies at Ellen Hutson! (full list of blogs is below).


I created 3 mostly-white cards. The first one combines this solid flower from Love Grows with my favourite Party Collection colour combination. I admit that the Party Collection is my first love, although the muted colours of the Spa collection are gorgeous as well,as my next  cards show.

My next card uses just a portion of the Split Chevron Stencil. I masked it off and blended a partial rainbow, then moved the stencil to fill in the 'blank' spots and blended another partial rainbow, starting at a different colour. I inlaide the thanks die and cut the edge of the panel on the same angle, before smearing Stickles on it for some sparkle. Here's a quick video of how I did it:


Finally, I used the stencil again with Juniper Mist and Stone Blue, varying my pressure to get different shades. When I lifted the stencil, I misted the panel with water. I love that it looks like a forest in a snowstorm (it does to me, anyway! LOL!) Once it was all dry, I stamped this encouraging sentiment from Faithful Flutterings in Midnight. I edged the panel with Stickles and popped it up on a white card base.

Here's the blog hop list:


FS577 - Create Happiness


Congratulations to this week's Splitcoaststampers' Featured Stamper, Carol (aka creatingincolors)!

I chose this card as my inspiration:


I focused on Carol's:
-floral background
-black sentiment

I changed:
-left more space white
-placement of sentiment
-stamped sentiment vs die cut

I used:

Saturday 24 February 2018

MCV94 - Sending Joy


Oh my, I had so much fun with this technique inspired by Lindsey for the current Muse: ChristmasVisions challenge!

Here's Lindsey's inspiration:


I focused on Lindsey's:
-colours
-technique
-white die cut


I used the sketch from a current StampNation challenge and will link up there as well.

The Wreath die and Joy die are both from the Winterhaven Stamp of Approval collection and are not yet available at Catherine Pooler's shop.

I used:


Friday 23 February 2018

Concord & 9th February Release - Wonderful Florals & Matching Dies

Today's my third post as a Guest Designer for Concord & 9th's February release. I've been having a ton of fun with these amazing products!

Today we're featuring Wonderful Florals and Matching Dies.


For my first card, I used the full floral stamp, but kept the card, stamping and frame monochrome in greys and silver. Then I die cut the wonderful letters out of watercolour cardstock and coloured the bottom of each one with a Zig Art & Graphic Twin Tip marker before adding water and letting the colour run up to the top. 

For the second card, I stuck with the florals, and used the graphic stripe set to create a background for one of the standalone flowers. I watercoloured the flower and leaves with Zig Clean Color Real Brush markers. I finished the card with one of the stamped sentiments included in this versatile set.


For a more graphic look, I used the Zig Art & Graphic Twin Tip markers again, and created a circle of rainbow colours. To get the colours to blend, I used a wet brush over top of the colouring. Then I cut the 'wonderful' die from a slightly smaller white circle and popped it up over the rainbow.

I used:


Light Bulb Moment, Muse 254 - Hello


I'm on the SugarPea Designs blog today with a video showing how I made this card, inspired by Kim, for this week's Muse Challenge.

Here's Kim's inspiration:


I focused on Kim's:
-animal theme
-popped up sentiment

I used:


Thursday 22 February 2018

Sunday 18 February 2018

FS576 - Smile


Congratulations to this week's Splitcoaststampers Featured Stamper, Susy Kegel (aka Boss).

I chose this card as my inspiration:


I focused on Susy's:
-pink florals
-multi-coloured plaid
-one-word sentiment

I changed:
-layout
-technique

I used some of the new Catherine Pooler Designs products plus an older background stamp. I used Be Mine ink, which is a pretty, pink ink, but was part of the latest Stamp of Approval collection and isn't available in the store yet. I linked to It's a Girl, which is another pretty pink ink from Catherine.

Here's a quick video:


I used:


Saturday 17 February 2018

Muse 253 - The Sweetest


Are you sick of me? That was a heck of a week - so many cards with so many amazing new goodies!

Anyway, I managed to squeeze in some time for Muse, where Tracey gave us this adorable inspiration:


I focused on Tracey's:
-bear with a heart
-blue and green background
-white sentiment on black

I used:


Friday 16 February 2018

Concord & 9th February Release - Birthday Stacks

This is my second post as a Guest Designer for Concord & 9th, featuring their fabulous February release.

Today, I'm featuring the Birthday Stacks Stamps and Dies and WOW! I could work with these products forever! There are so many possibilities!


I started with the candles stamp and matching die. I stamped the candles at the bottom of my panel and then created a mask out of masking paper with the die before stamping a row above. I kept going until I had all these candles on the card. I cut the top row with the die for some texture and interest and popped the panel up on a plain white card where I had stamped my sentiment.

I did some copic colouring in cool greys and yellows and added some Stickles for sparkle. You could do the exact same idea with the presents and the balloons stamps.


Next up, this celebrate edge die. I fell in love with it and I will use it a lot! Here, I cut it from a white panel and carefully coloured each letter with a copic marker. I added a strip of silver for sparkle and stamped one of the little sentiments. Quick and easy!


This set comes with solid stamps that you can use to fill in the outline shapes quickly, or you can use them on their own like I did for this card and the next. I started by stamping CELEBRATE in rainbow inks, using my MISTI and some tape to mask each letter. I then stamped my balloons with two colours each, to create dimension. There is a string stamp in the set, but can you believe I lost within about 2 minutes of opening the package?! Grrr! I hate that! After searching everywhere, I gave up and drew my strings in.  I cut the edge of the panel with the decorative edge.


OK, this is the card you make when you have 2 minutes before you're leaving for the party. Or does that not happen to you?! LOL! Cut a coloured panel and cut out the celebrate die. On a white card, stamp a bunch of the balloon-fill-in circles in bright colours. Add some glue and you're done!


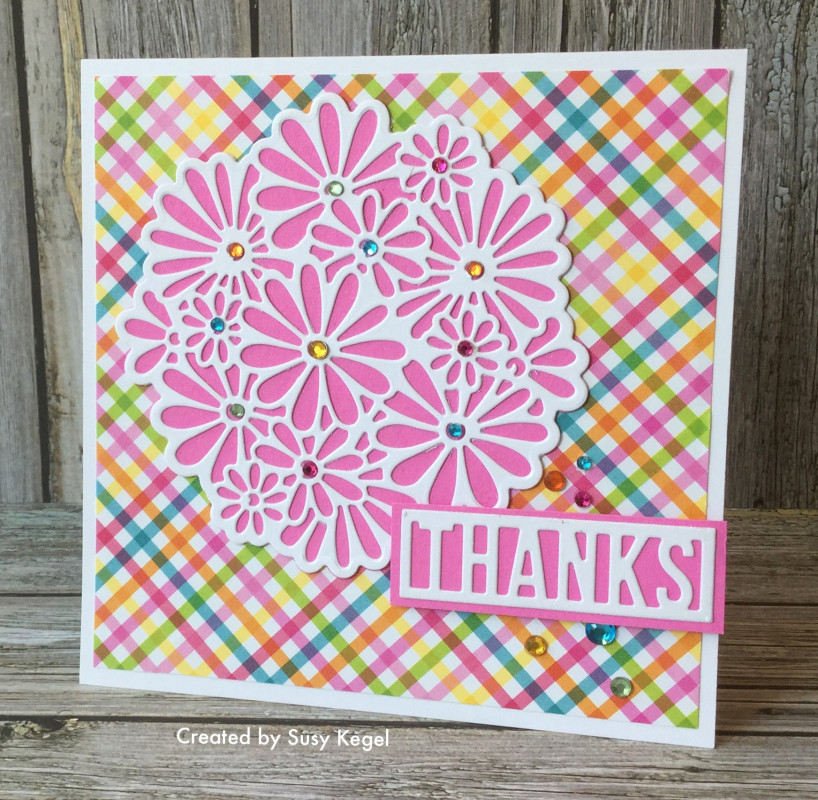
Finally, although this is a birthday set, You can use it for other occasions. Here, I stamped the balloons over and over, turning them and creating a fun background. I then took the solid stamp and inked up a few with lime and aqua inks and added a die cut thanks (we're featuring these next week).

There's a lot in this post, but I really feel like I've only scratched the surface of these amazing products. I know there are 3D options you can make with them - I can't wait to give them a try!
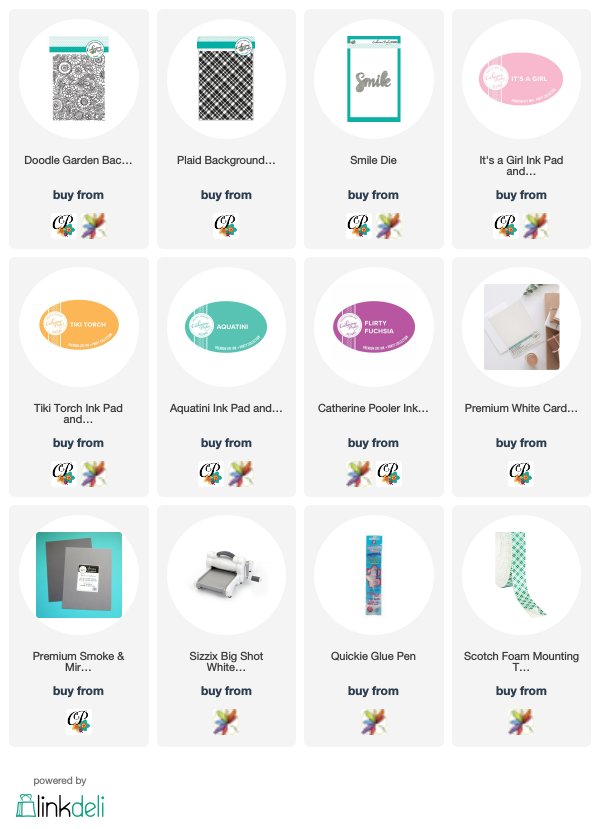
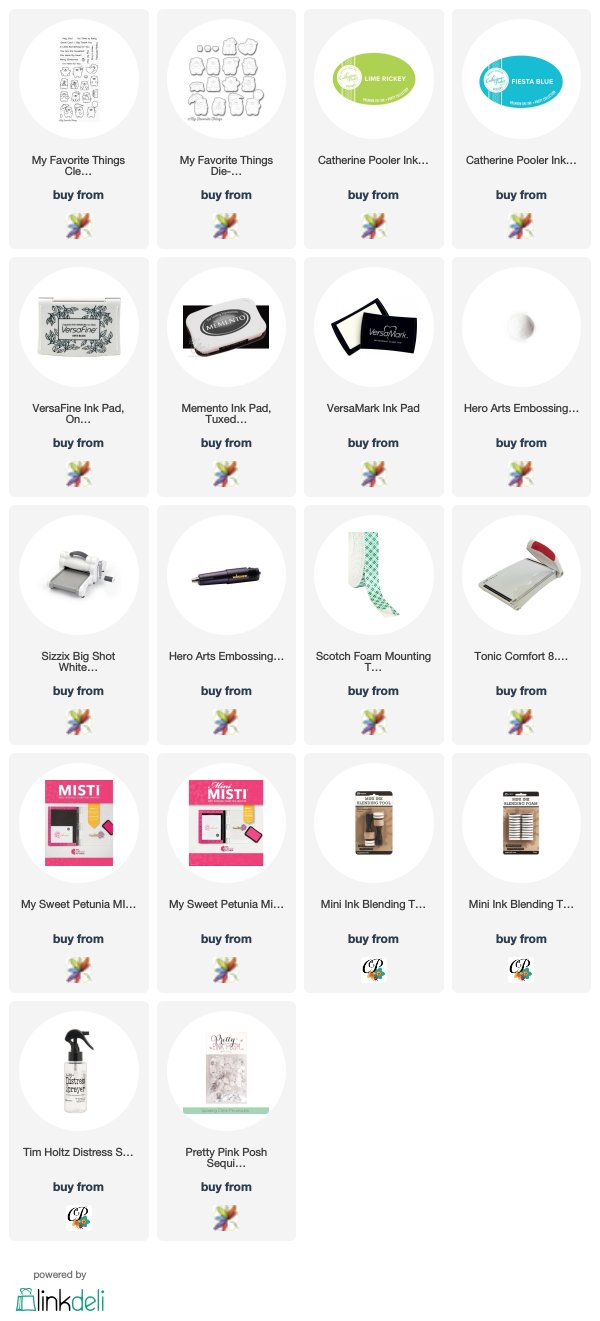
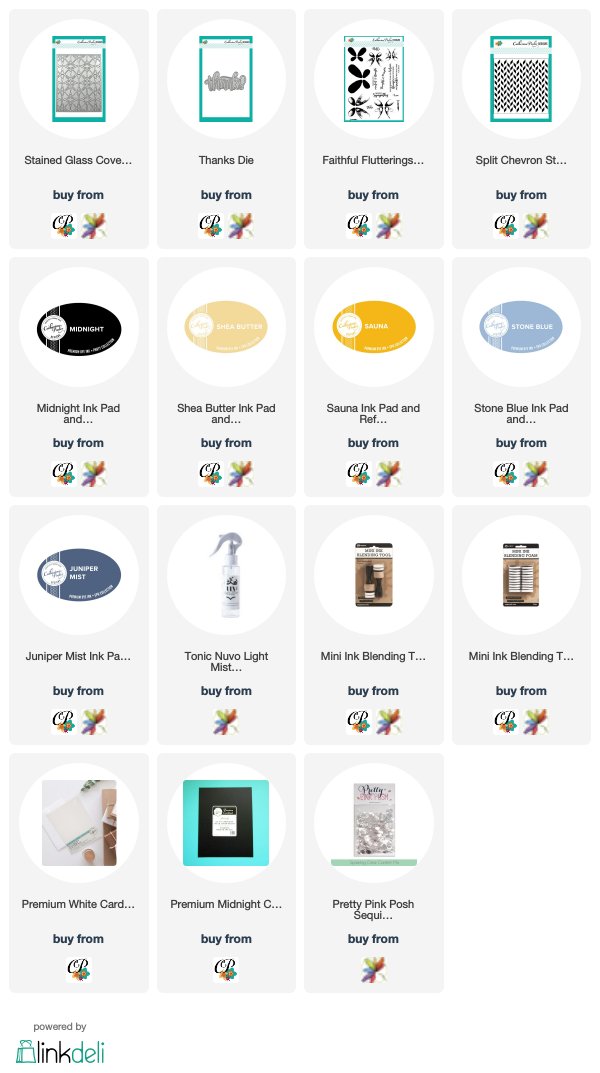
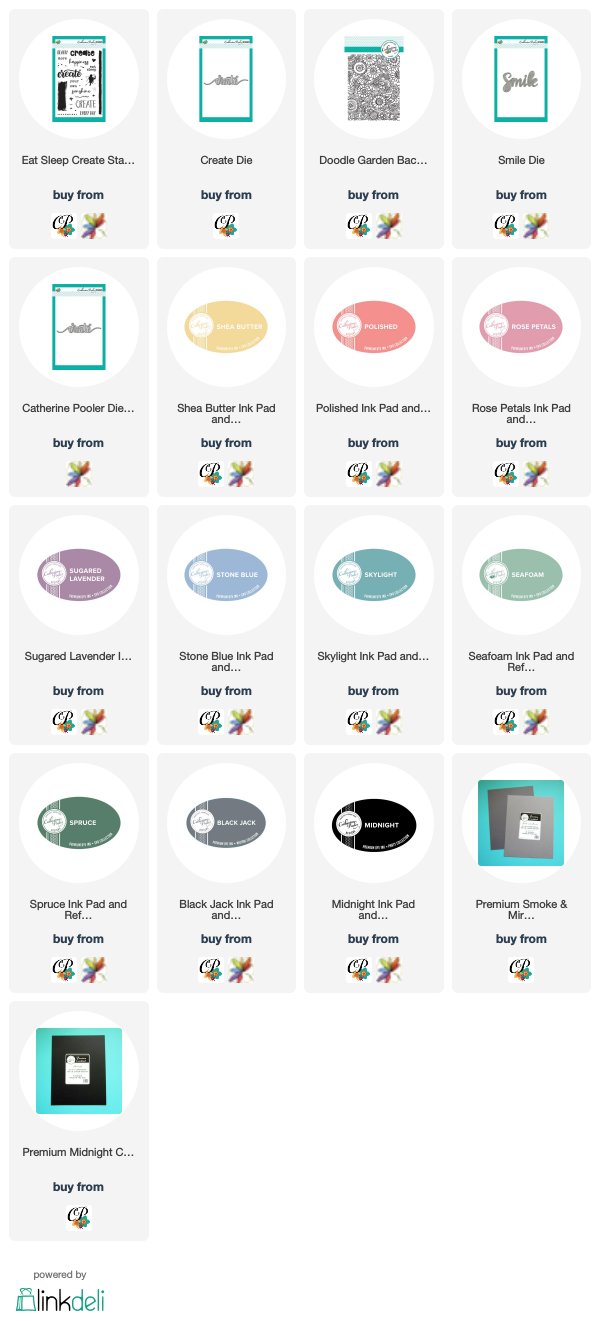

I used:

Catherine Pooler Designs - Zen Garden Release


Today's the final day of Blog Hops for Catherine Pooler's Zen Garden collection. I'm not on the hop today, but I've included the list below so you can hop for a chance to win a full set of the new colours of inks!


Today we're introducting the stained glass coverplate (oh, just wait until you see the amazingly creative ways the DT has used this beautiful die!)


I decided to cut it down and only use the centre of it on my square card. I cut it once in silver sparkle and once in white. I coloured some of the white pieces in rainbow order and then inlaid them back into the silver outline. 


Next up is Faithful Flutterings, a layering butterfly set with thoughtful sentiments. I stamped the smaller butterfly in Shea Butter and Sauna. For my background, I used the Split Chevron stencil and Juniper Mist and Stone Blue inks. I love how the blues seem to separate out a bit when spritzed with water, and give a pinkish-purplish tinge.


SugarPea Designs February Release Sweet Peeks - Day 5

Good morning! Today is the final day of SugarPea Designs' Sweet Peek Week and all of the products will be available tonight at 6 pm EST.

Today we're introducing Better Together stamps and Dies and the Diagonal Stripe CoverPlate.

This small set is full of fun images and sentiments to make wonderful 'love' cards. I stamped, masked and coloured my PB&J with copics on the oval portion of the Large Oval Striped Cover Plate we introduced the other day. I cut it down to use on my square card and left it white on white, so it just adds a bit of interest without any clutter.


I'm linking this one up to CASology 287 where the Cue Card is Together.


Here, I used the stripes out of the Diagonal Striped Cover Plate and the largest rectangle in the Card Front Element Builder set. I blended ink onto each stripe, leaving it lighter in the centre. 

Don't forget to leave a comment on the SugarPea Designs blog for your chance to win!


Thursday 15 February 2018

Catherine Pooler Designs - Zen Garden Release Blog Hop - Day 3


Welcome to Day 3 of the Blog Hop for Catherine Pooler's latest release: Zen Garden!


Today we're featuring Eat, Sleep, Create and the newest background stamp, Doodle Garden.


Stamps: Eat, Sleep, Create
Inks: Midnight, Black Jack, Shea Butter, Seafoam, Spruce, Skylight, Stone Blue, Sugared Lavender, Rose Petals, Polished
Paper: White, Smoke & Mirrors

This stamp set has the word 'create' in different fonts and lots of add-ons, so you can get lots of different looks. The word 'repeat' isn't included, but I created it by using 'eat', the 'ep' from sleep and the 'r' from more, for a fun addition to my sentiment.

Stamps: Eat, Sleep Create
Inks: Midnight, Black Jack, Shea Butter, Polished, Rose Petals, Sugared Lavender, Stone Blue, Skylight
Dies: Create

There is also a create die in the release - in a fun script-y font. And speaking of the add-on sentiments in this set, I just couldn't choose, so I used them all to create a 'grafitti-wall'. 


Finally, Doodle Garden - this design was on the wall at Creativation and we have all been dying to play with it since then! There are so many ways to use this doodly background and I know I'll be playing with this one for a long time! Here, I stamped it in Midnight and then partially inlaid the new Smile die, which I had blended with Polished ink.