As of May 1, I'm now blogging at https://www.ardythpr.com/
See you there!
Welcome to this week's LIMES inspiration post!
I chose this card as my inspiration from the gallery of this week's Splitcoaststampers' Featured Stamper!
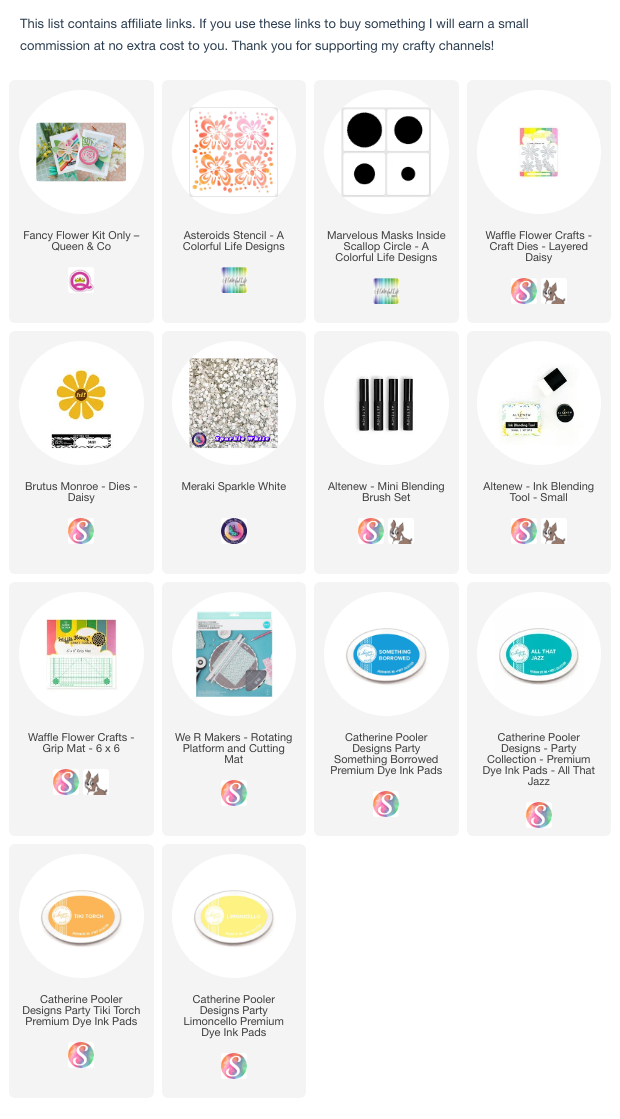
LIST: Colours (white, blue, yellow, green), Techniques (die cutting, dimensional flowers), Elements (background circular die cut, dimensional bouquet of flowers tied with blue gingham ribbon)The dramatic bouquet in the inspiration card is amazing! I love the pop of white and yellow against blue and I immediately thought of this daisy shaker die I have.
I used a circle mask and a stencil to create my blue background element, using two shades of blue to add subtle interest.
I backed my daisy die cut with a circle die cut, to keep all the petals in place (they would normally pop out if you're making a shaker with this die). I used another circle for the base of my flower centre and then one of the fancy flower centres that came with the daisy die set. I finished it with some white gems.


Tonight, I'm crafting with my friend Sasha Reade, experimenting with watercolour powders. I had fun and got some amazing results, but there's definitely one BIG fail, that I need your help with!

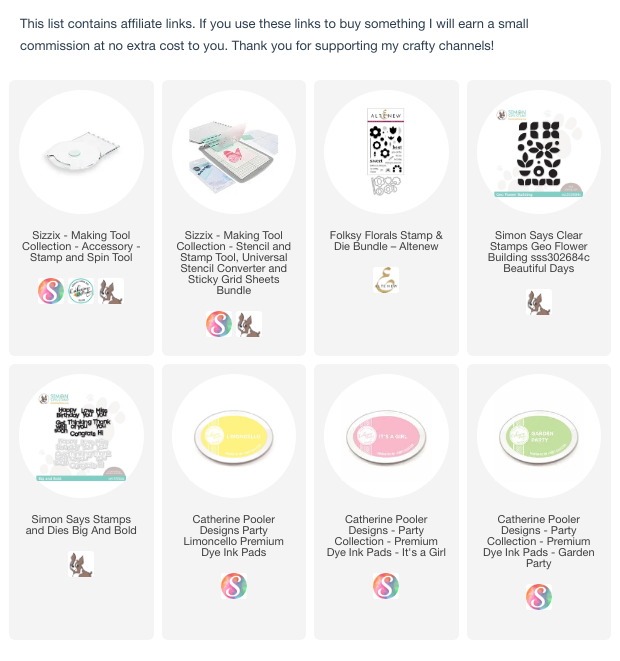
Here’s some tips for using multiple images and colours to make stamping with the tool faster!
1. put flower stamp on tool door, stamp, turn, stamp 2. put flower center stamp on flower image, pick up with door 3. ink both stamps with different colours, turn and do two images like this 4. add leaf to first flower, pick up with door 5. ink all stamps with different colours, turn and do 5 images like this 6. remove flower stamp, do 2 turns with flower centre and leaf 7. remove flower centre stamp, do 2 turns with leaf 8. stamp sentiment 9. finish card.

I chose this card as my inspiration from the gallery of this week's Splitcoaststampers' Featured Stamper!
LIST: Colours (teal, red, white), Techniques (stamping, die cutting), Elements (envelope with flap, red scalloped circle, layered snowflakes, sentiment on label die cut, pearl embellishment))This colour combination is one of my favourites for Christmas, and I also have a weakness for snowflake dies.
I stenciled a square of cardstock, then blended over the whole thing for a tone on tone look. Then I masked off a triangle and added another layer of ink to create my faux flap.
I blended red ink onto a white cardstock circle, and then put the two layers through my die cutting machine with a 3D embossing folder to add some texture. I spritzed the panels with shimmer spray and splattered with some silver watercolour.
I added dimension to my layered snowflake by die cutting small circles and layering them up between the two snowflakes.

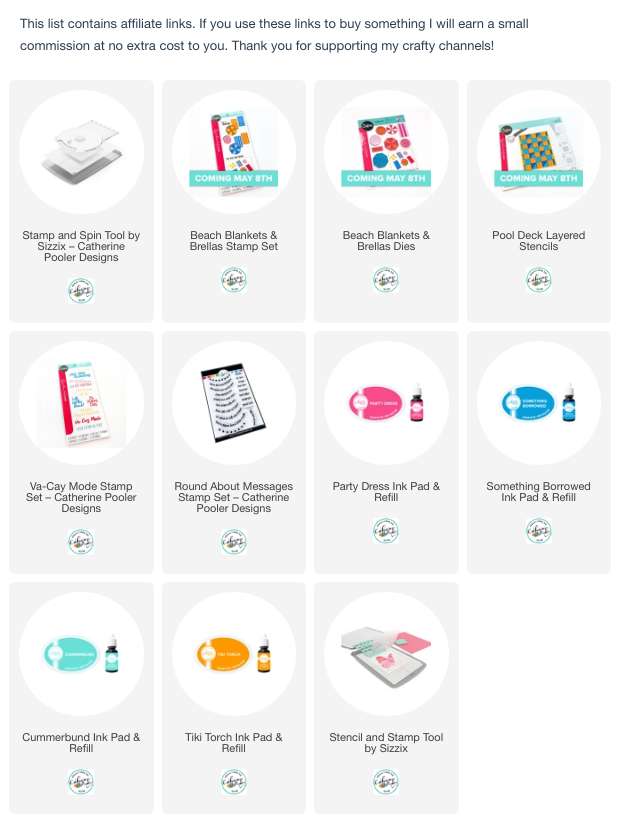
Today I'm sharing how I used the Debut Release of Catherine Pooler Designs products with Sizzix!! …It's part of a video hop with a giveaway, and wait until you see how I made Kaleidoscope cards with the NEW Sizzix Stamp & Spin Tool!
If you want to be entered for a giveaway, watch the video below and follow the directions in the description (comments here on the blog will not be entered, so be sure to head to my channel!)
