click here for my 30 Days Colouring post.
Congratulations to this week's Featured Stamper Pauline (meisu4)
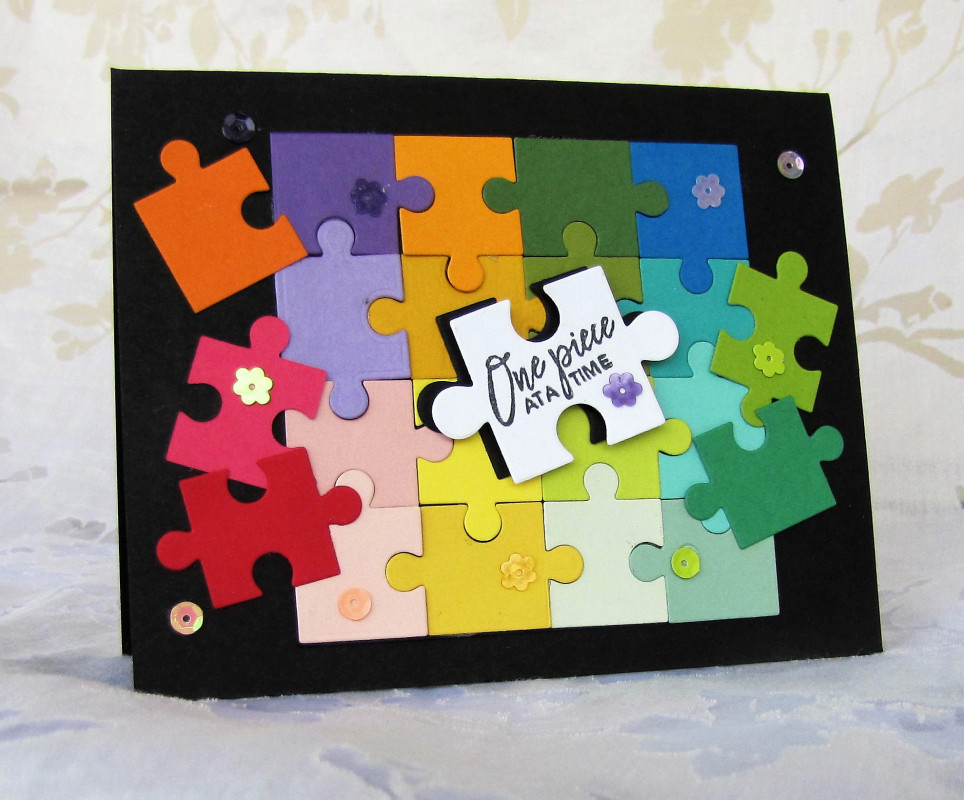
I chose this card as my inspiration:

I focused on Pauline's:
-rainbow colours
-'pieces'
-sentiment on white die cut
I changed:
-shapes of pieces
-ink blending instead of coloured cardstock
-orientation
-no black
So, I have this bin. It's full. It's full of stamps and dies that I just HAD TO HAVE but haven't used yet. Do you have a bin like this?
This Honeybee Stamps Stained Glass coverplate was in my bin for quite a while, and I finally got a chance to play. And I had a nice surprise - I ended up with 2 cards! Here's how:
I started by blending inks onto two white panels.
I trimmed a sheet of Sticky Dots adhesive to fit behind one of the panels and adhered it before running it through my Gemini Jr with the cover plate.
Many of the pieces stayed on the adhesive backer, and I popped out the rest, then I laid the die cut on top of my other blended panel.
I spritzed the layered panels with Avery Elle Clear Shimmer Spray and then I used an Essentials by Ellen Essential Circle die to cut out a circle area for my sentiment (from Honeybee's Thanks a Bunch). I kept the frame, and cut another circle out of white cardstock and stamped my sentiment. I rotated the frame to add a bit more interest.
As I said, most of the little triangles stayed on the release paper of the Sticky Dots sheet, and I started thinking about how to turn them into a card....
I pressed two pieces of 2 inch Post it Tape over top.
Then I carefully removed the backing paper. I didn't worry about any triangles that came up or were missing from the pattern. I figured I could live with a random look, rather than trying to keep track of all the triangles!
Then I pressed the post it tape down onto a white panel.
And carefully peeled back the post it tape.
I'm happy with it, even though it's missing some bits. I think that adds to the artistic look of it!
I trimmed the panel and added a simple sentiment and some sequins for shine.
Not bad for a card I wasn't expecting to get! lol!


Very arty and great use of those pretty negative cuts. Hugz
ReplyDeleteLoving how you have used all the elements to make two unique and stunning cards Ardyth.
ReplyDeleteBlessings
Maxine